Environment Setup
Overview
Before any exploitation can begin, the lab environment needs two capabilities:
- Full network visibility — intercept and inspect HTTPS traffic between the app and backend
- Runtime control — hook and modify app behavior at the process level
This is achieved by combining a rooted Android emulator, Burp Suite as an intercepting proxy, and Frida for dynamic instrumentation.
Tools & Requirements
| Tool | Purpose |
|---|---|
| Android Studio | AVD creation and management |
| rootAVD | Root the Android emulator via Magisk |
| Magisk | Root management and module support |
| Burp Suite | HTTPS interception and traffic analysis |
| MagiskFrida | Frida server deployment via Magisk module |
| frida-tools | Frida client for instrumentation from host |
| ADB | Device communication and file transfer |
1. Install & Configure AVD
Open Android Studio and navigate to the Virtual Device Manager tab.
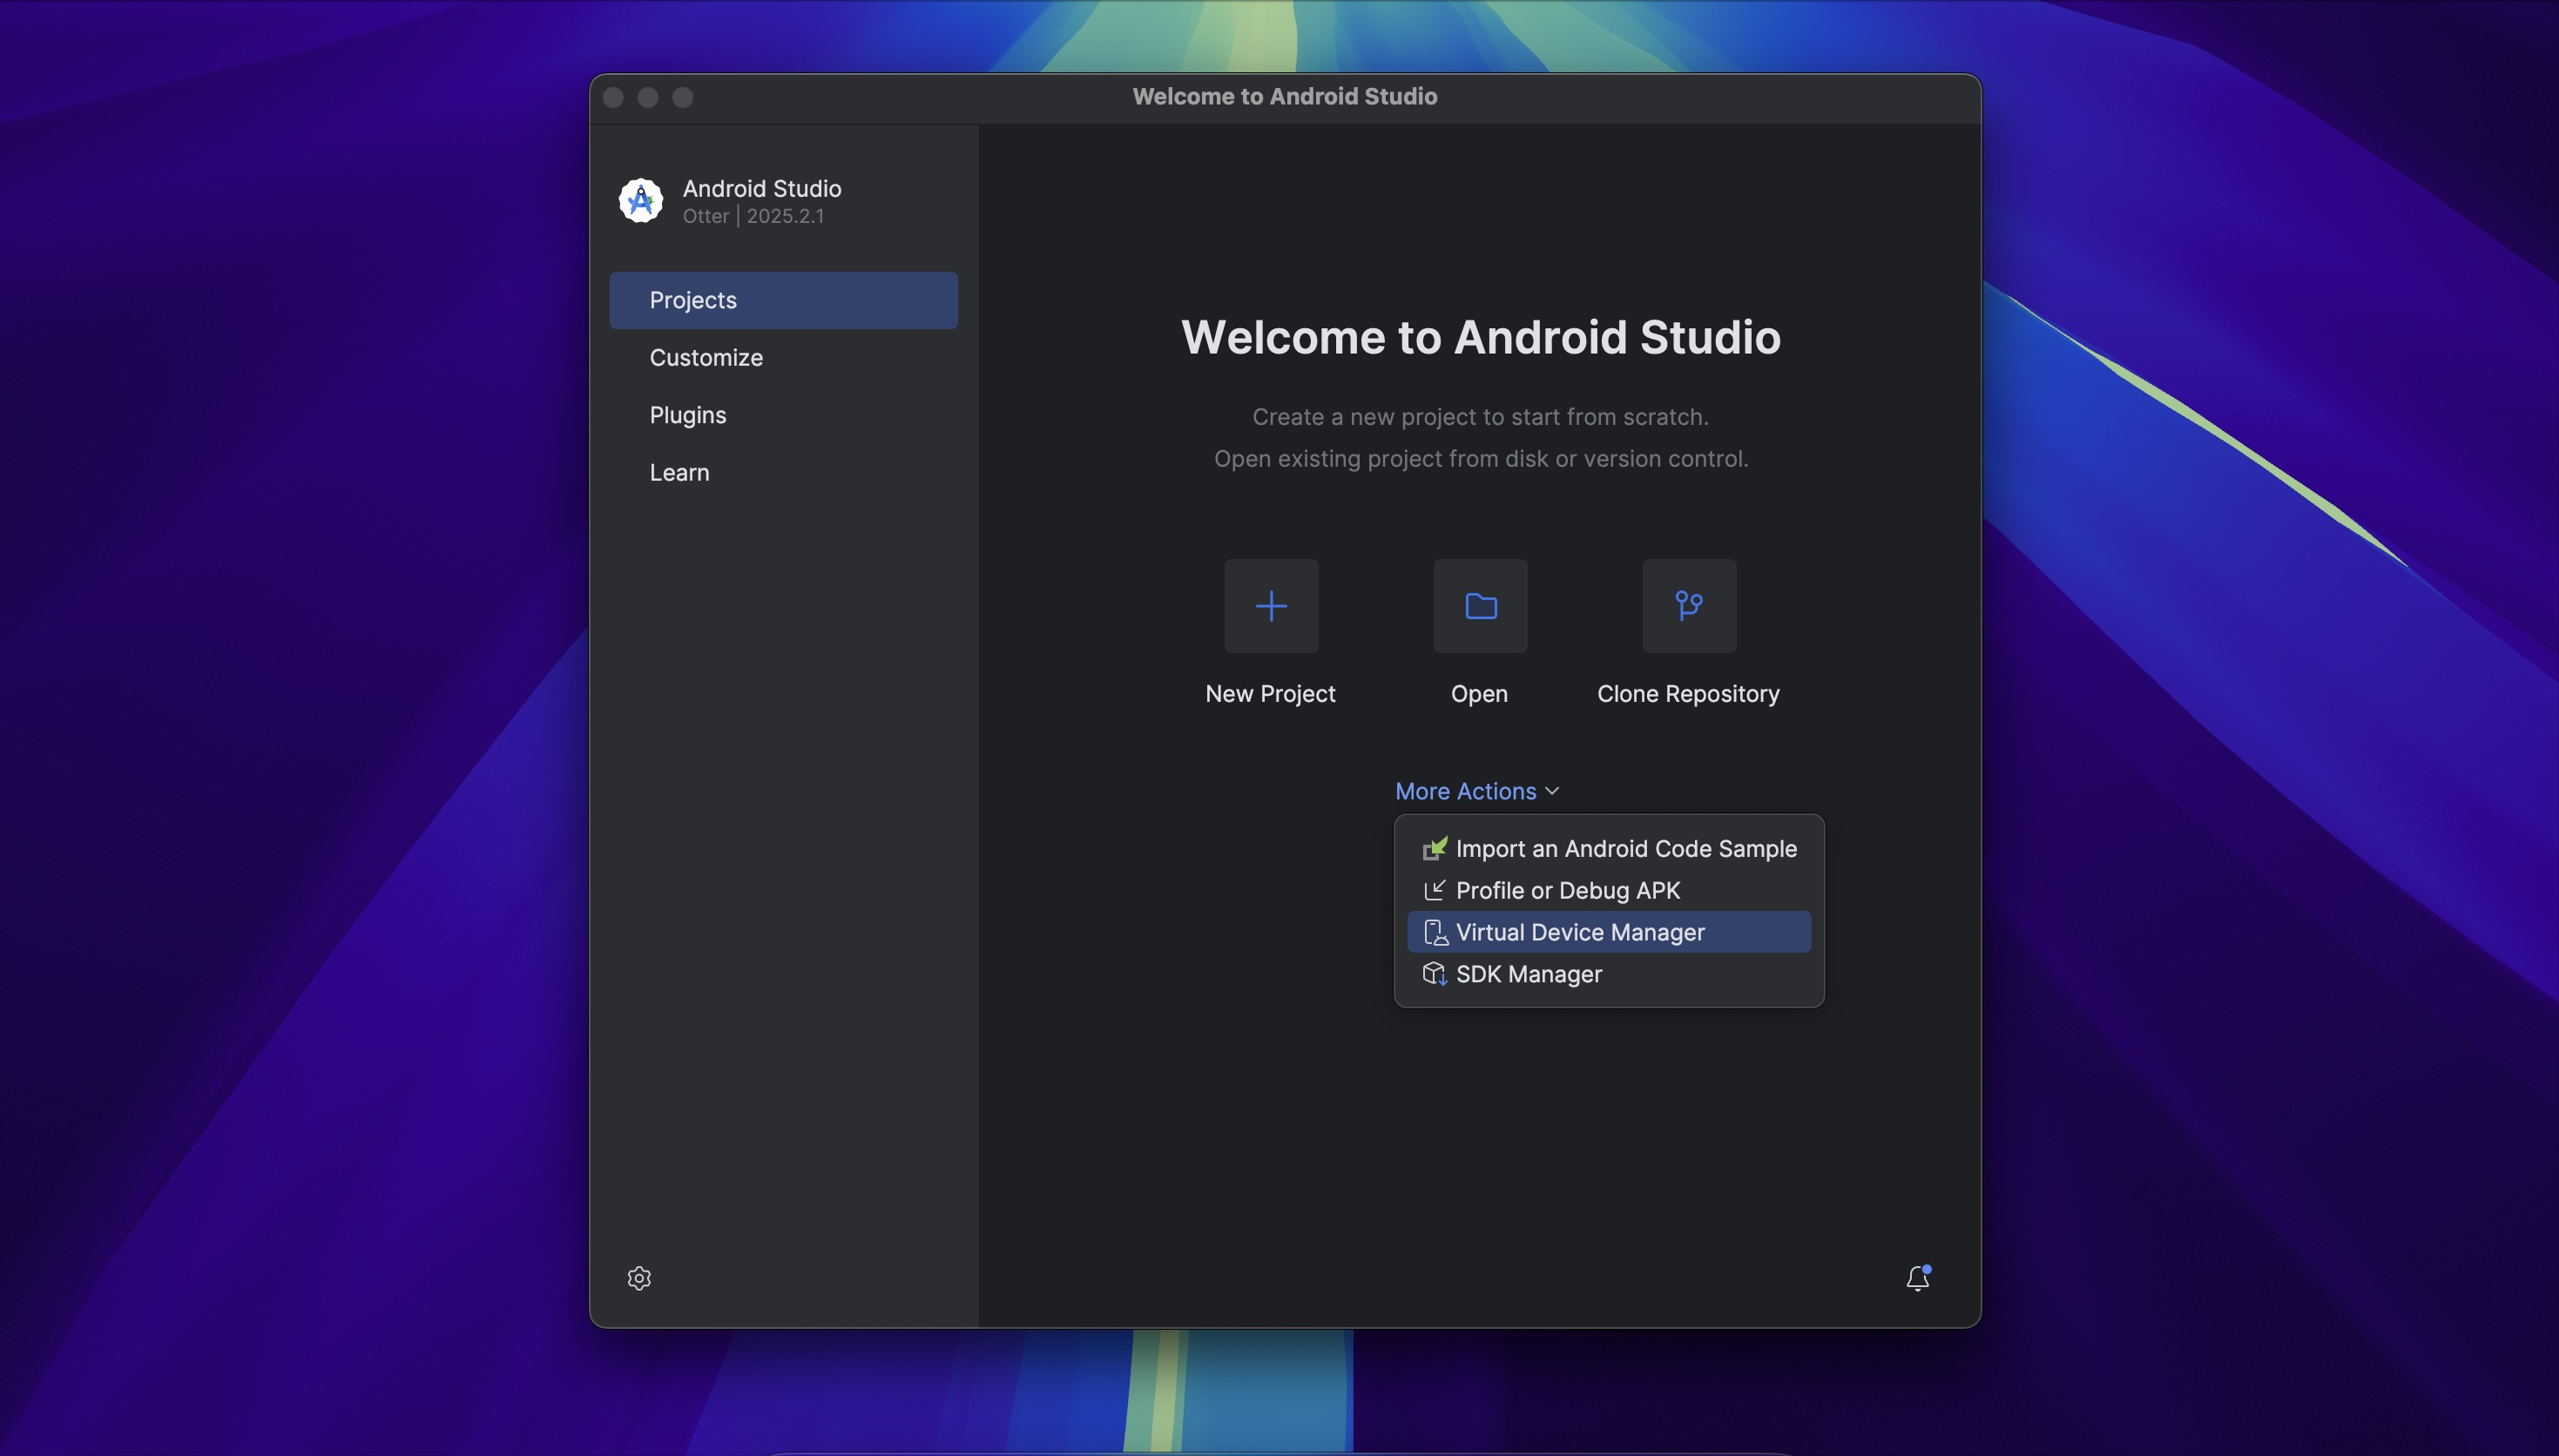
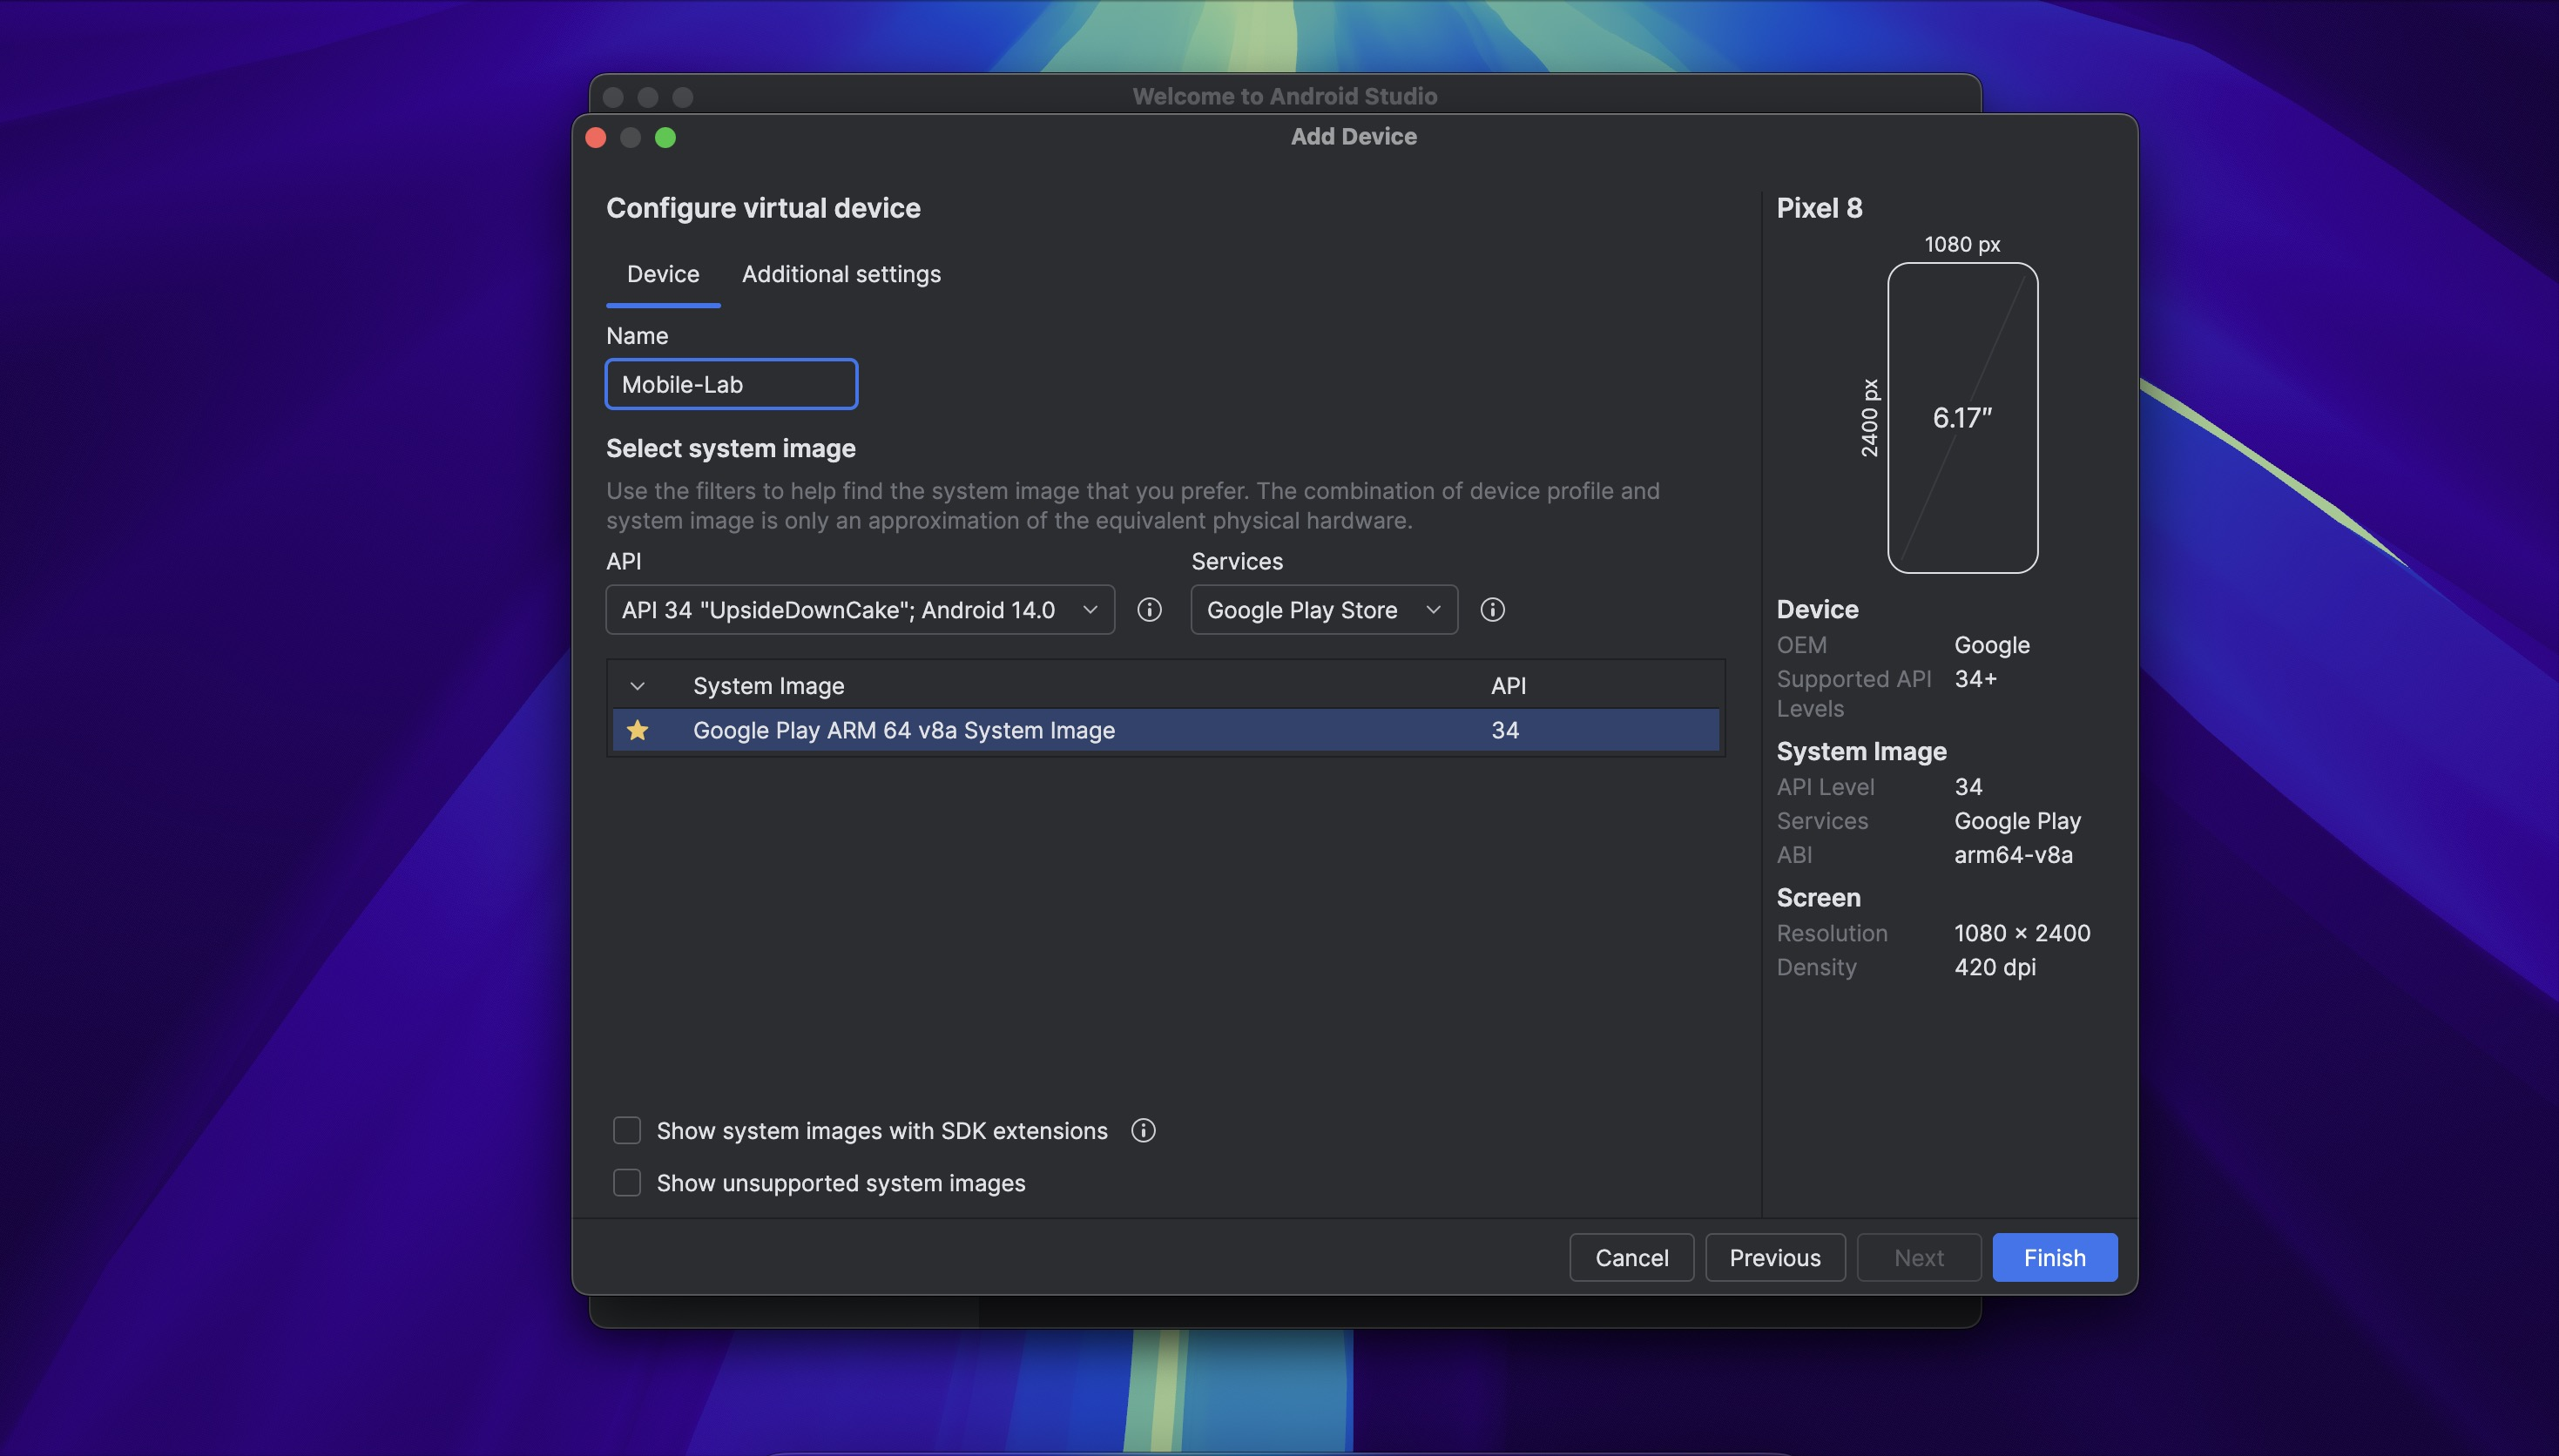
Create a new virtual device with the following specification:
- API Level: 34
- Image: Google Play Store
- Architecture: arm64-v8a
The Google Play Store image ships non-rooted by default, which means rooting it via rootAVD reflects conditions closer to a real device than using a pre-rooted AOSP image. The arm64-v8a architecture matches modern physical devices and is required for the native hook offsets used in Dynamic Analysis.
Once created, launch the emulator.
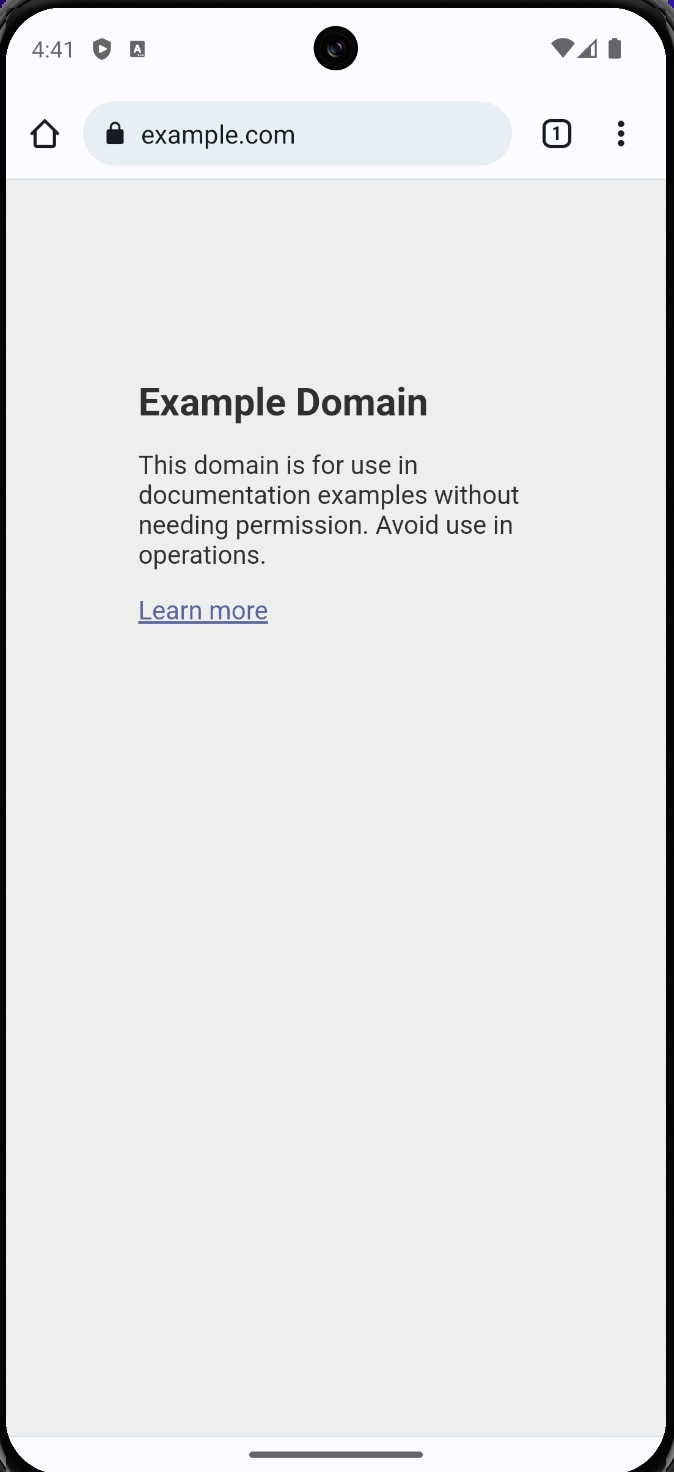
Open Chrome inside the emulator and navigate to example.com to confirm internet connectivity
before proceeding.
2. Root AVD with rootAVD
rootAVD patches the AVD ramdisk and installs Magisk, enabling full root access on an otherwise non-rooted emulator image.
Repository: https://gitlab.com/newbit/rootAVD
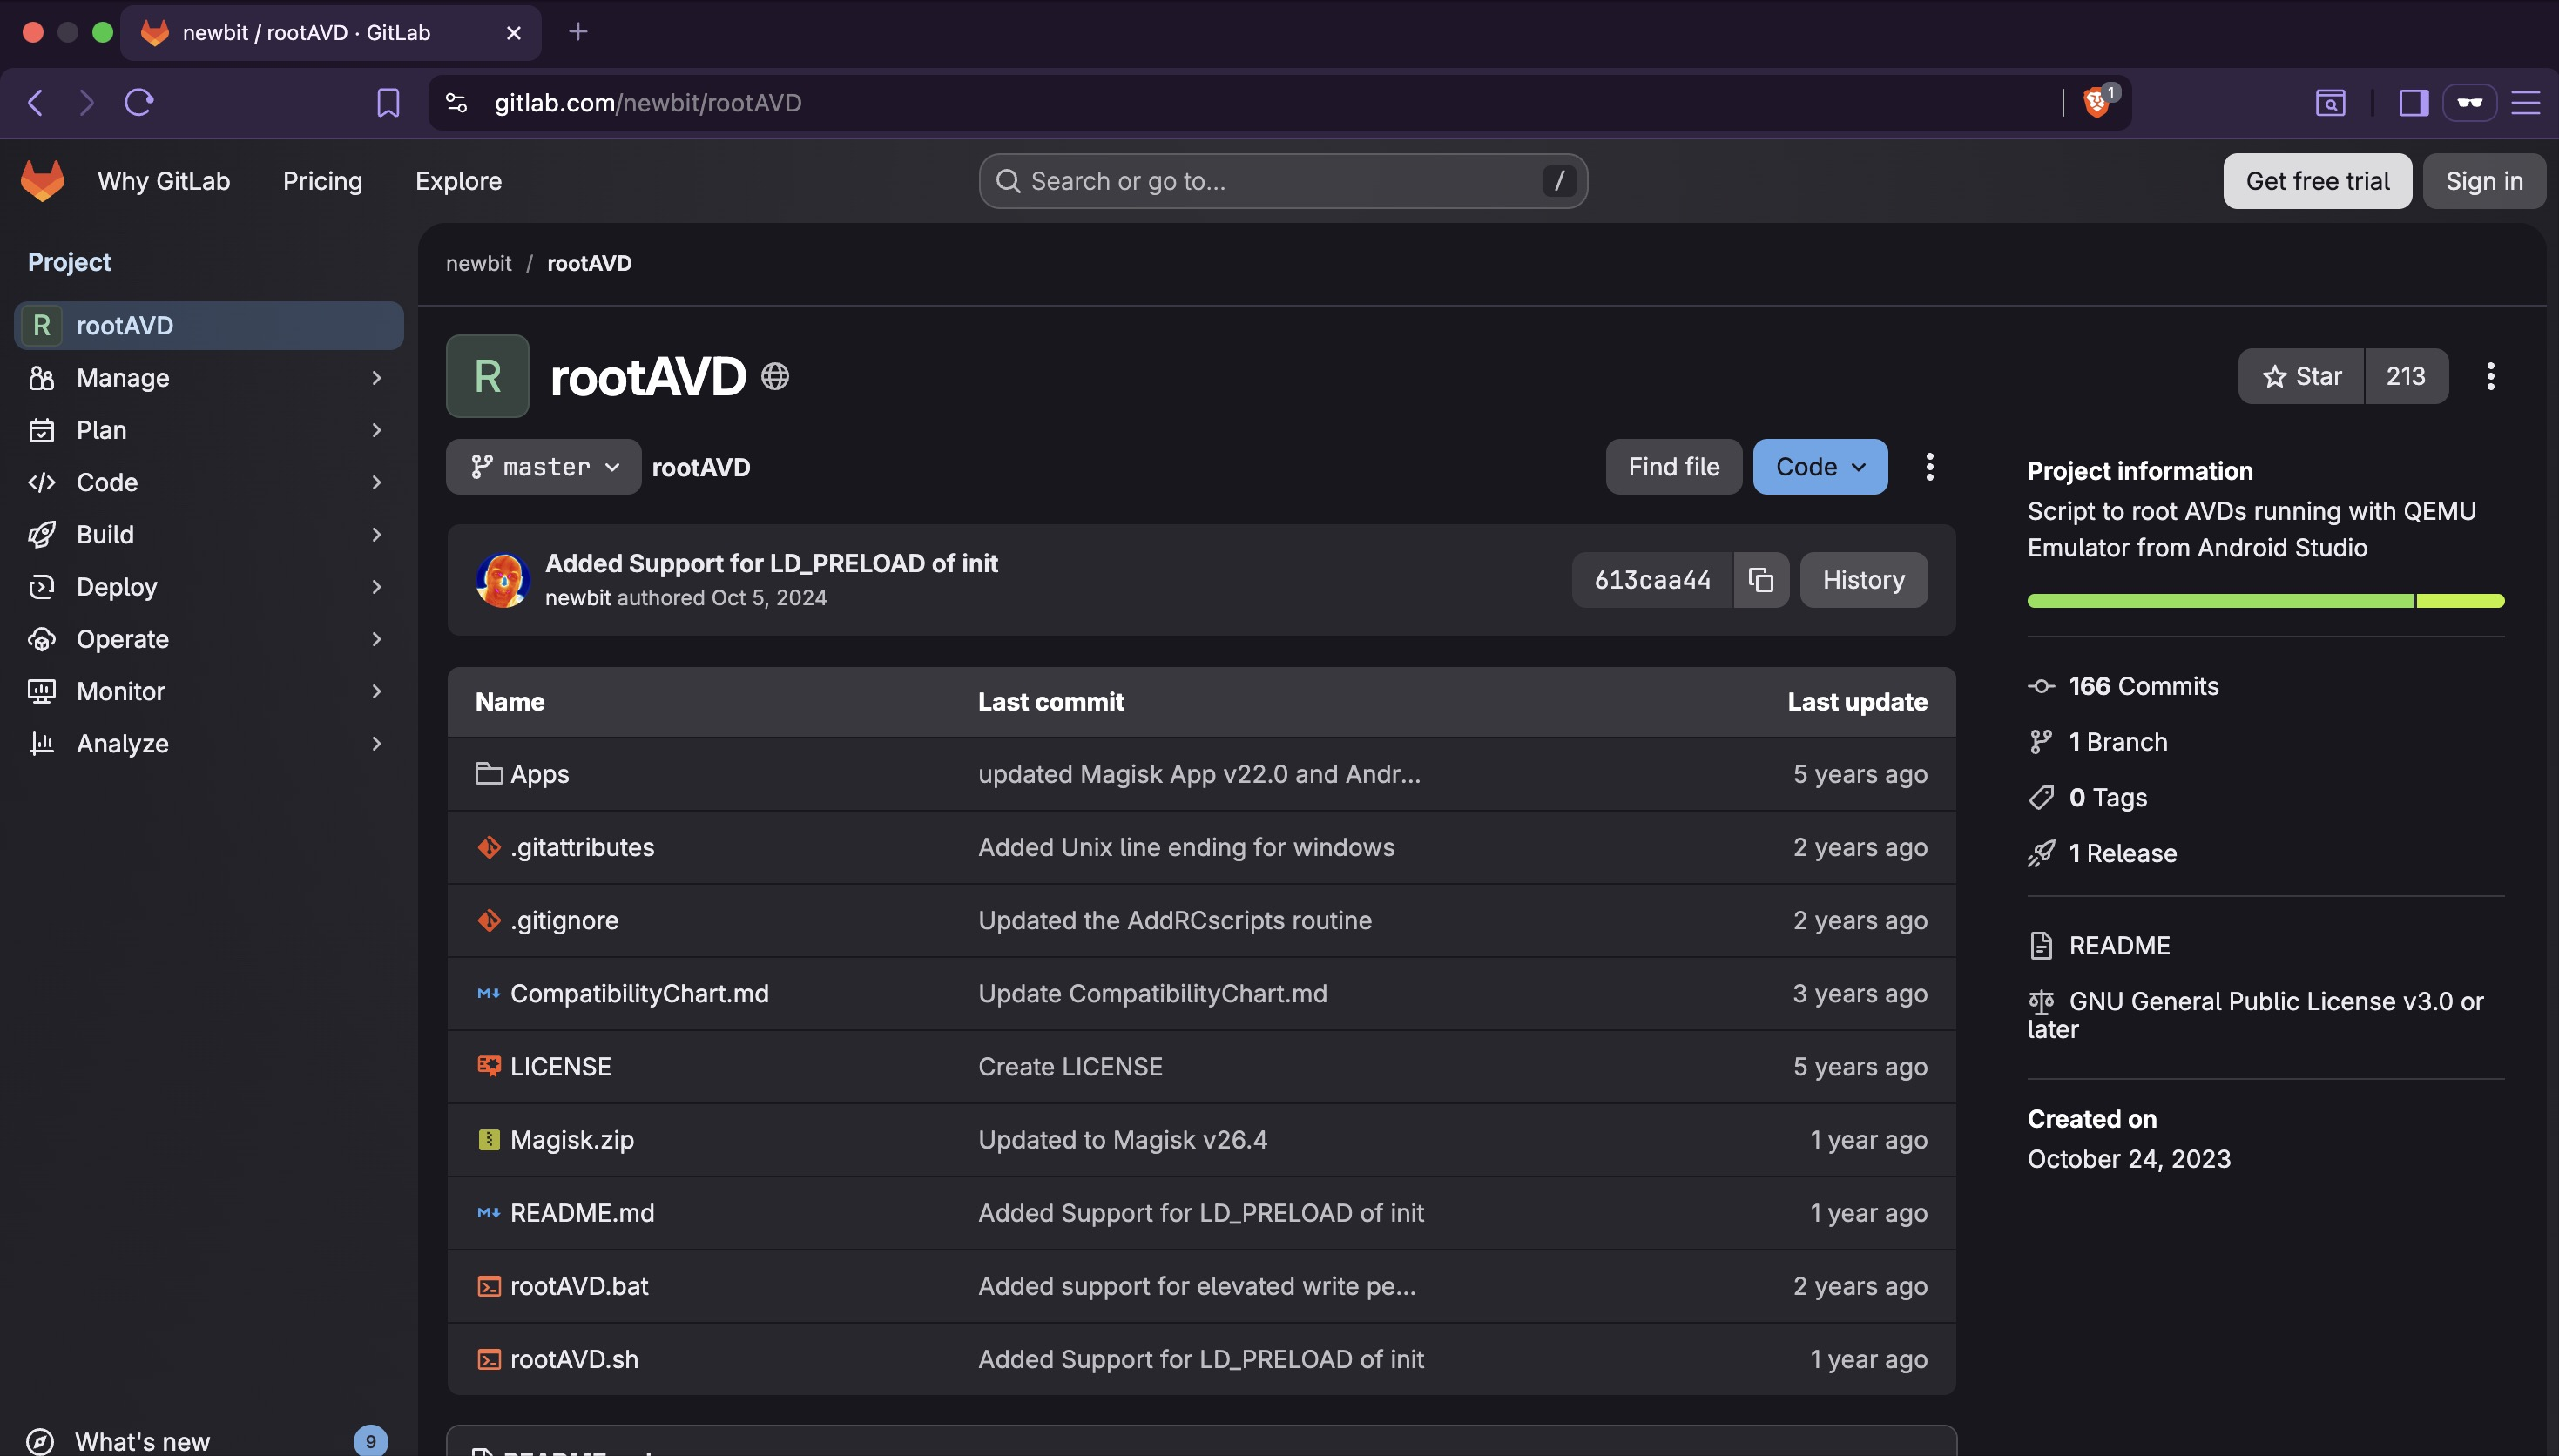
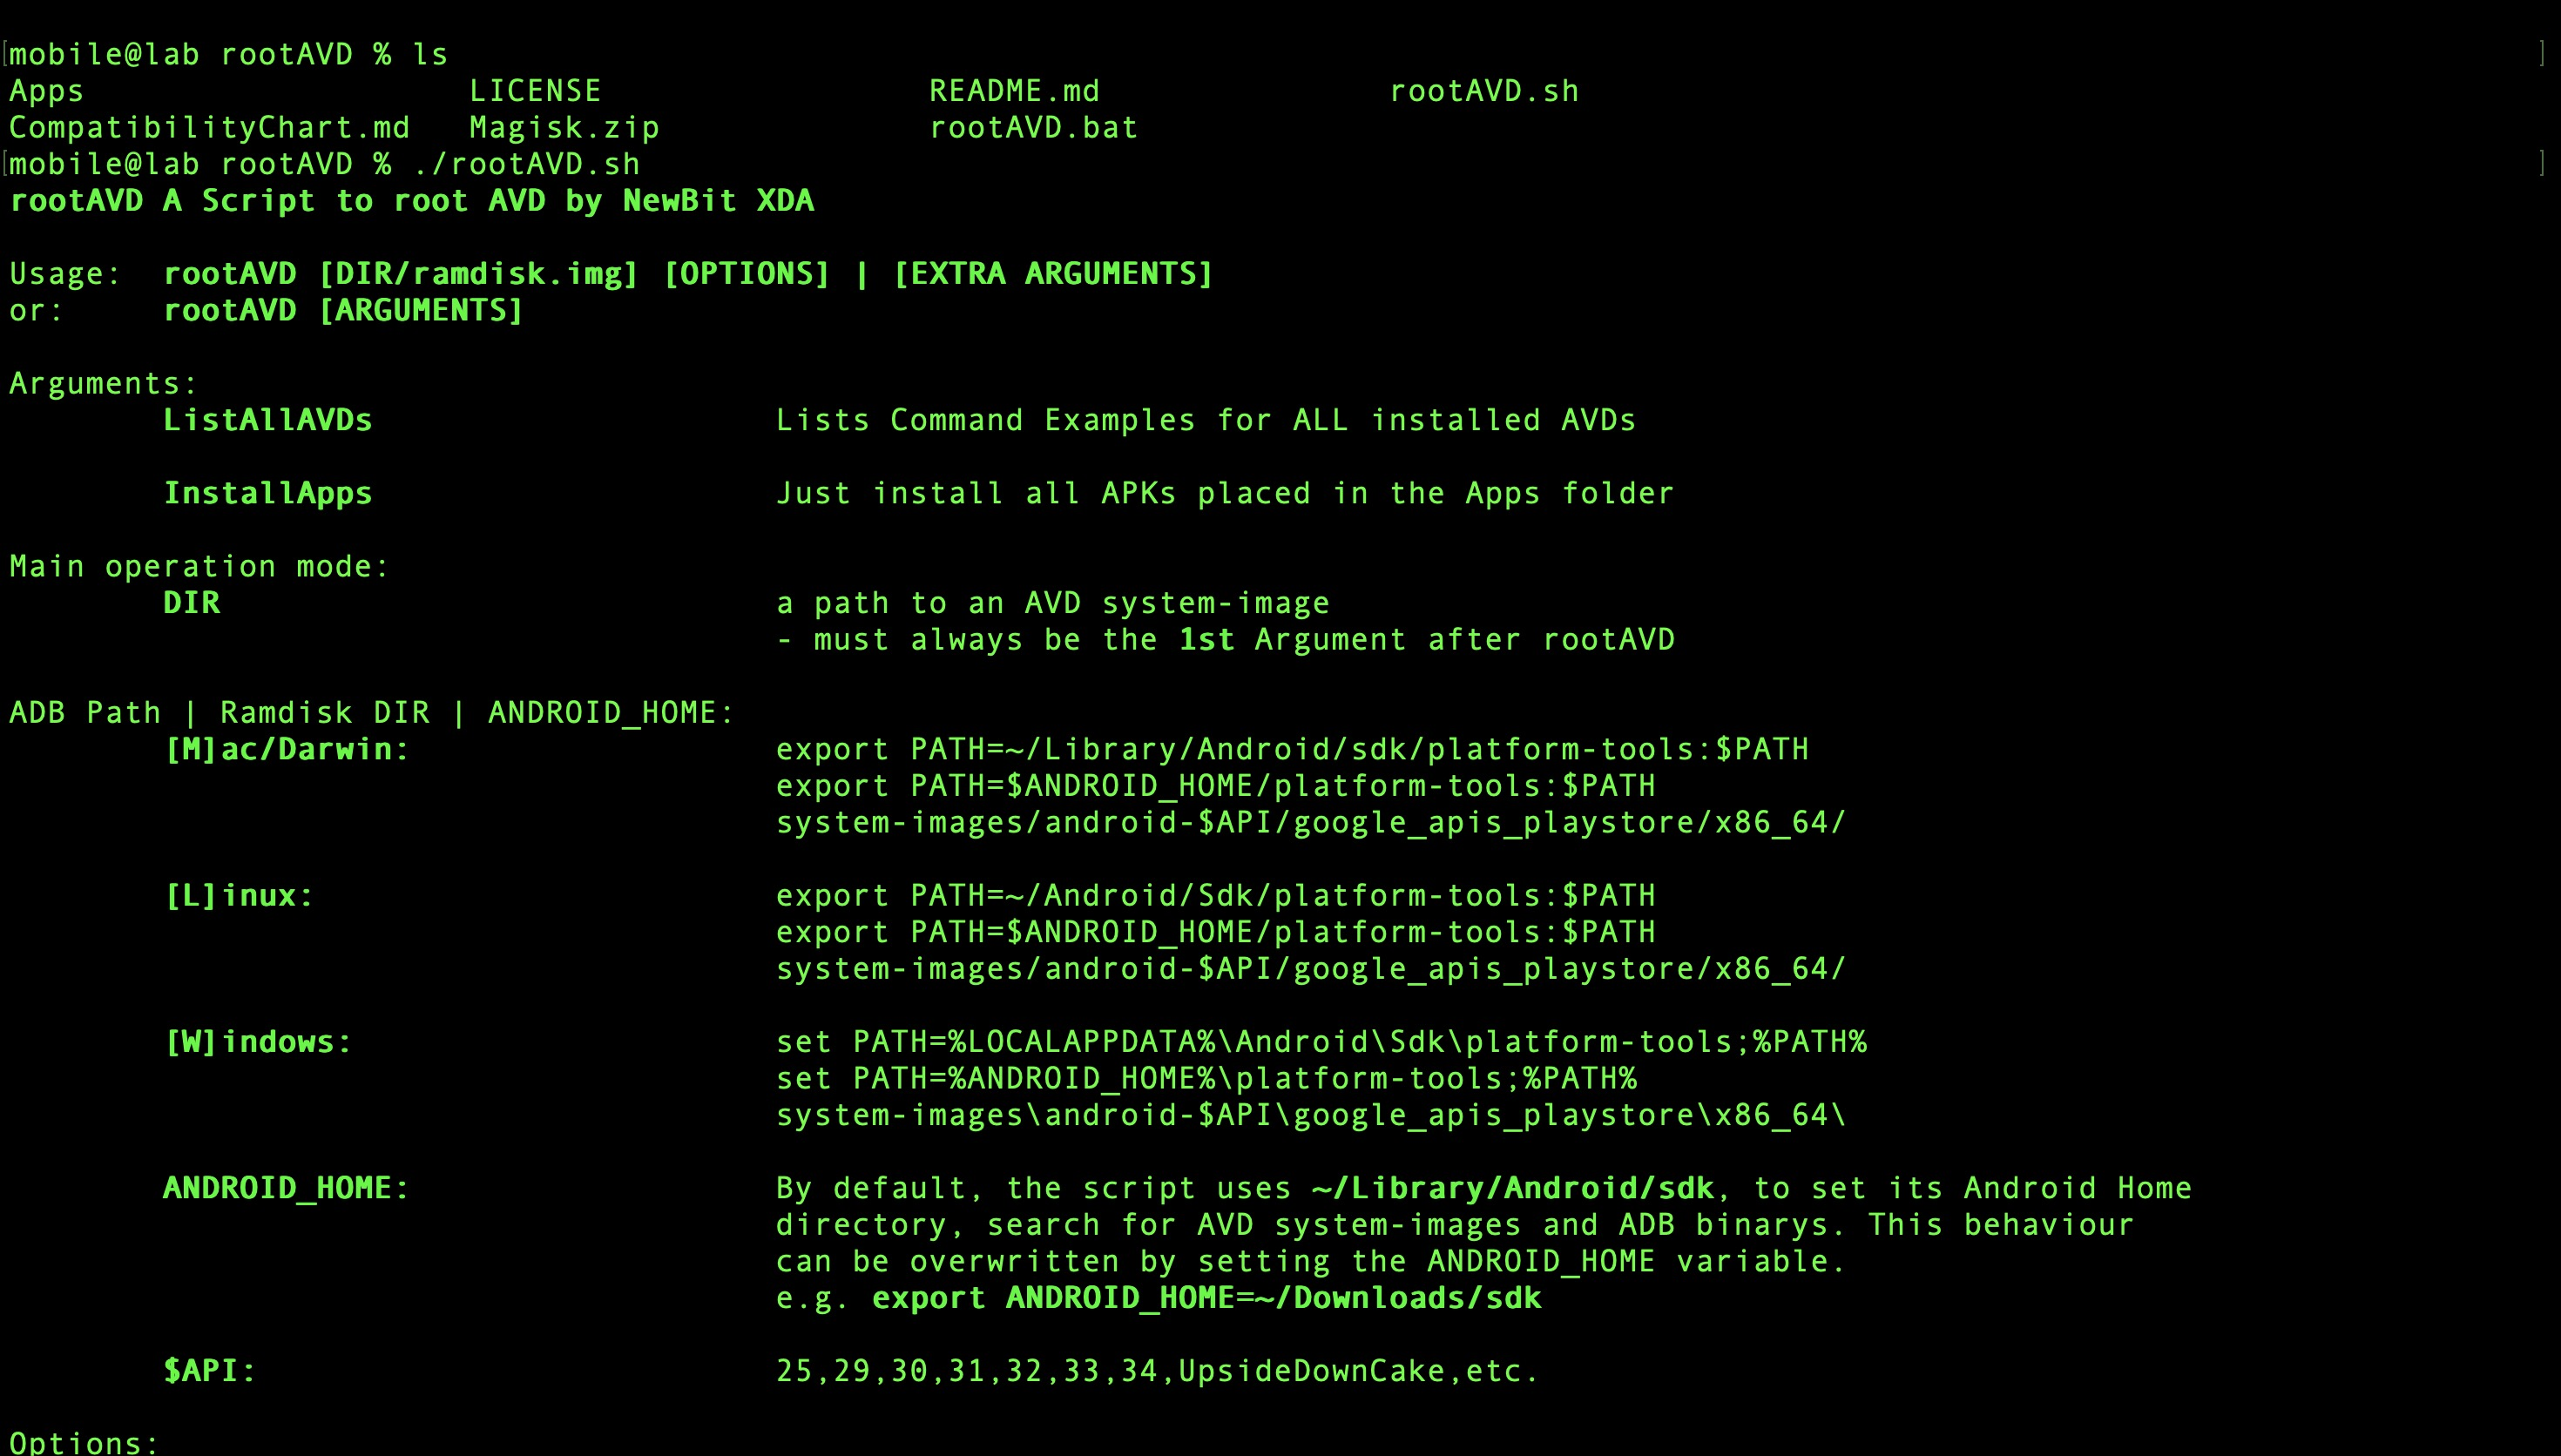
Clone the repository and run ./rootAVD.sh to view available options.
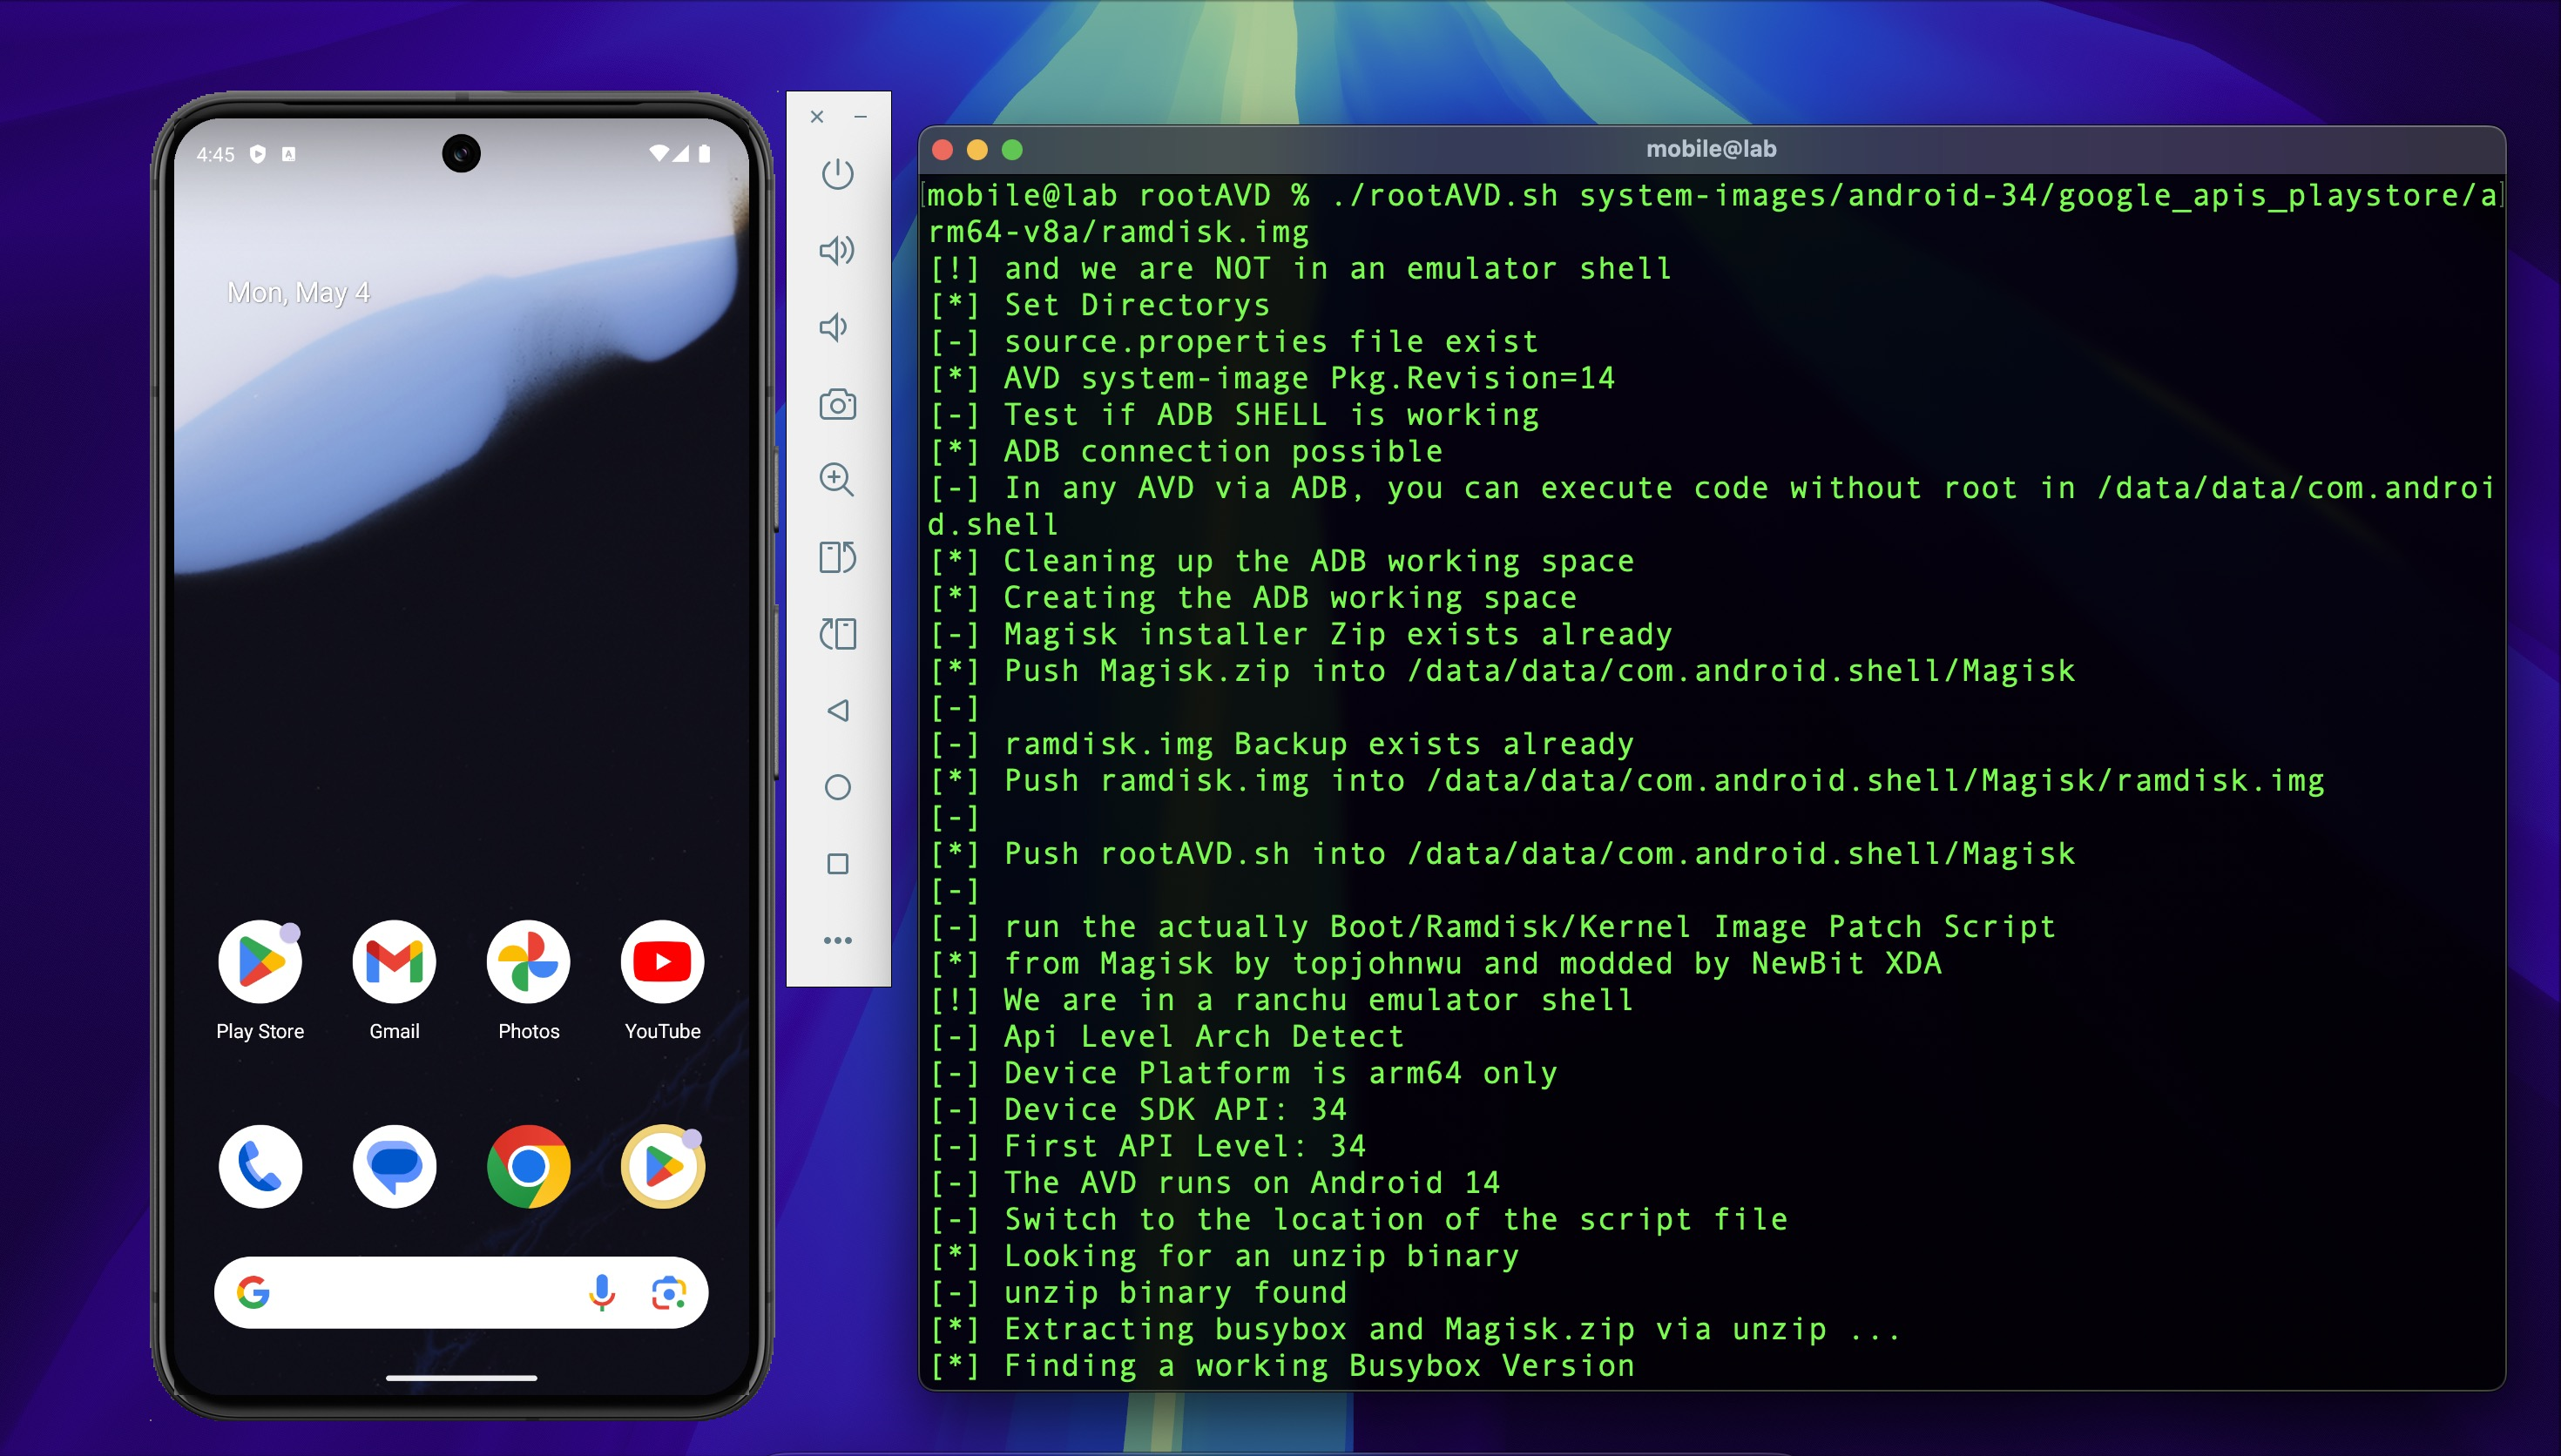
Run the rooting process targeting the AVD ramdisk:
This patches ramdisk.img and installs Magisk while the emulator is running. The device will
reboot automatically when complete.
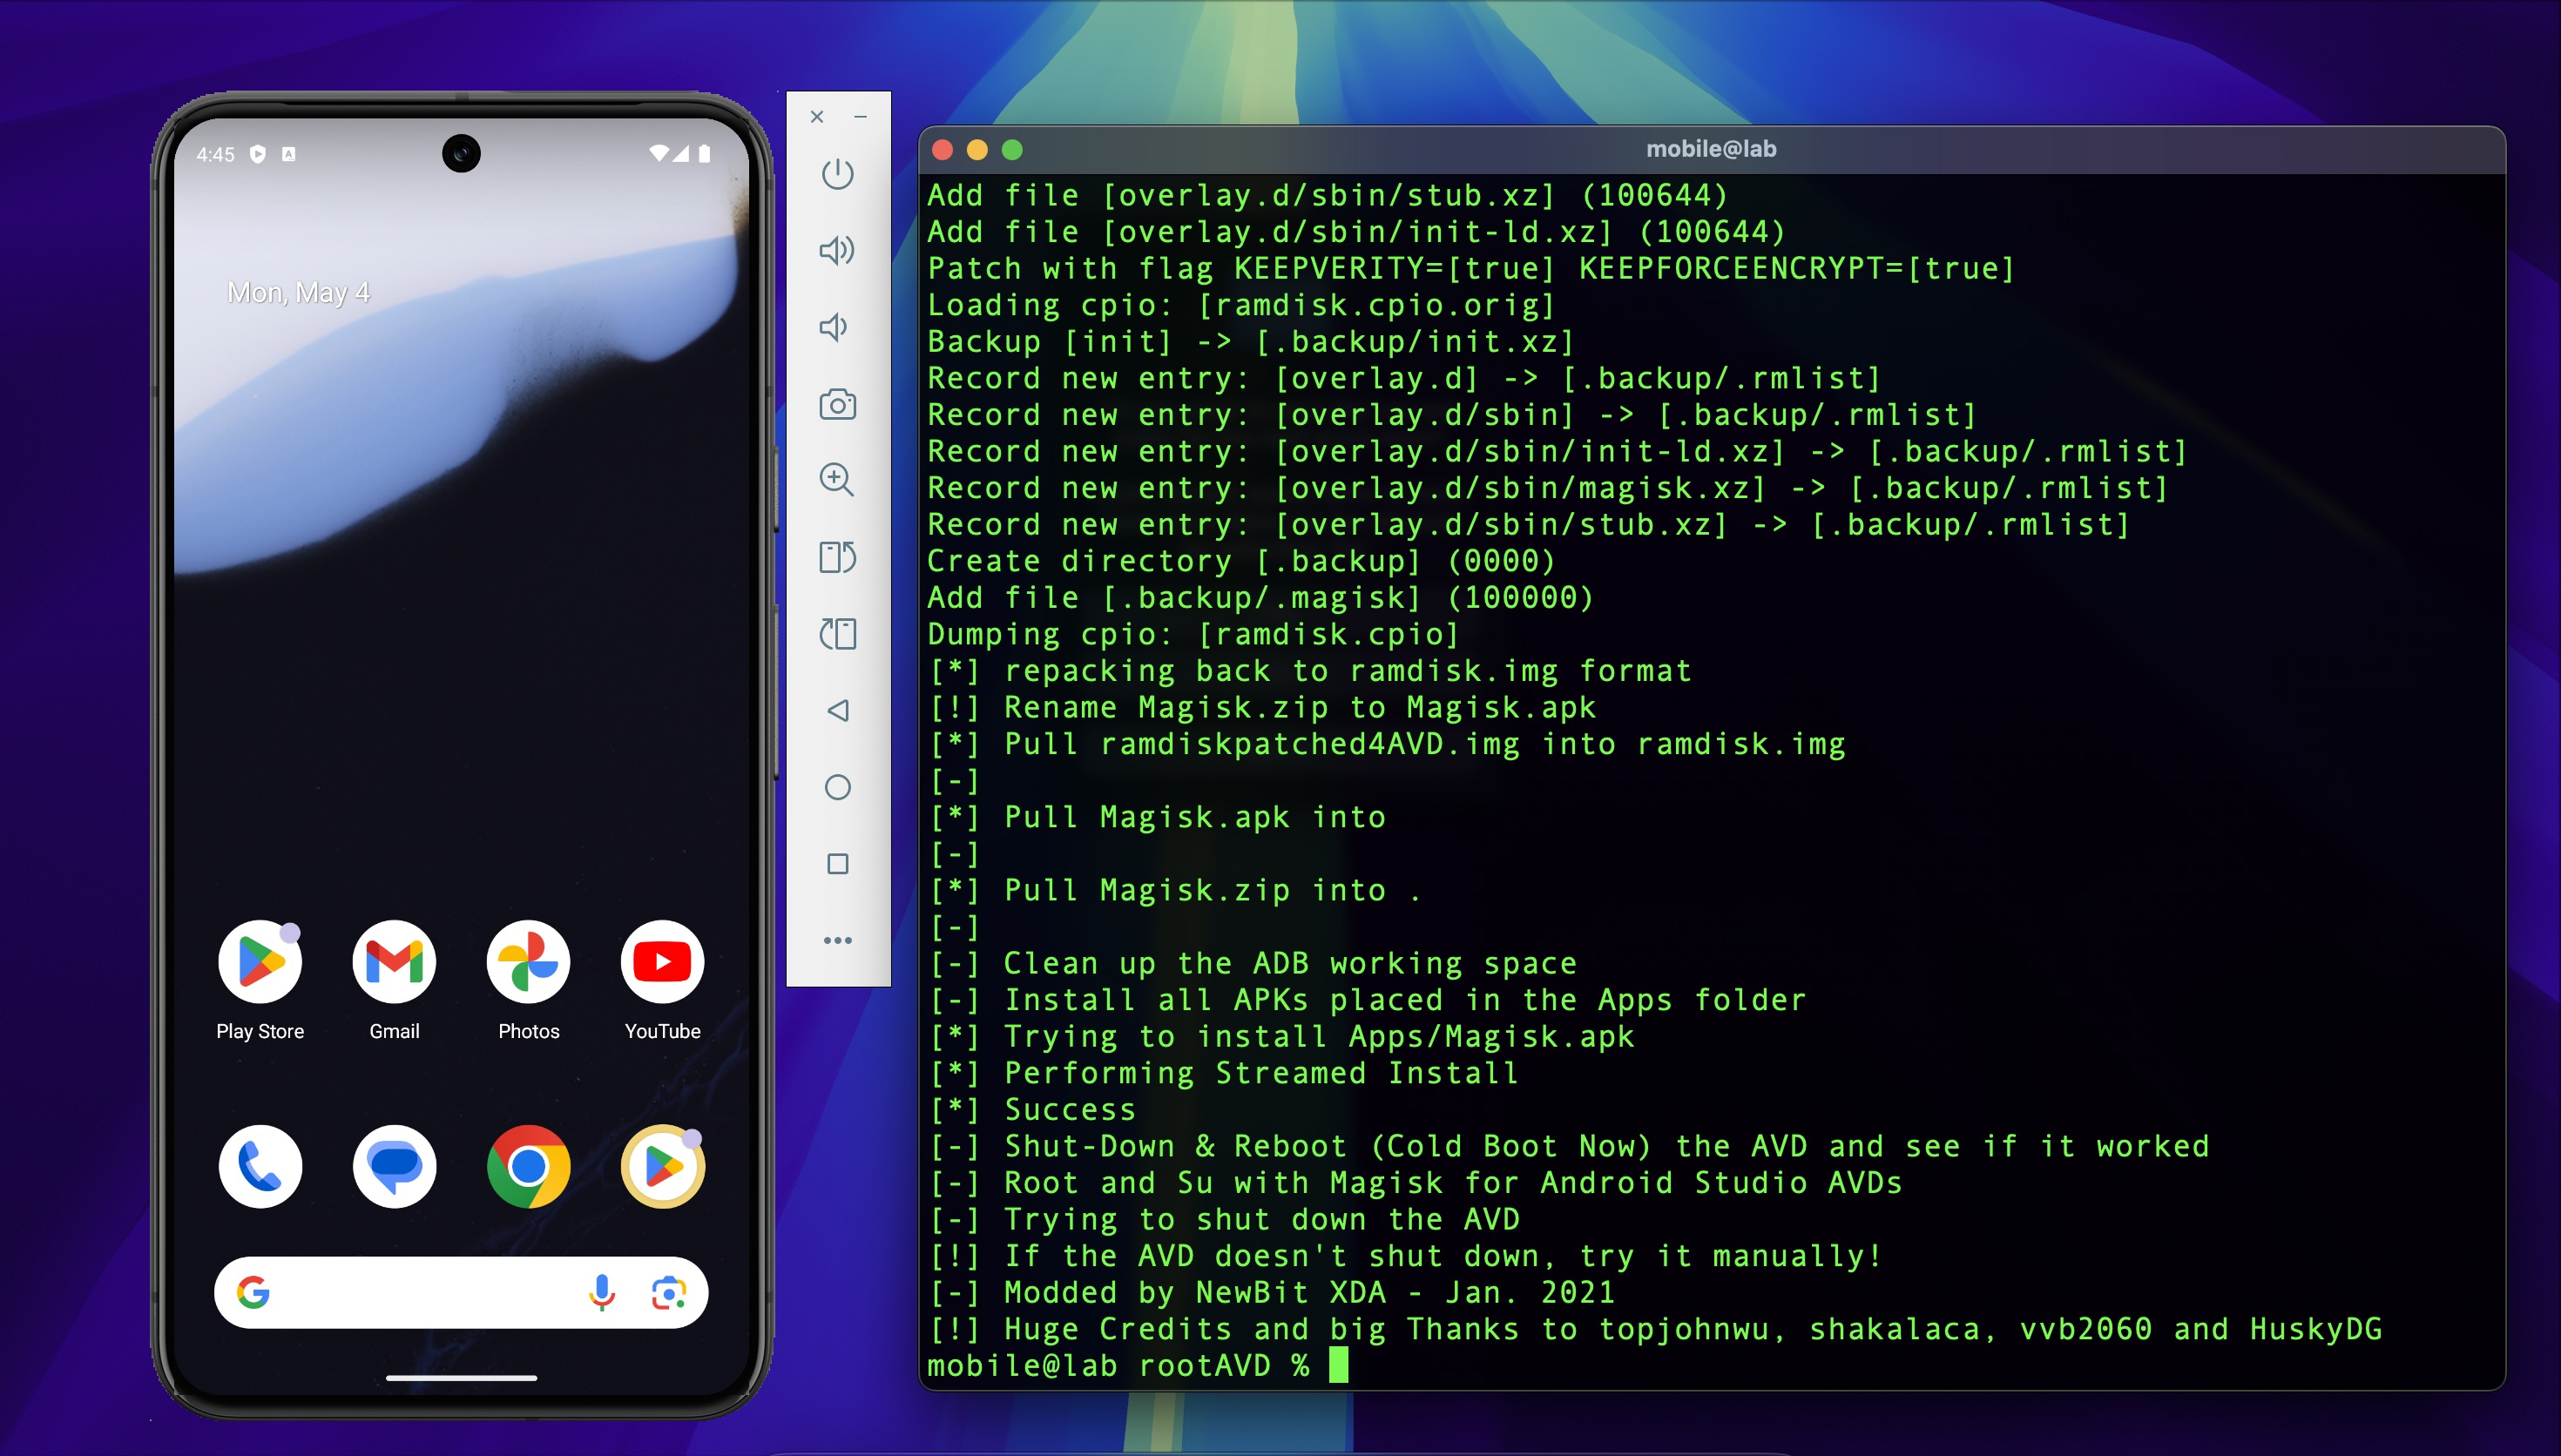
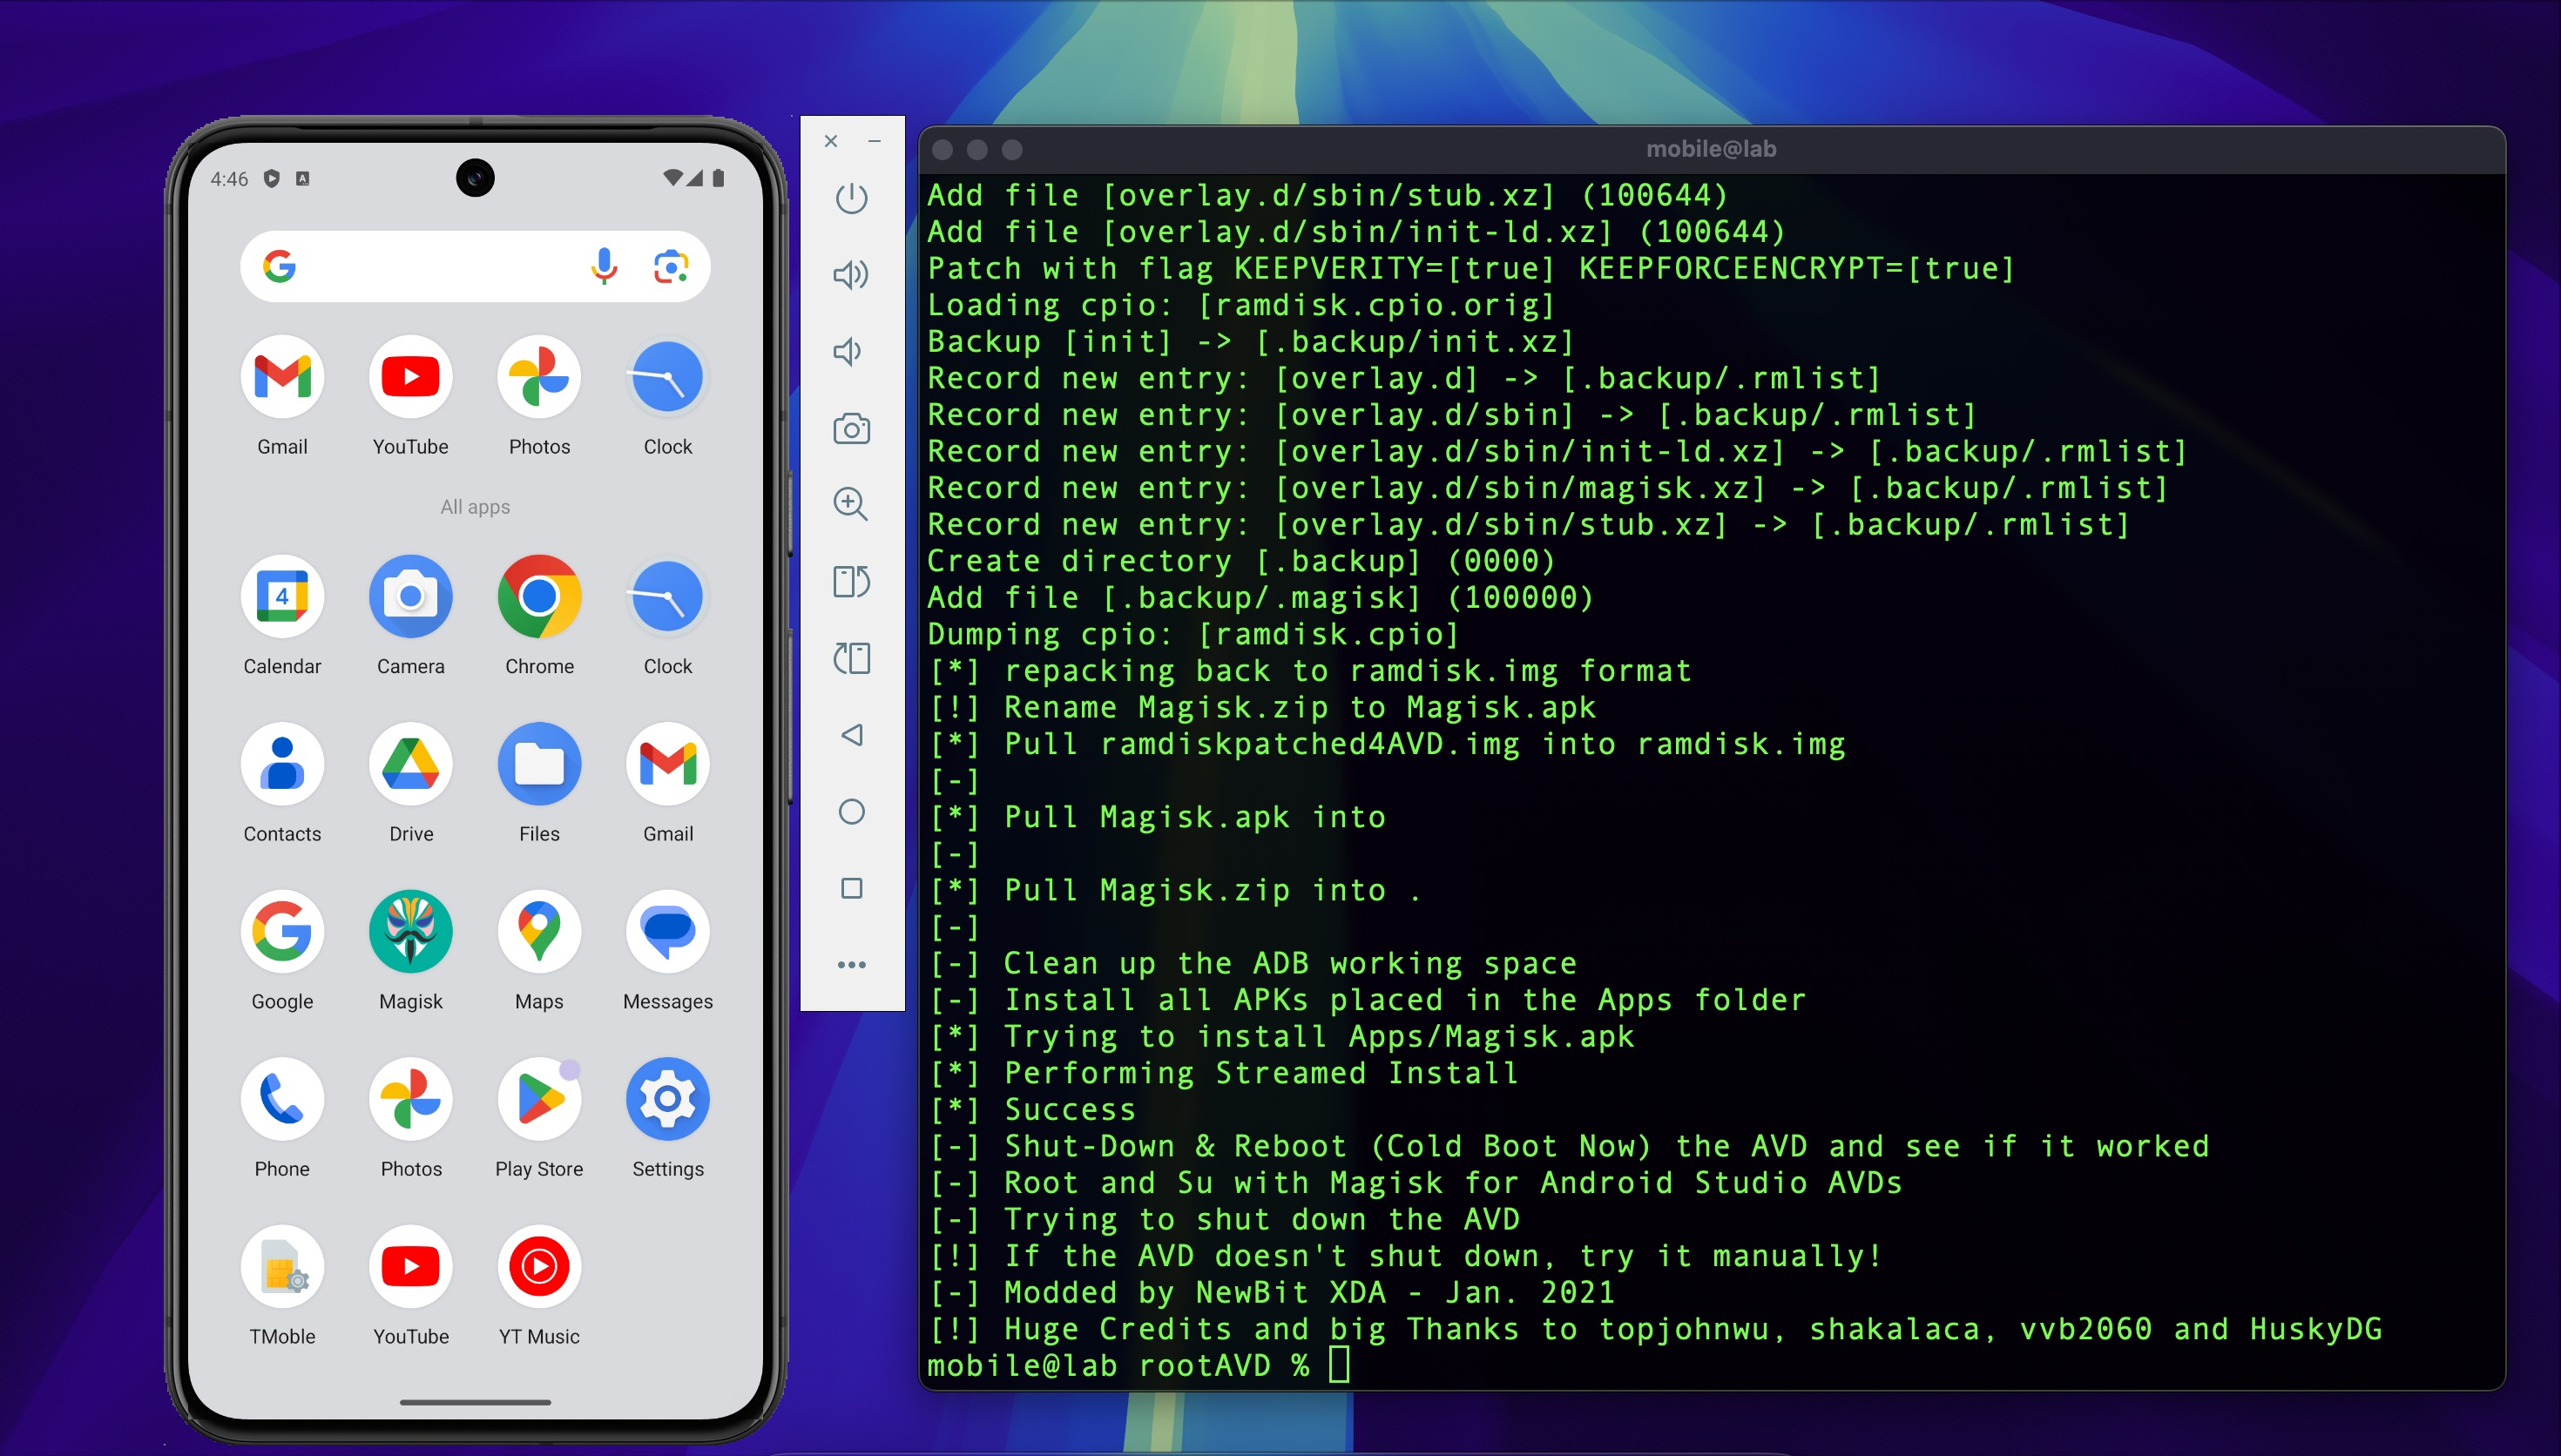
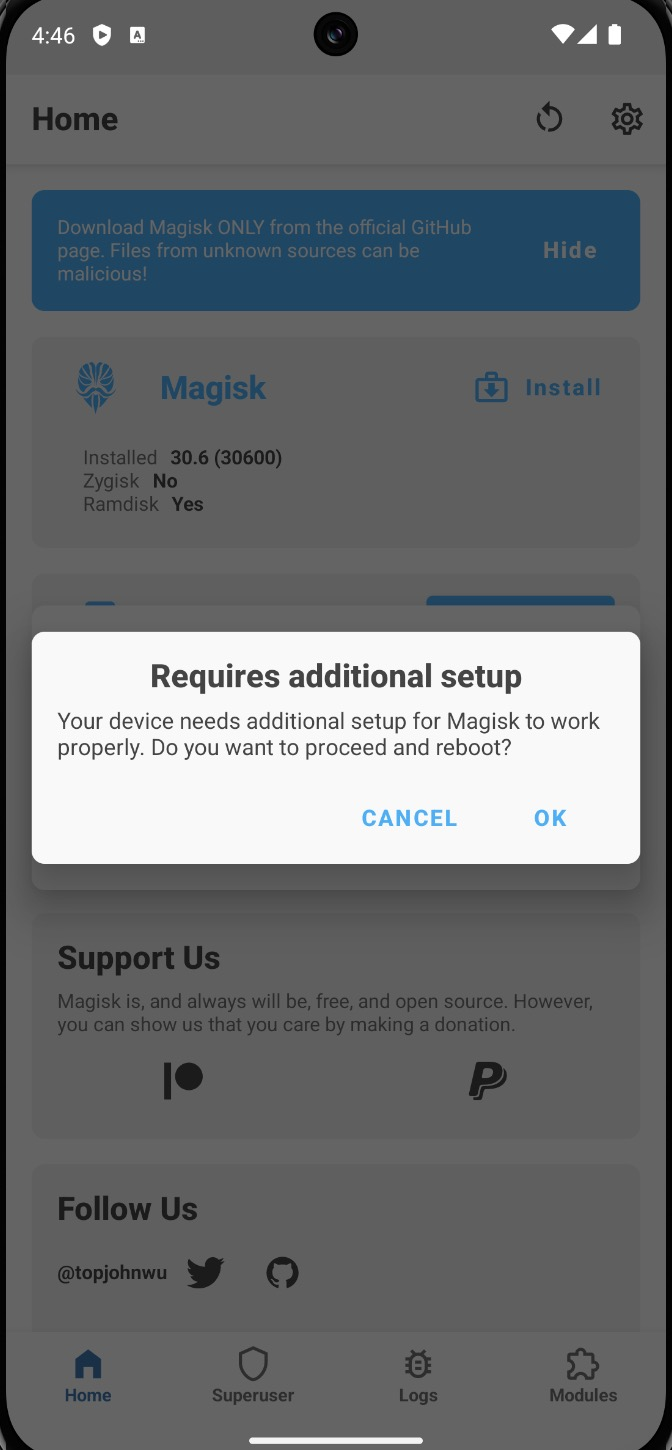
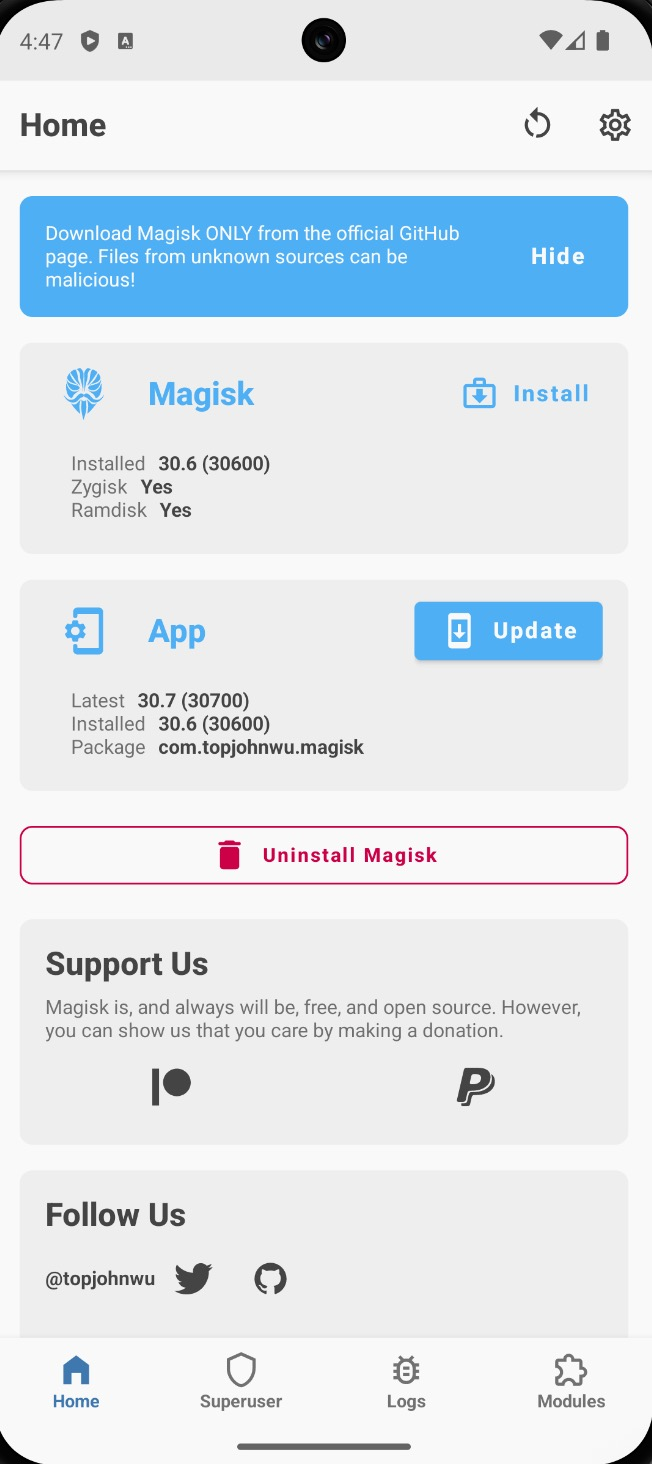
After reboot, the Magisk app will be visible in the app drawer. Open it and reboot once more when prompted — this completes Magisk initialization.
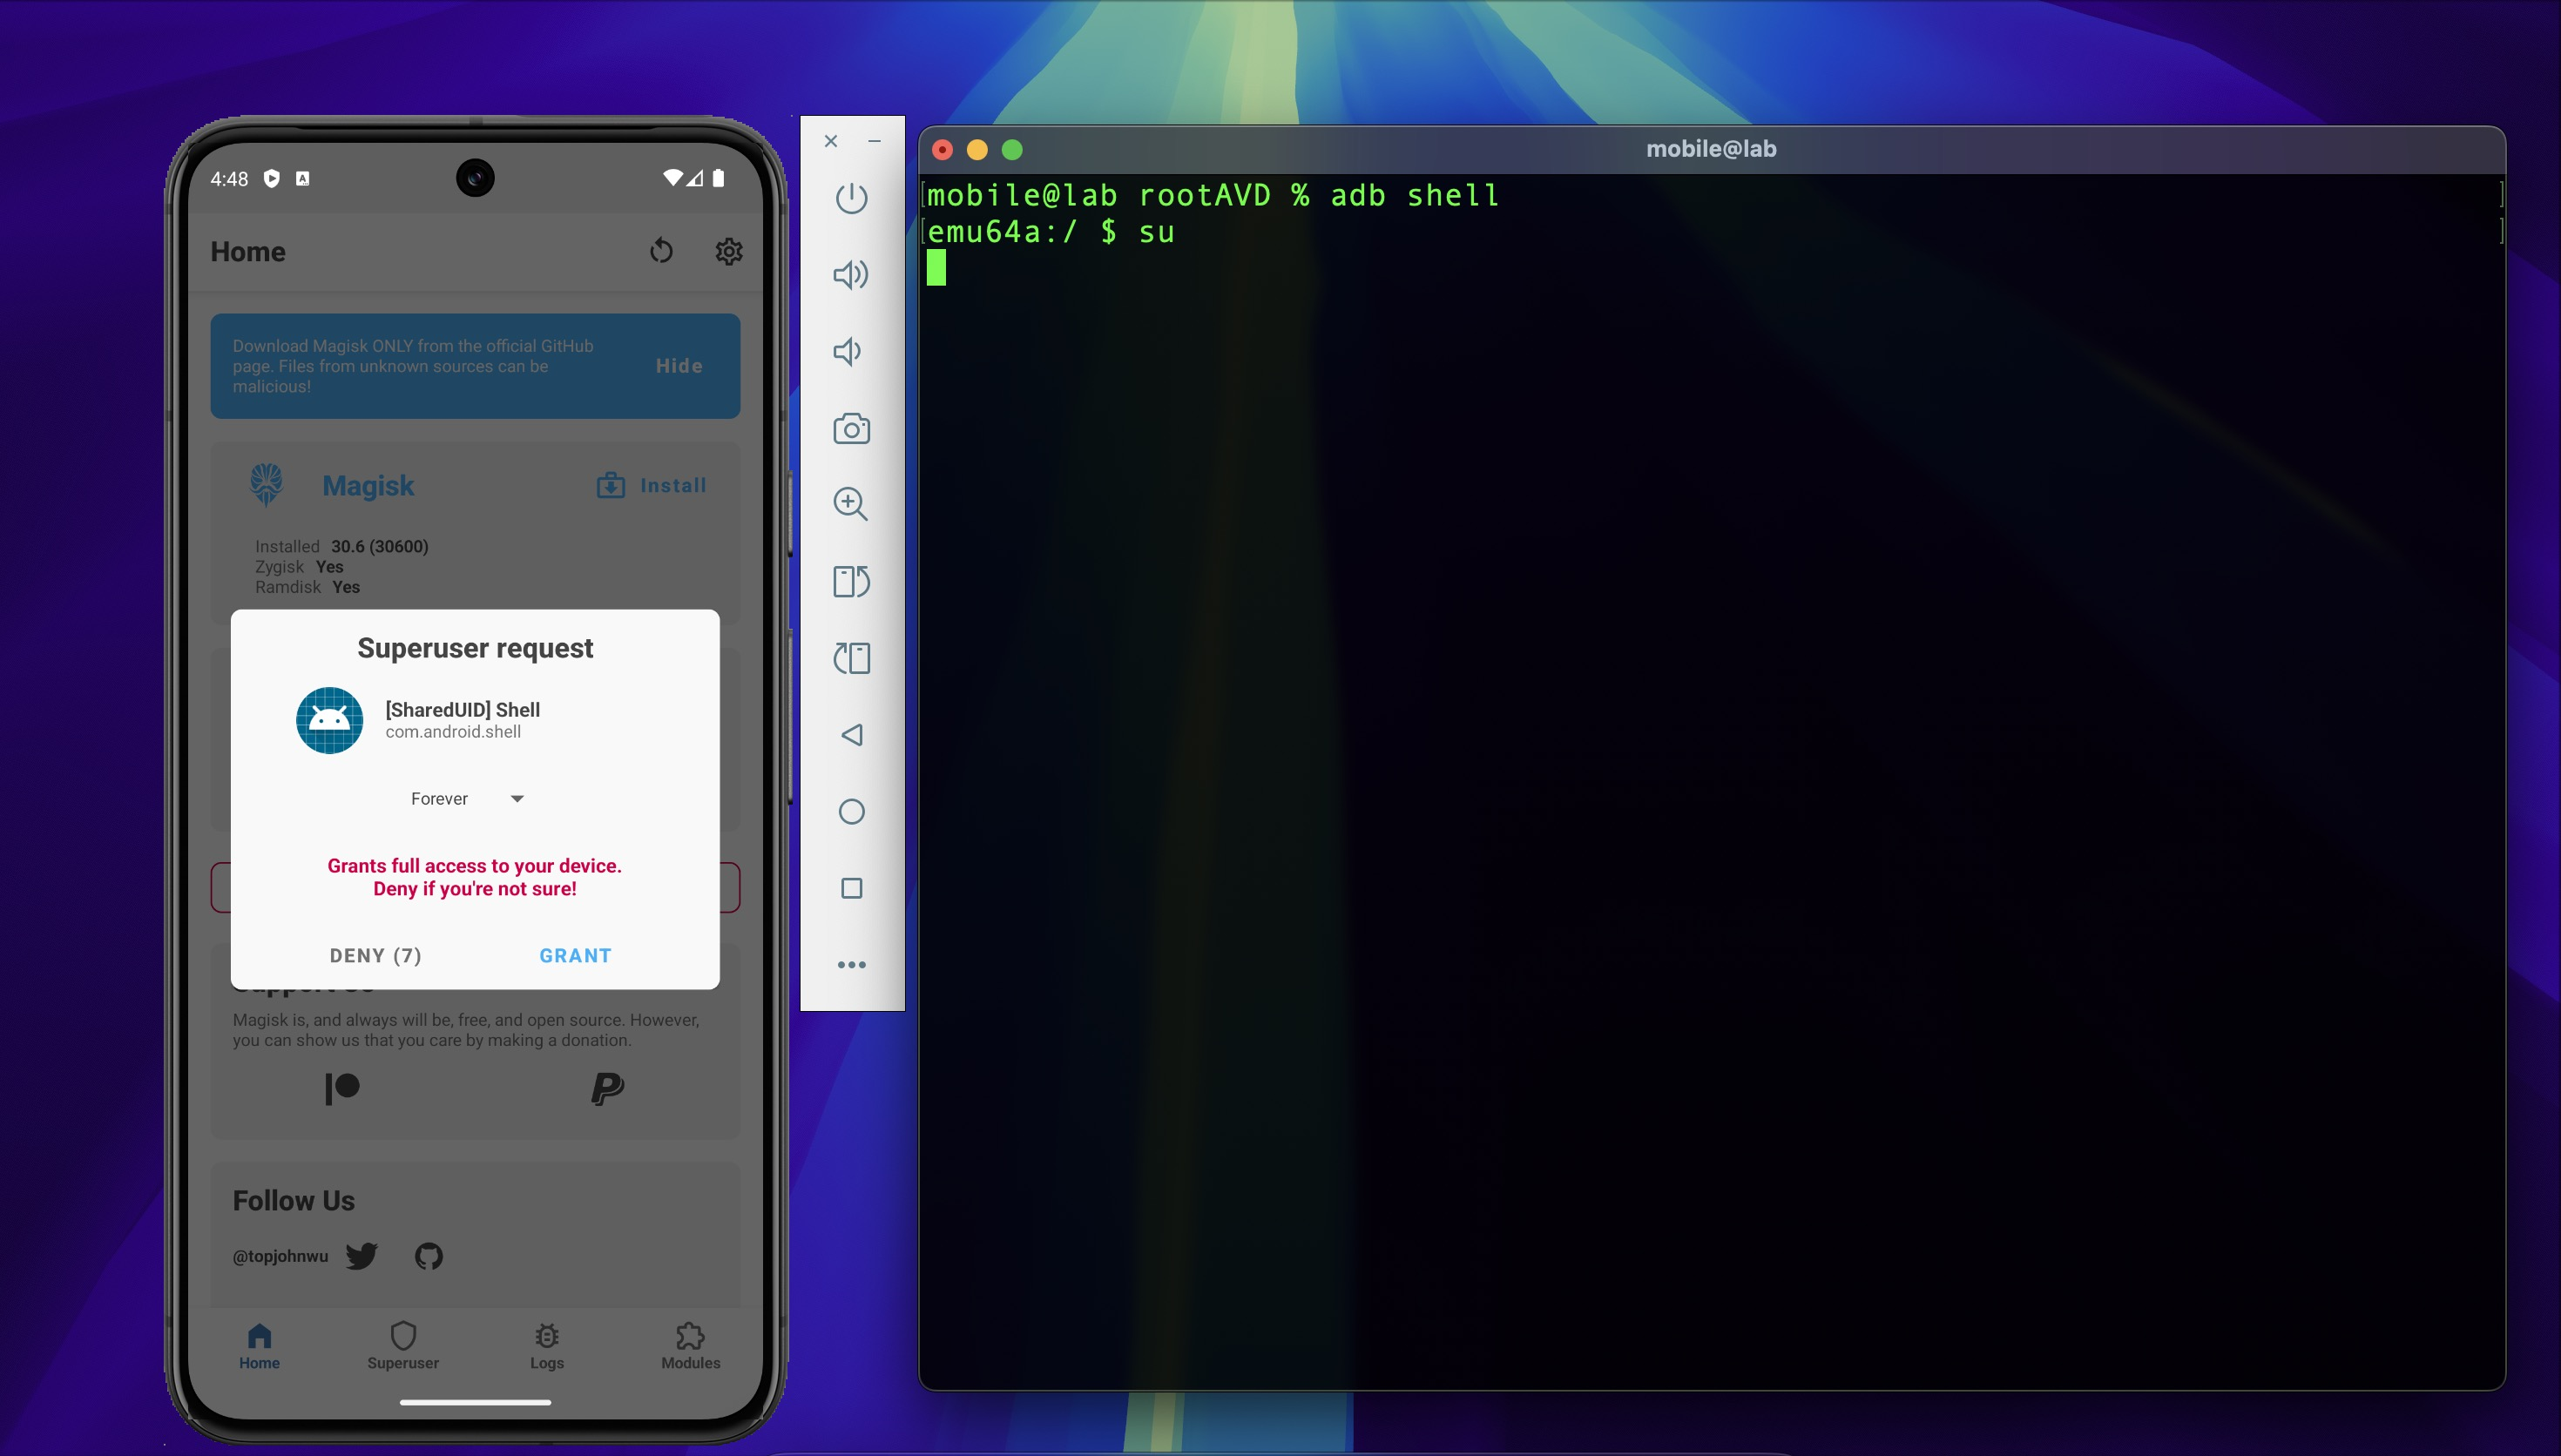
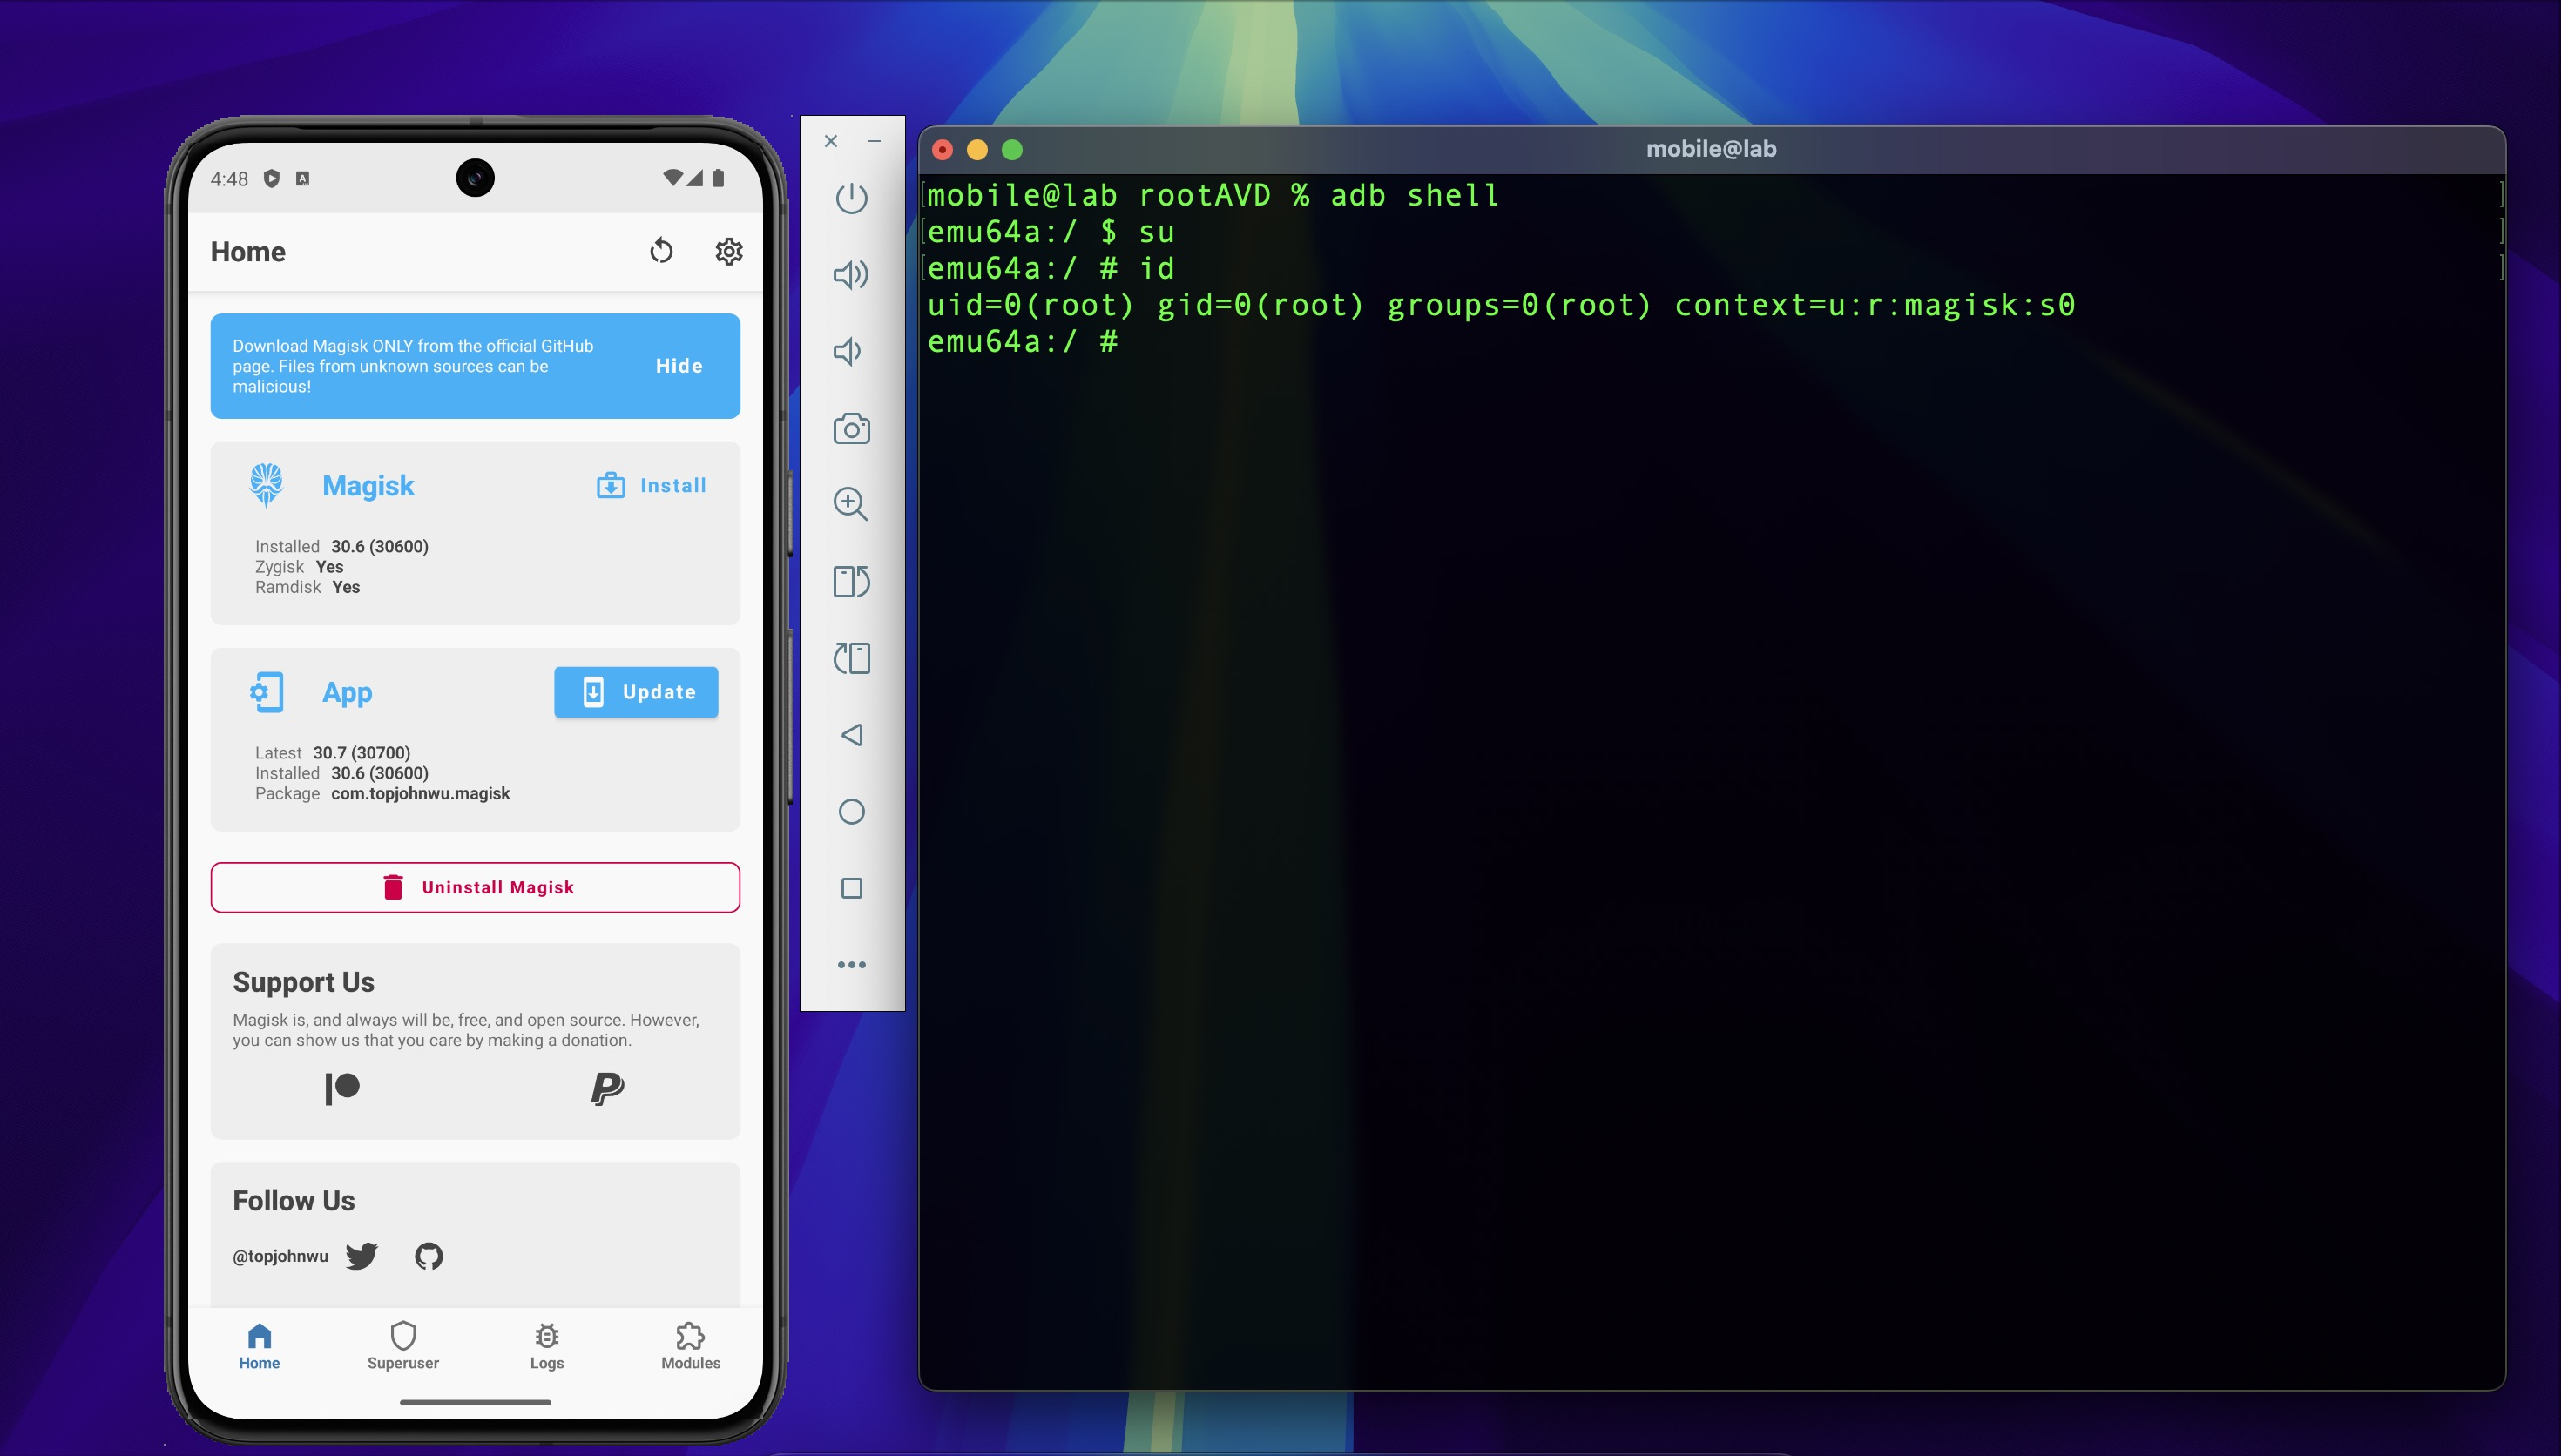
Verify root access by opening an ADB shell and running su. Magisk will display a superuser
request — tap Grant to confirm.
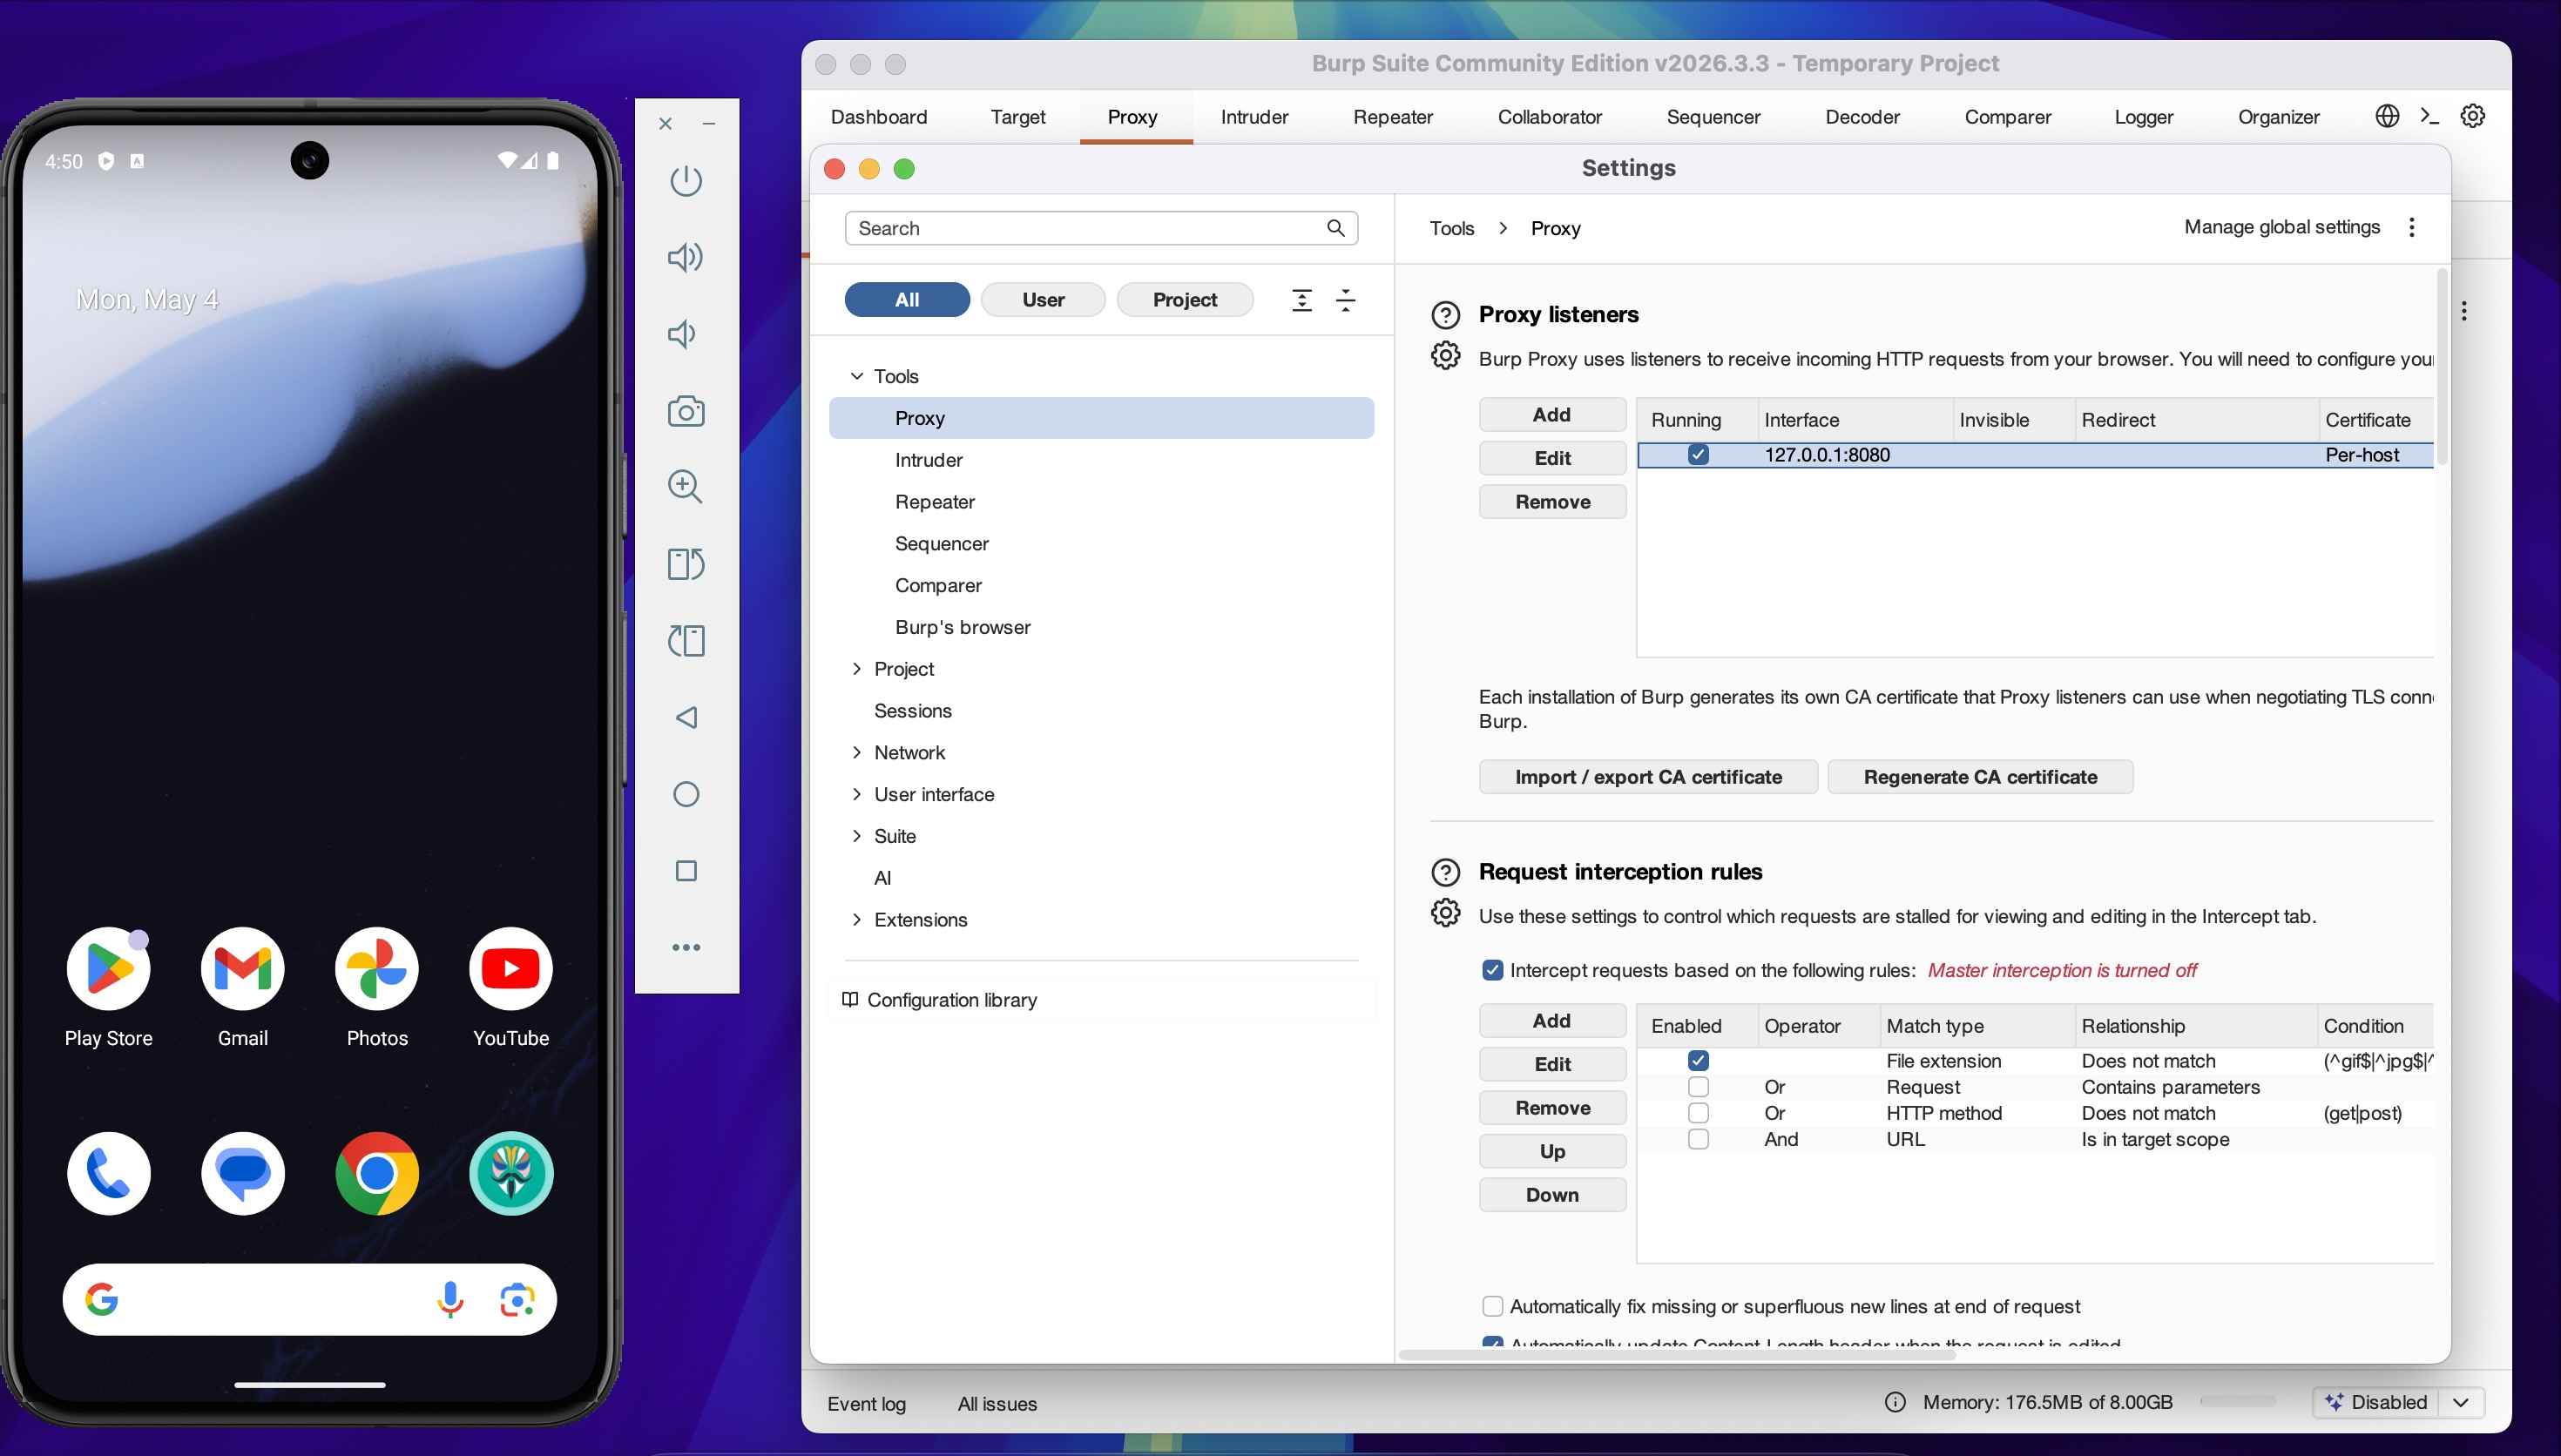
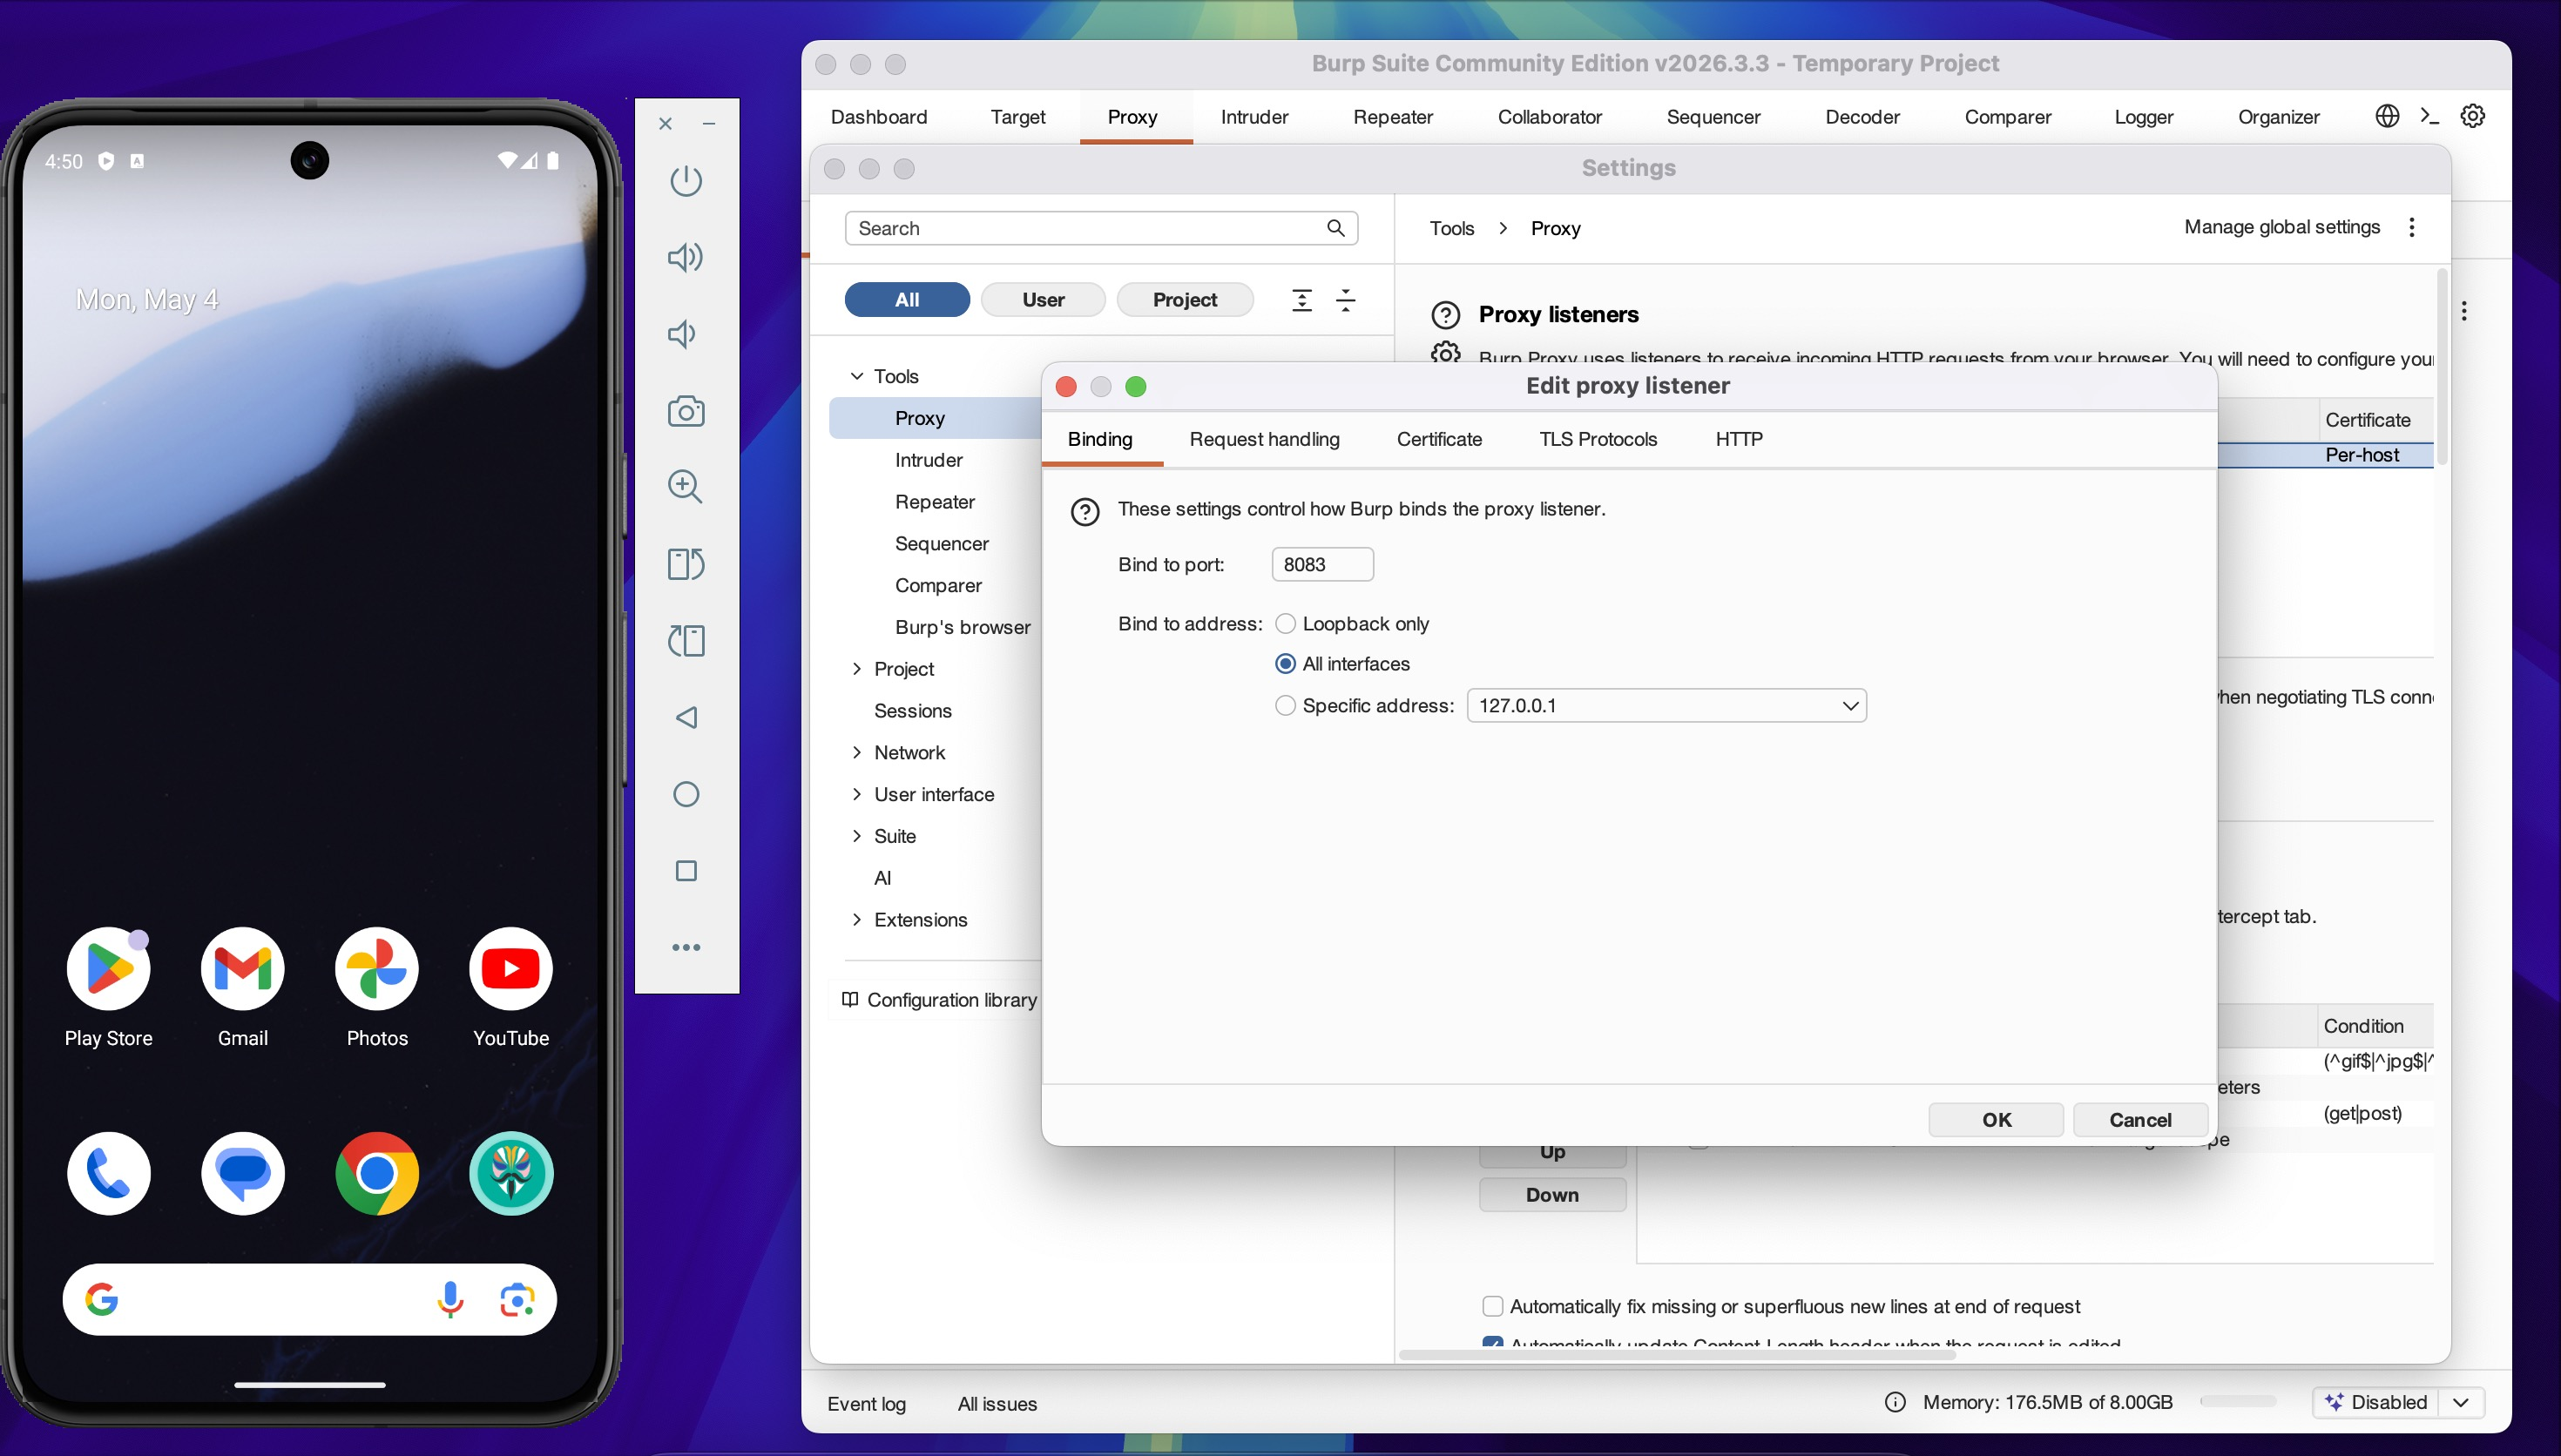
3. Configure Burp Suite
Open Burp Suite and navigate to Proxy → Proxy Settings. Configure the listener:
- Port: 8083
- Bind address: All interfaces
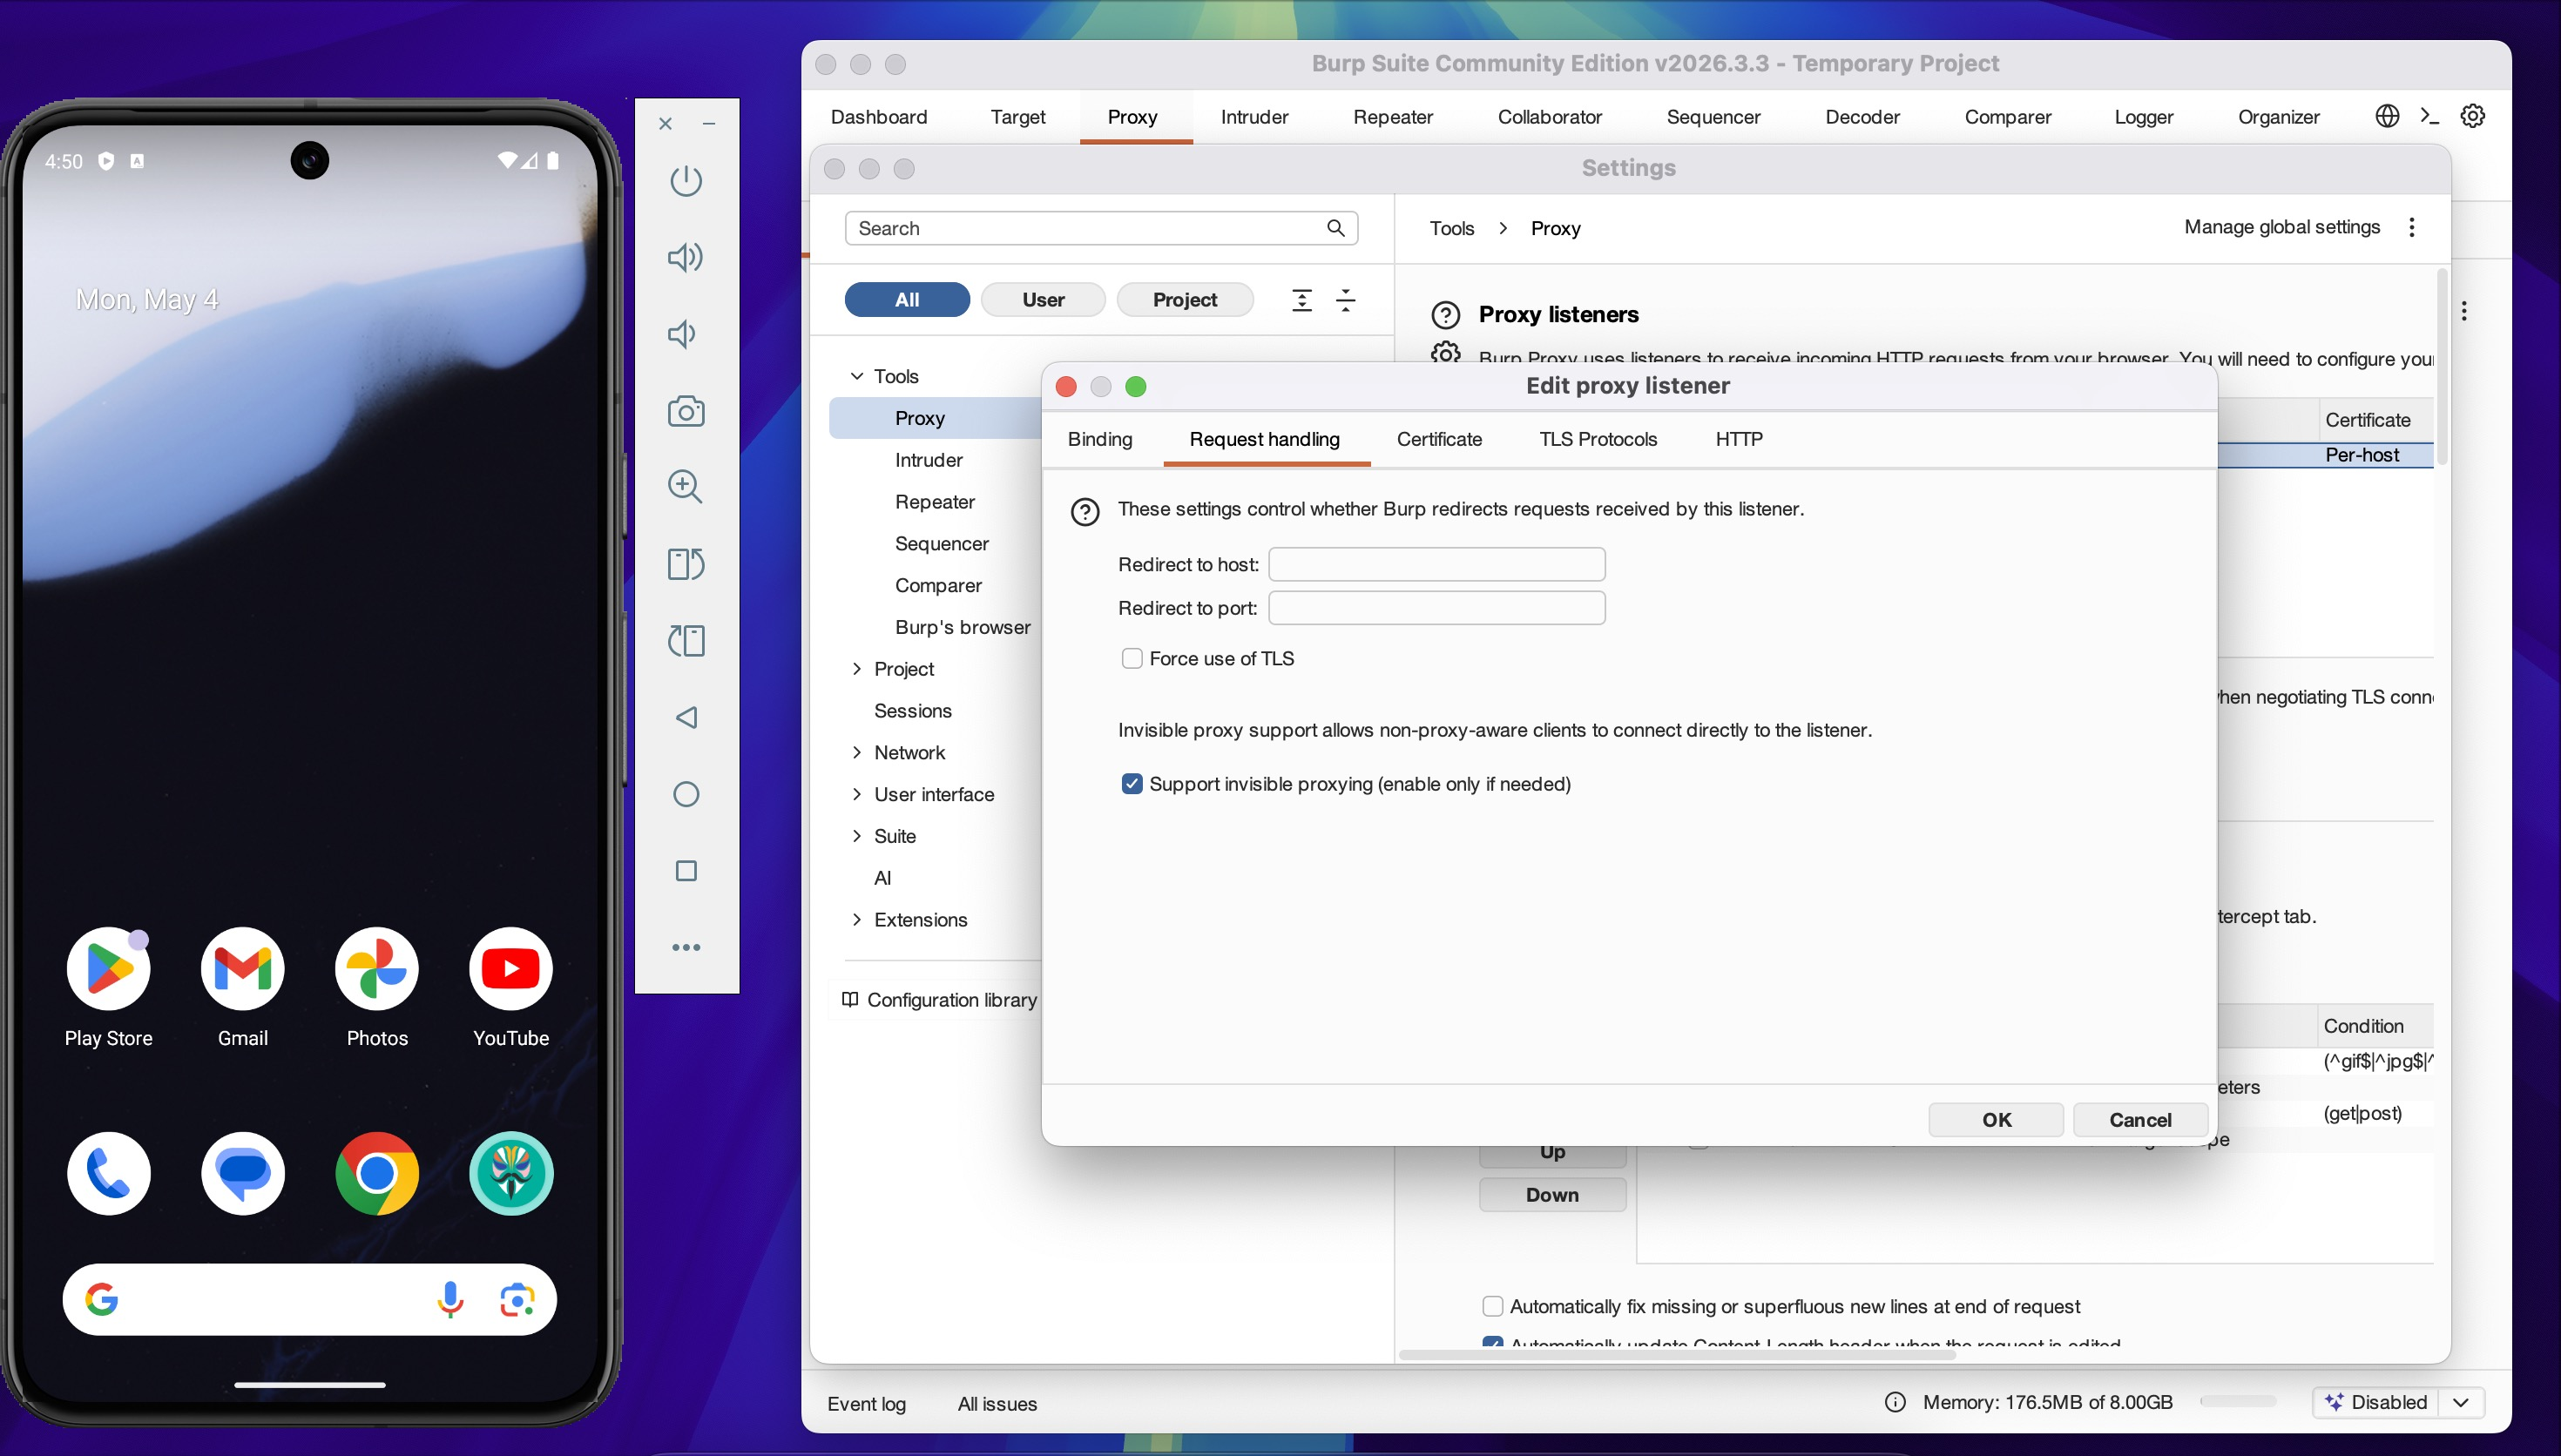
- Mode: Support invisible proxying
Invisible proxying is required here because the app is not configured to use a system proxy — it manages its own HTTP client. Without this mode, non-proxy-aware traffic passes through unintercepted.
4. Route Emulator Traffic Through Burp
Open a root shell on the emulator via ADB and apply iptables rules to redirect HTTP and HTTPS traffic to Burp Suite.
adb shell
su
iptables -t nat -A OUTPUT -d 10.0.2.2 -j RETURN
iptables -t nat -A OUTPUT -p tcp --dport 80 -j DNAT --to-destination 10.0.2.2:8083
iptables -t nat -A OUTPUT -p tcp --dport 443 -j DNAT --to-destination 10.0.2.2:8083
iptables -A OUTPUT -p udp --dport 443 -j DROP
10.0.2.2is the gateway IP the Android emulator uses to reach the host machine.
The UDP drop rule on port 443 blocks QUIC — without it, apps that support HTTP/3 will bypass the TCP proxy entirely and traffic won't appear in Burp.
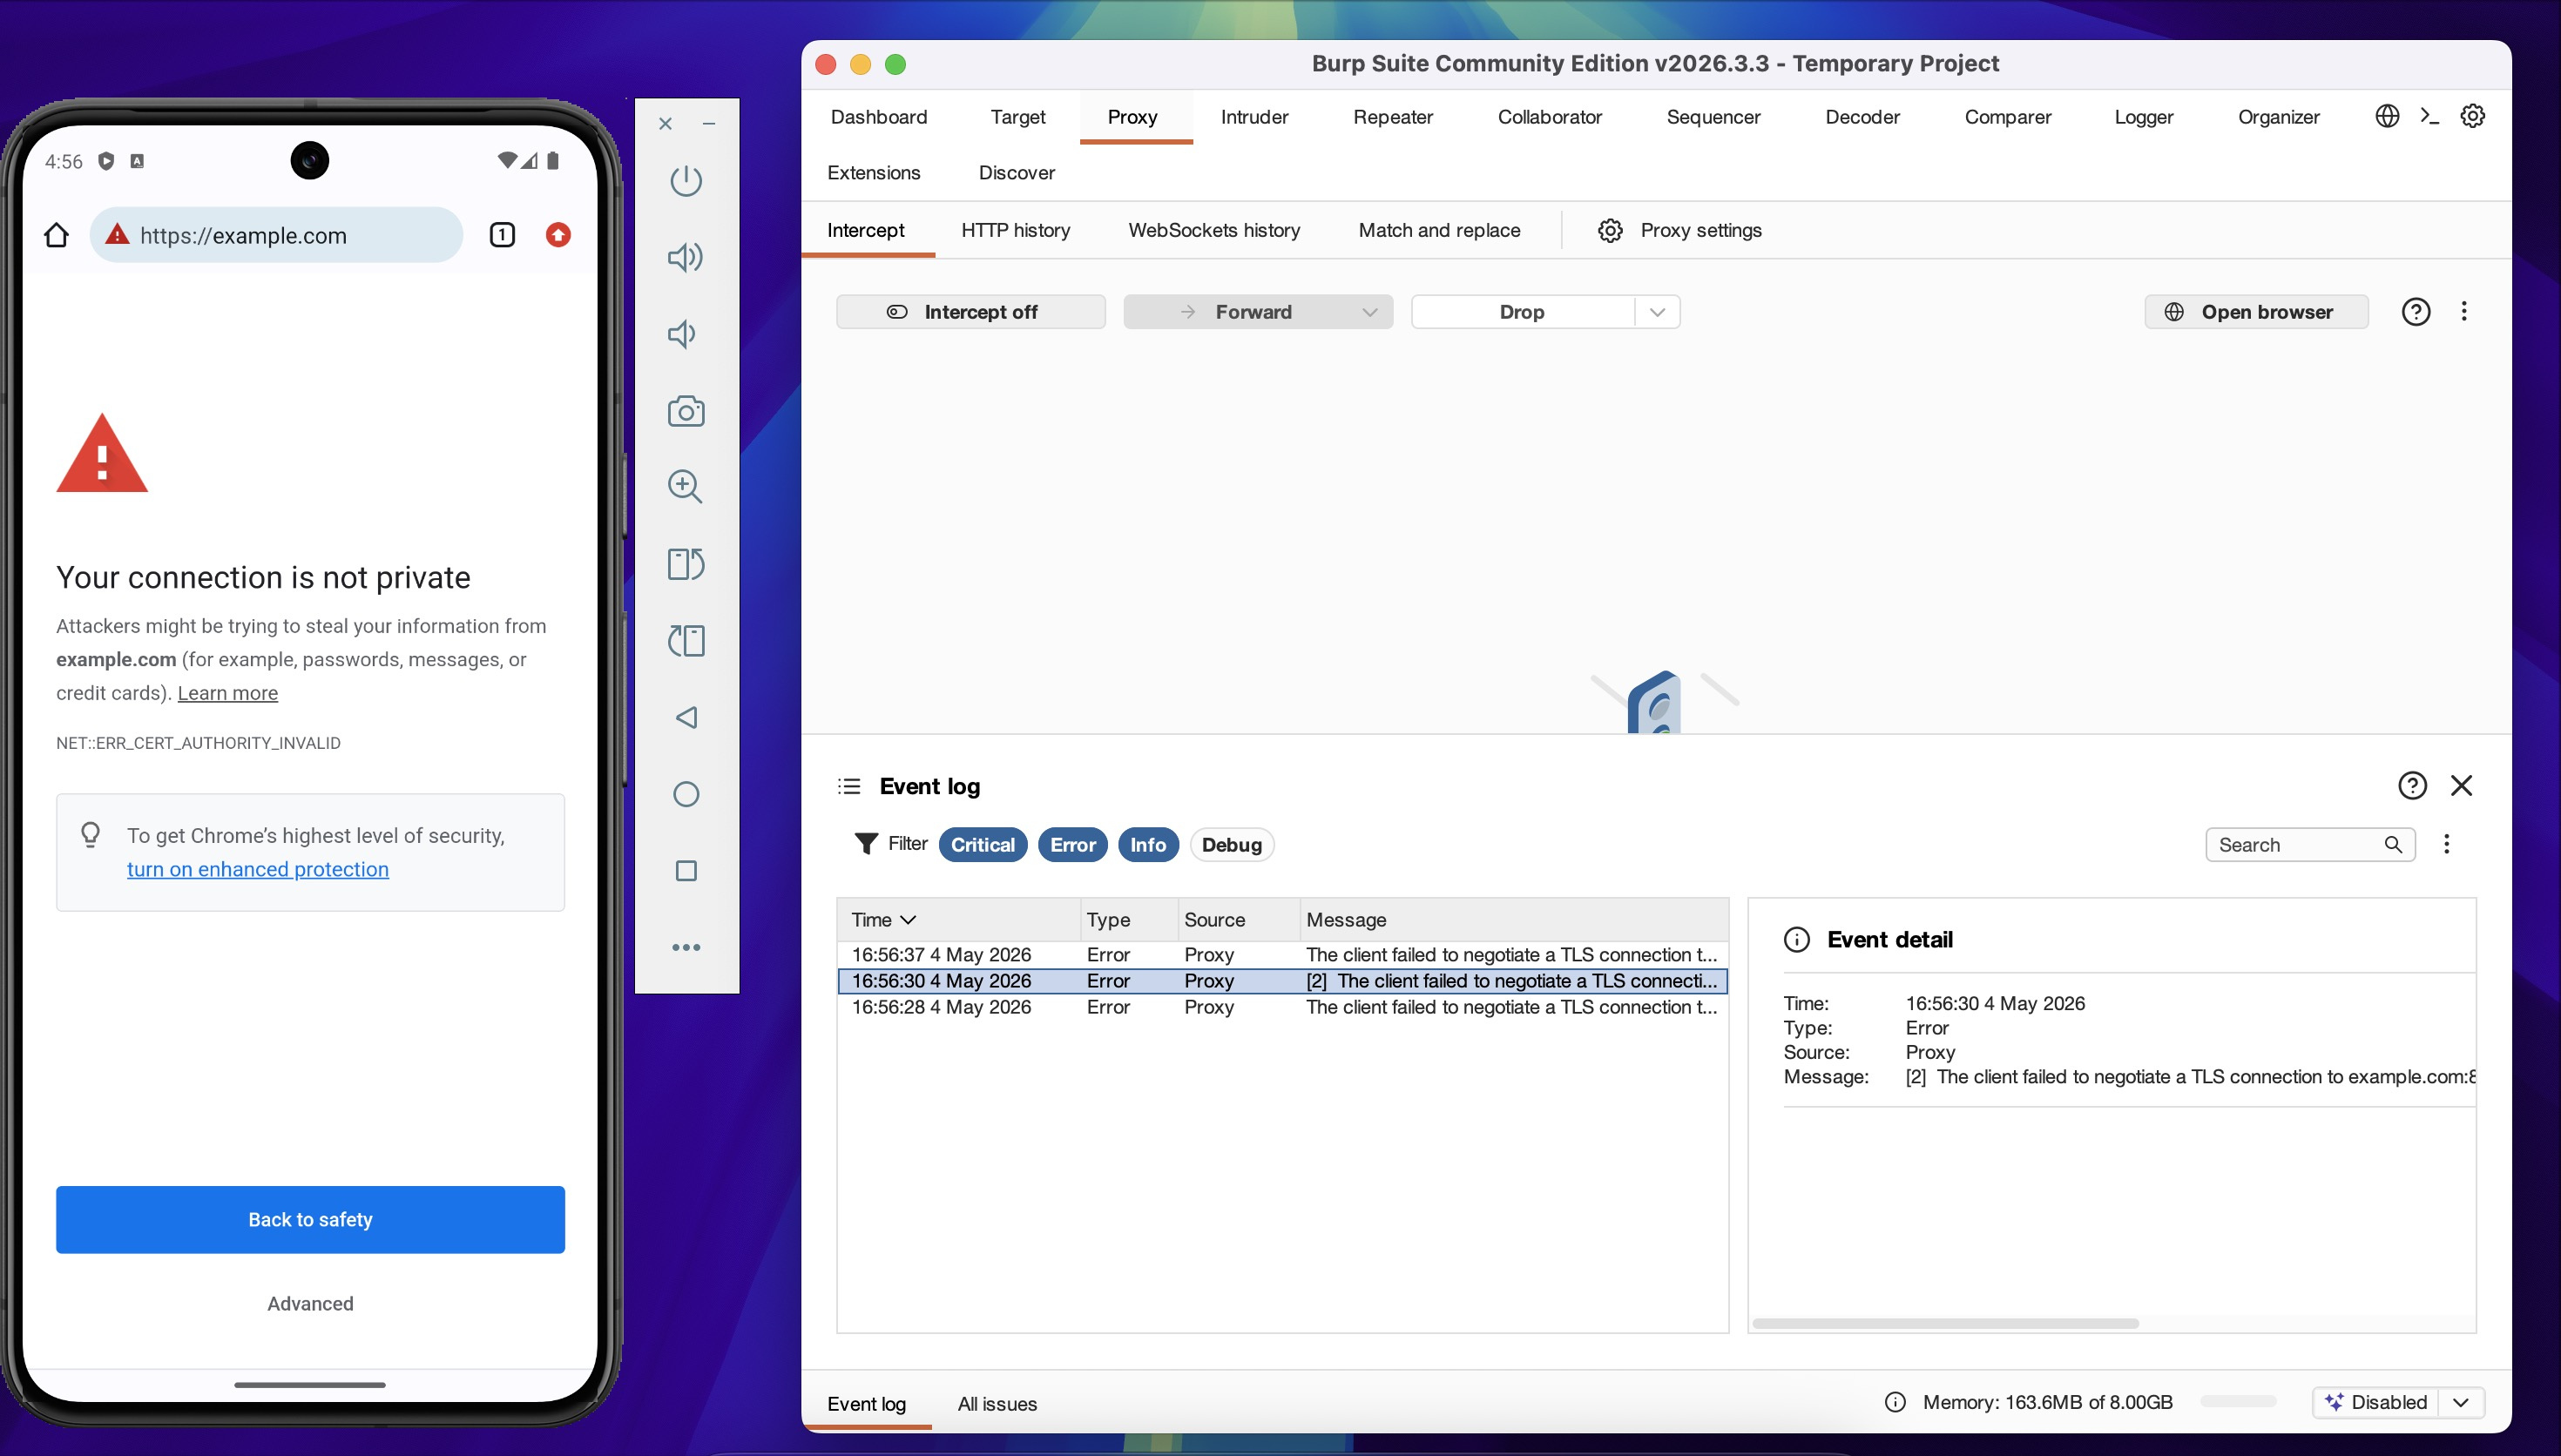
Verify the rules are applied:

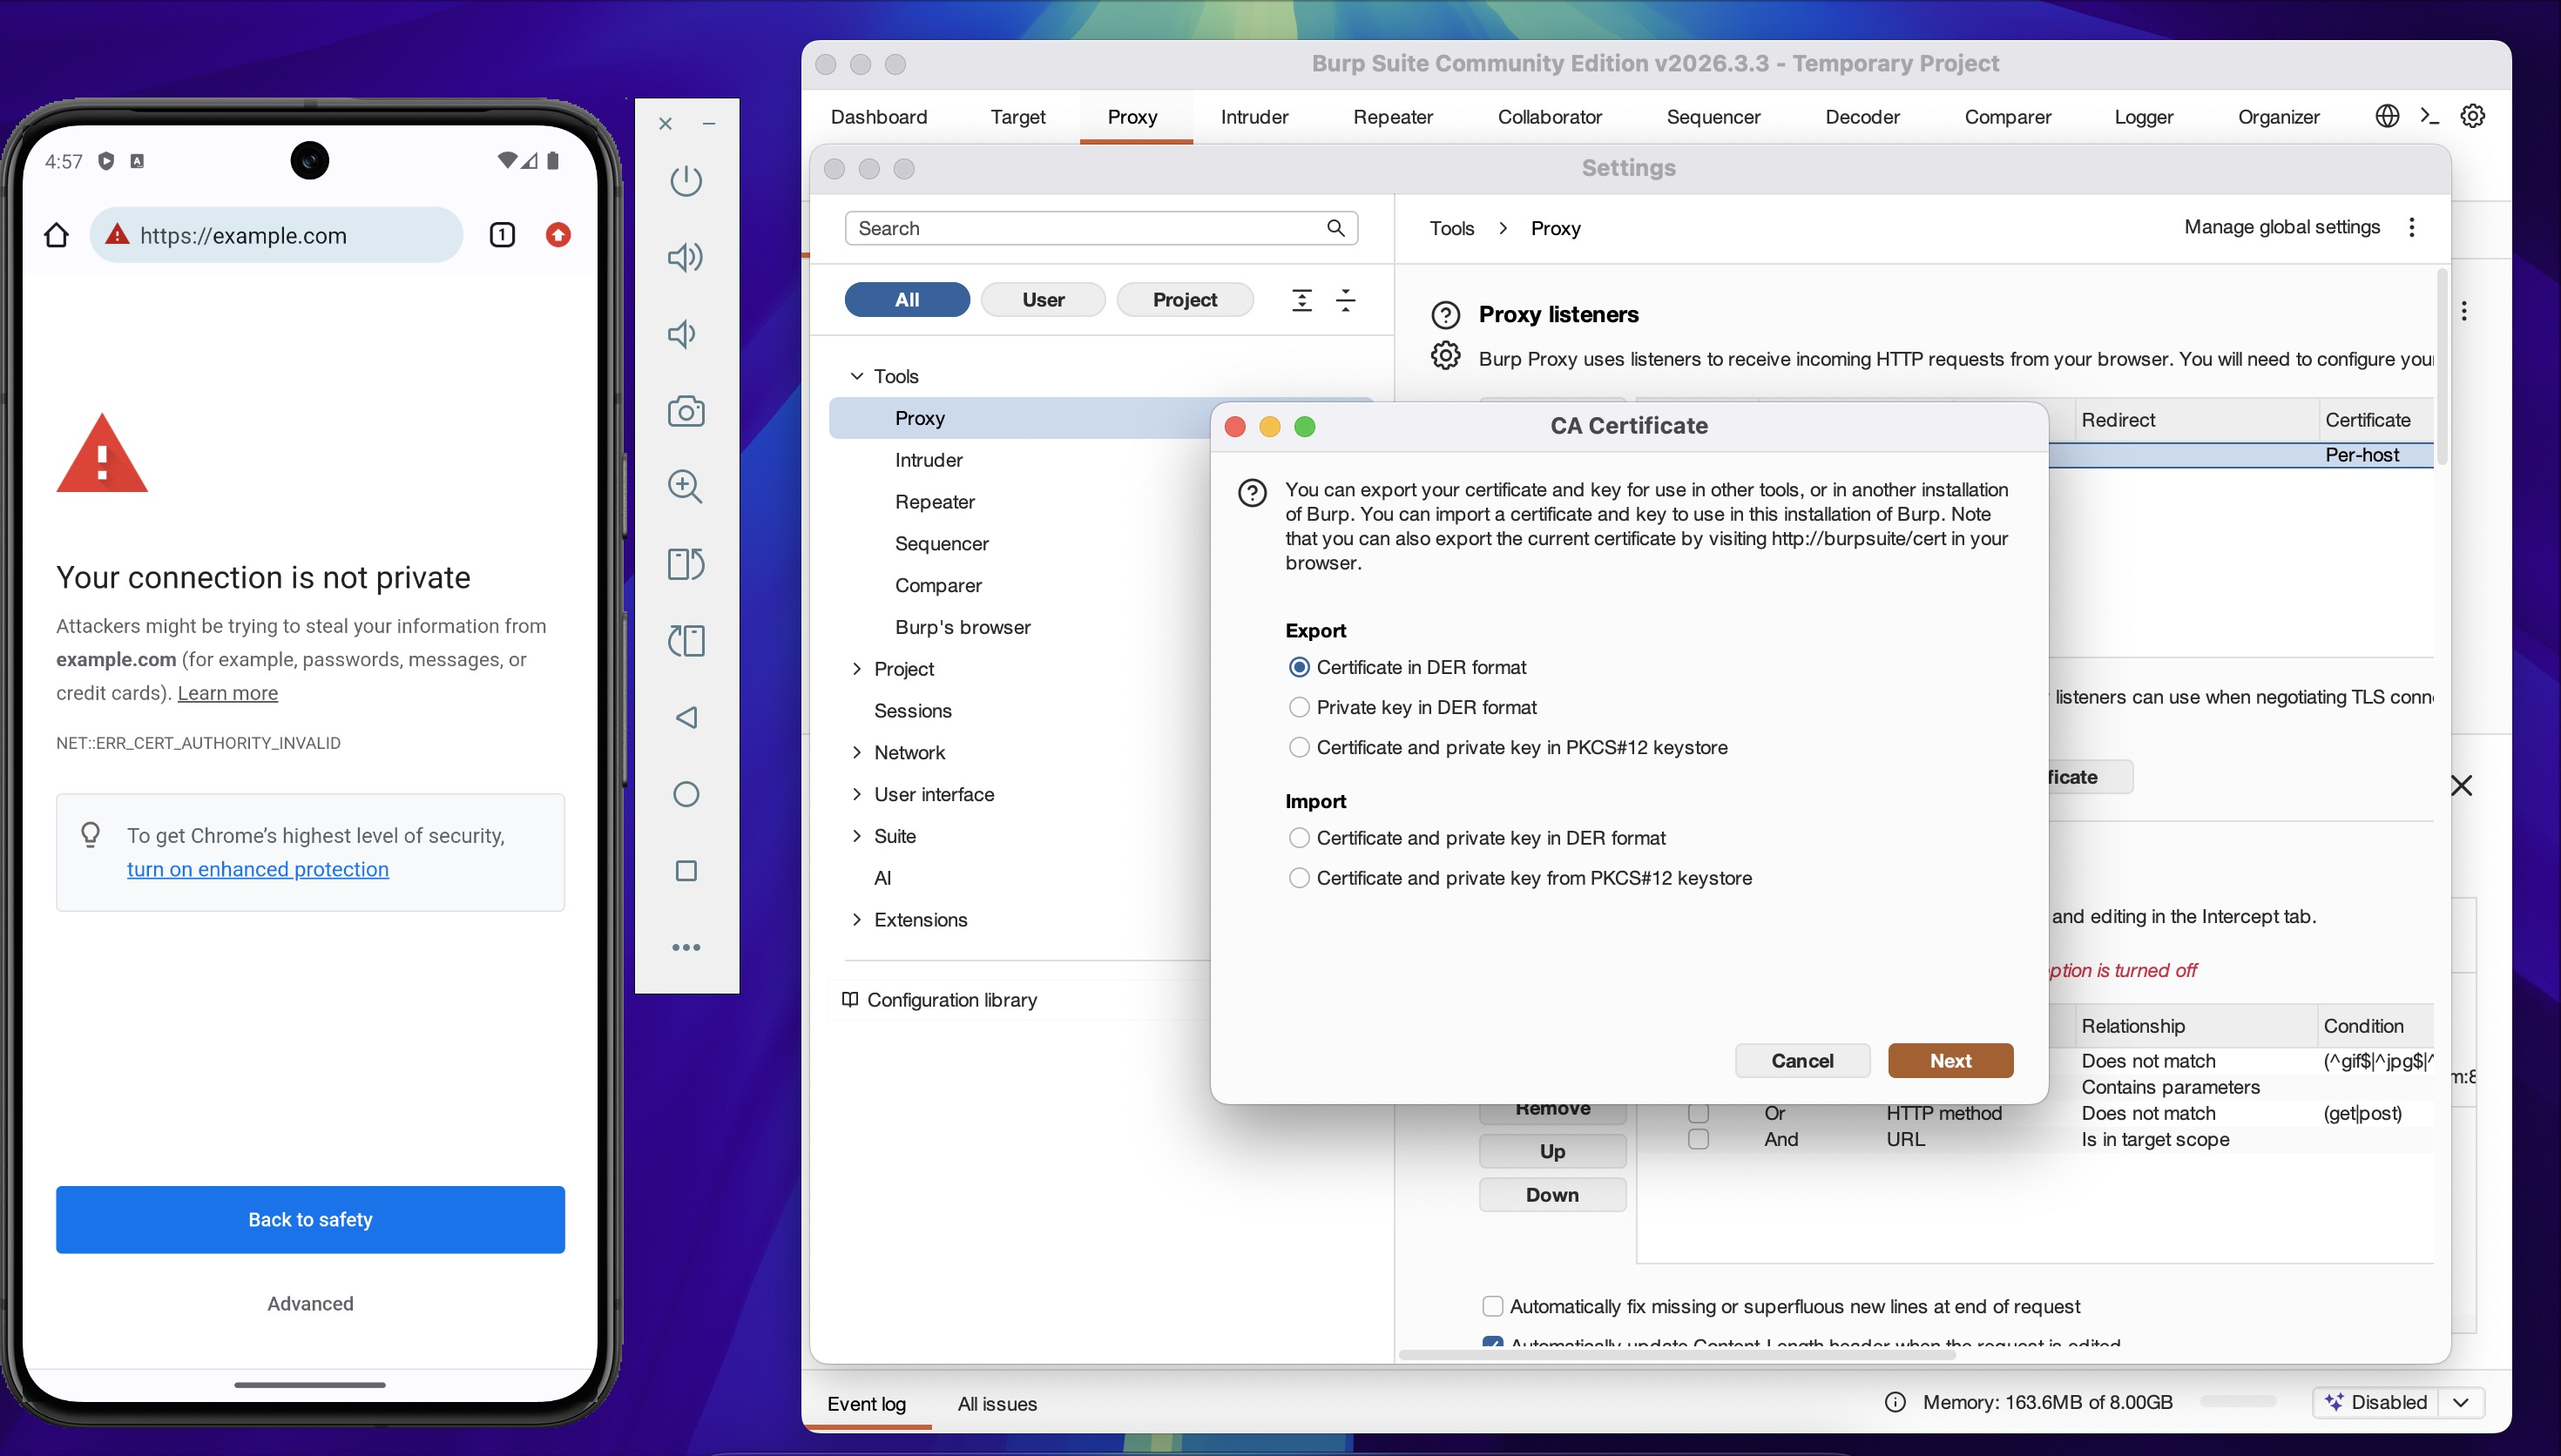
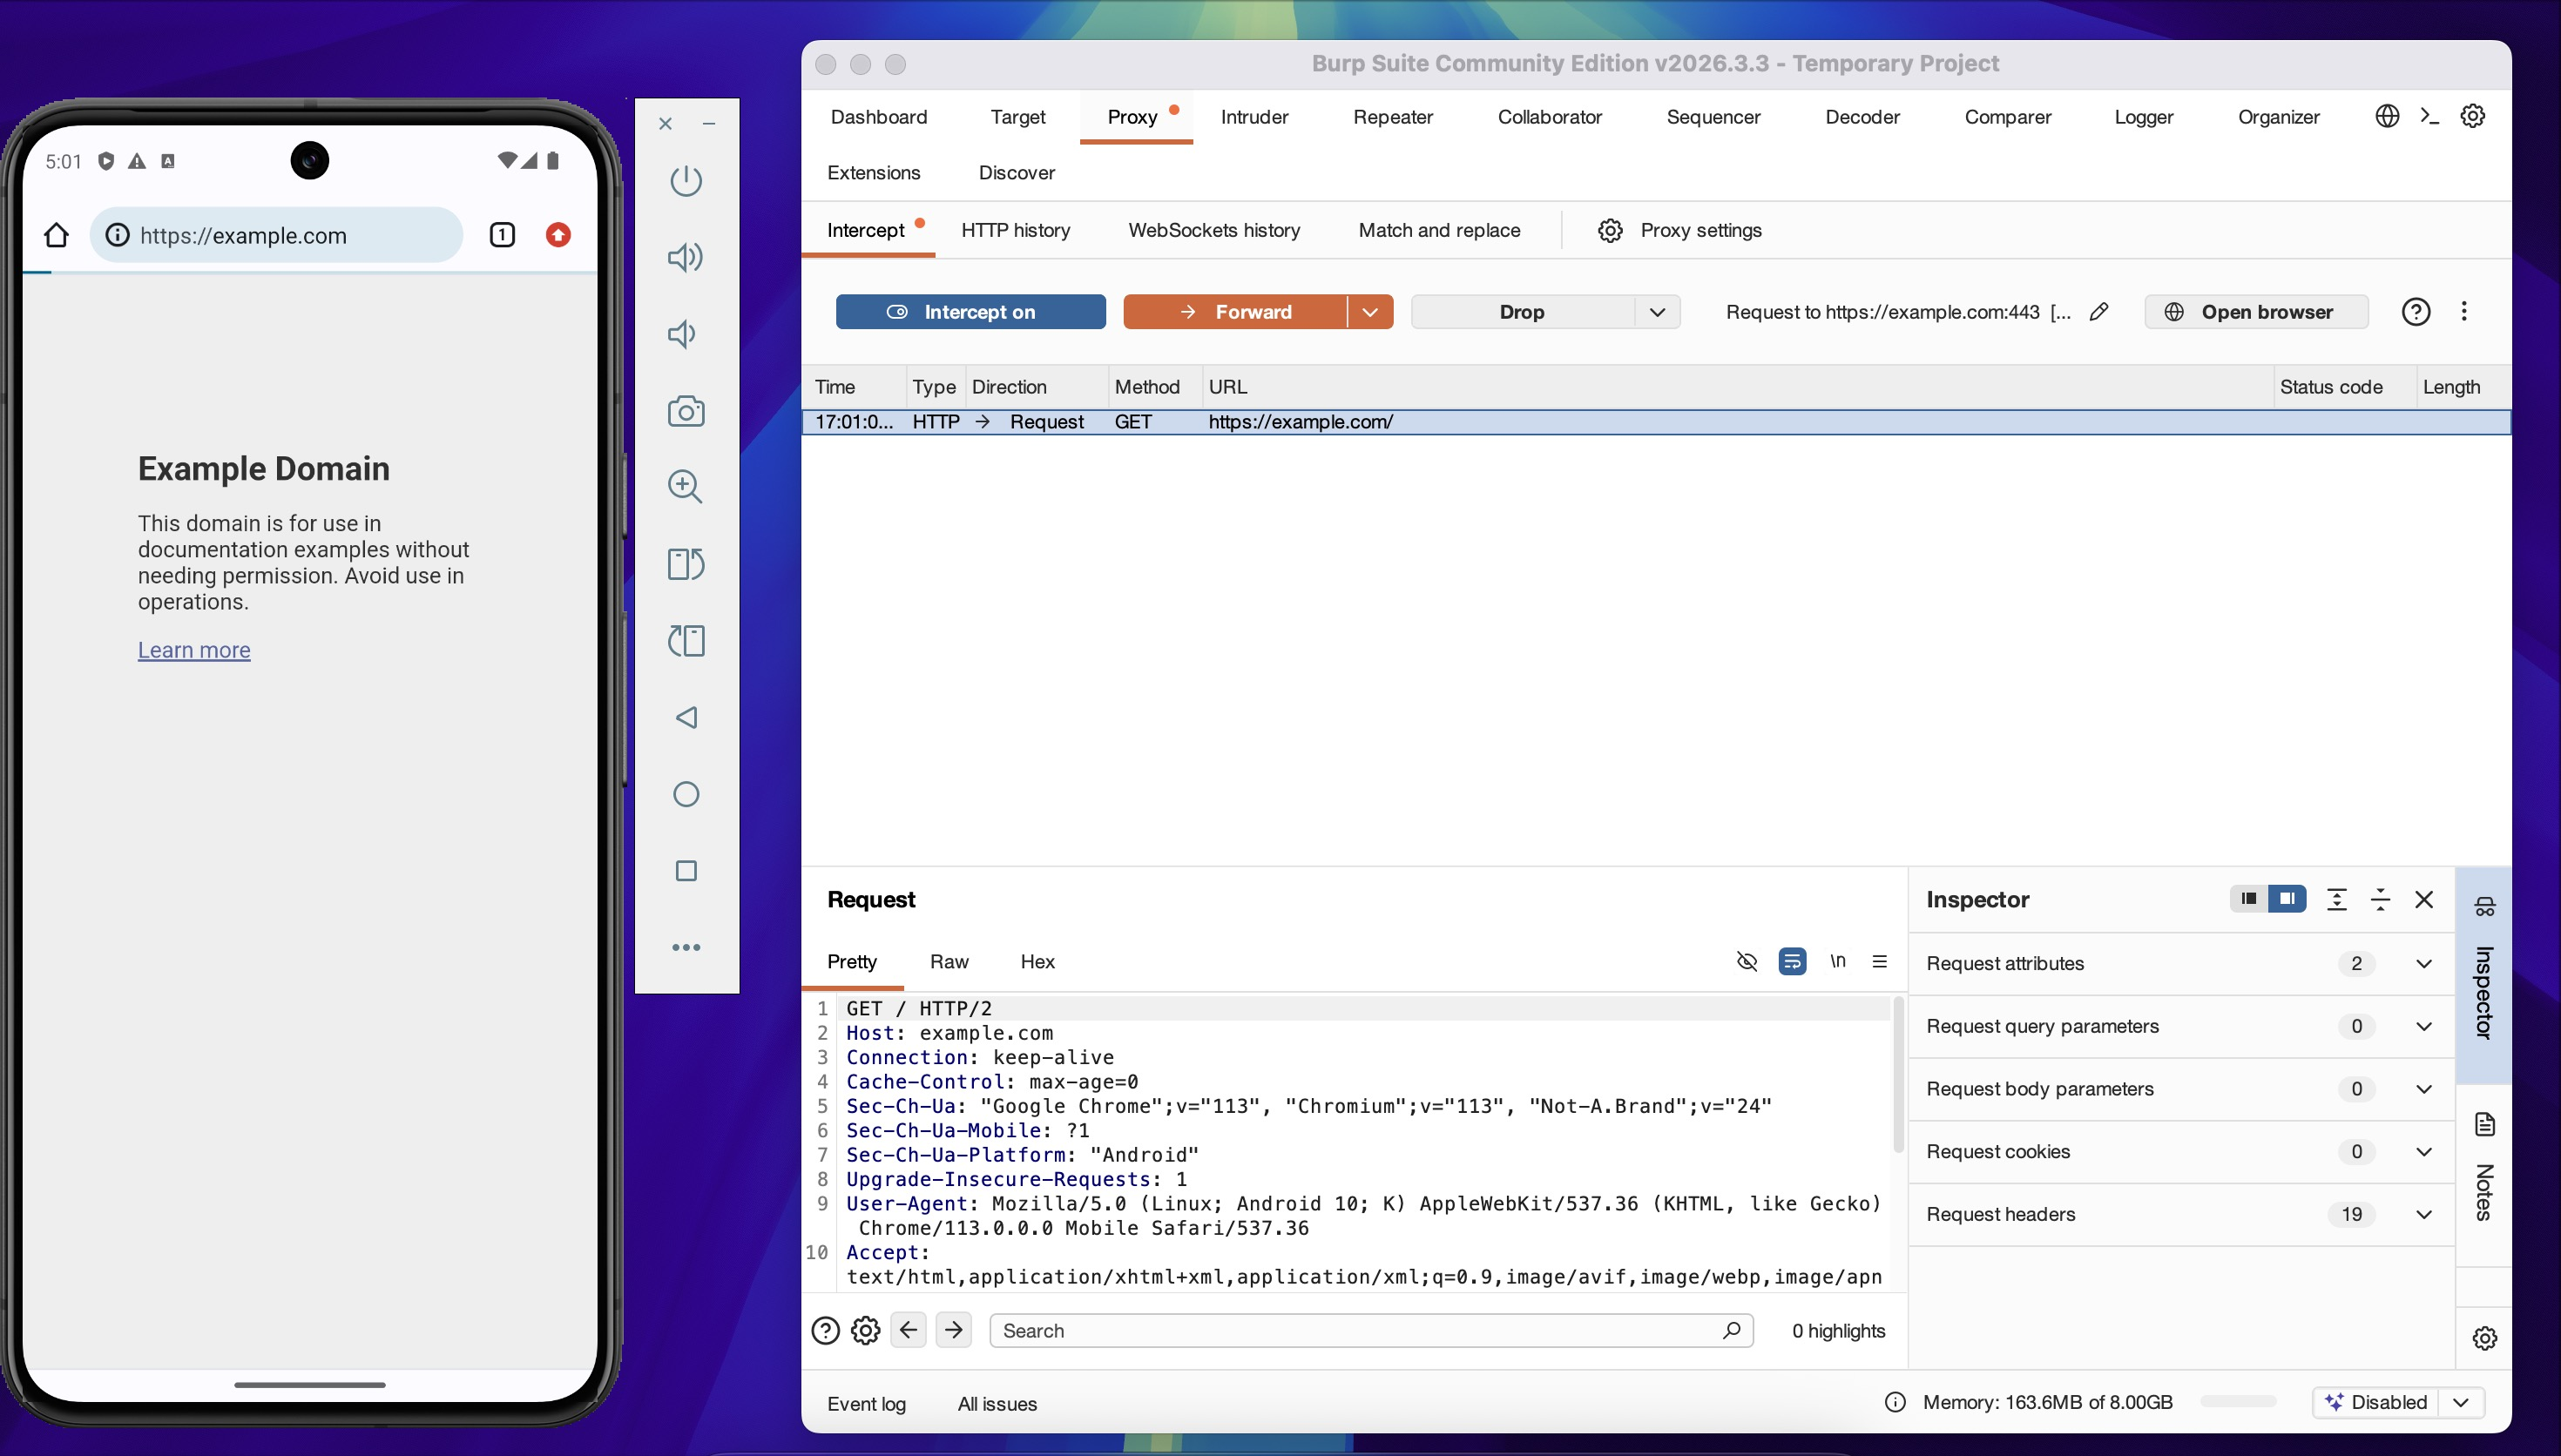
Reload https://example.com in Chrome on the emulator. The browser will show a certificate
error, and Burp will log a failed TLS negotiation — confirming traffic is being routed through
the proxy but the certificate is not yet trusted.
5. Install Burp CA Certificate
The TLS error confirms traffic routing is working. The next step is to install the Burp CA certificate so the emulator trusts Burp's interception certificate.
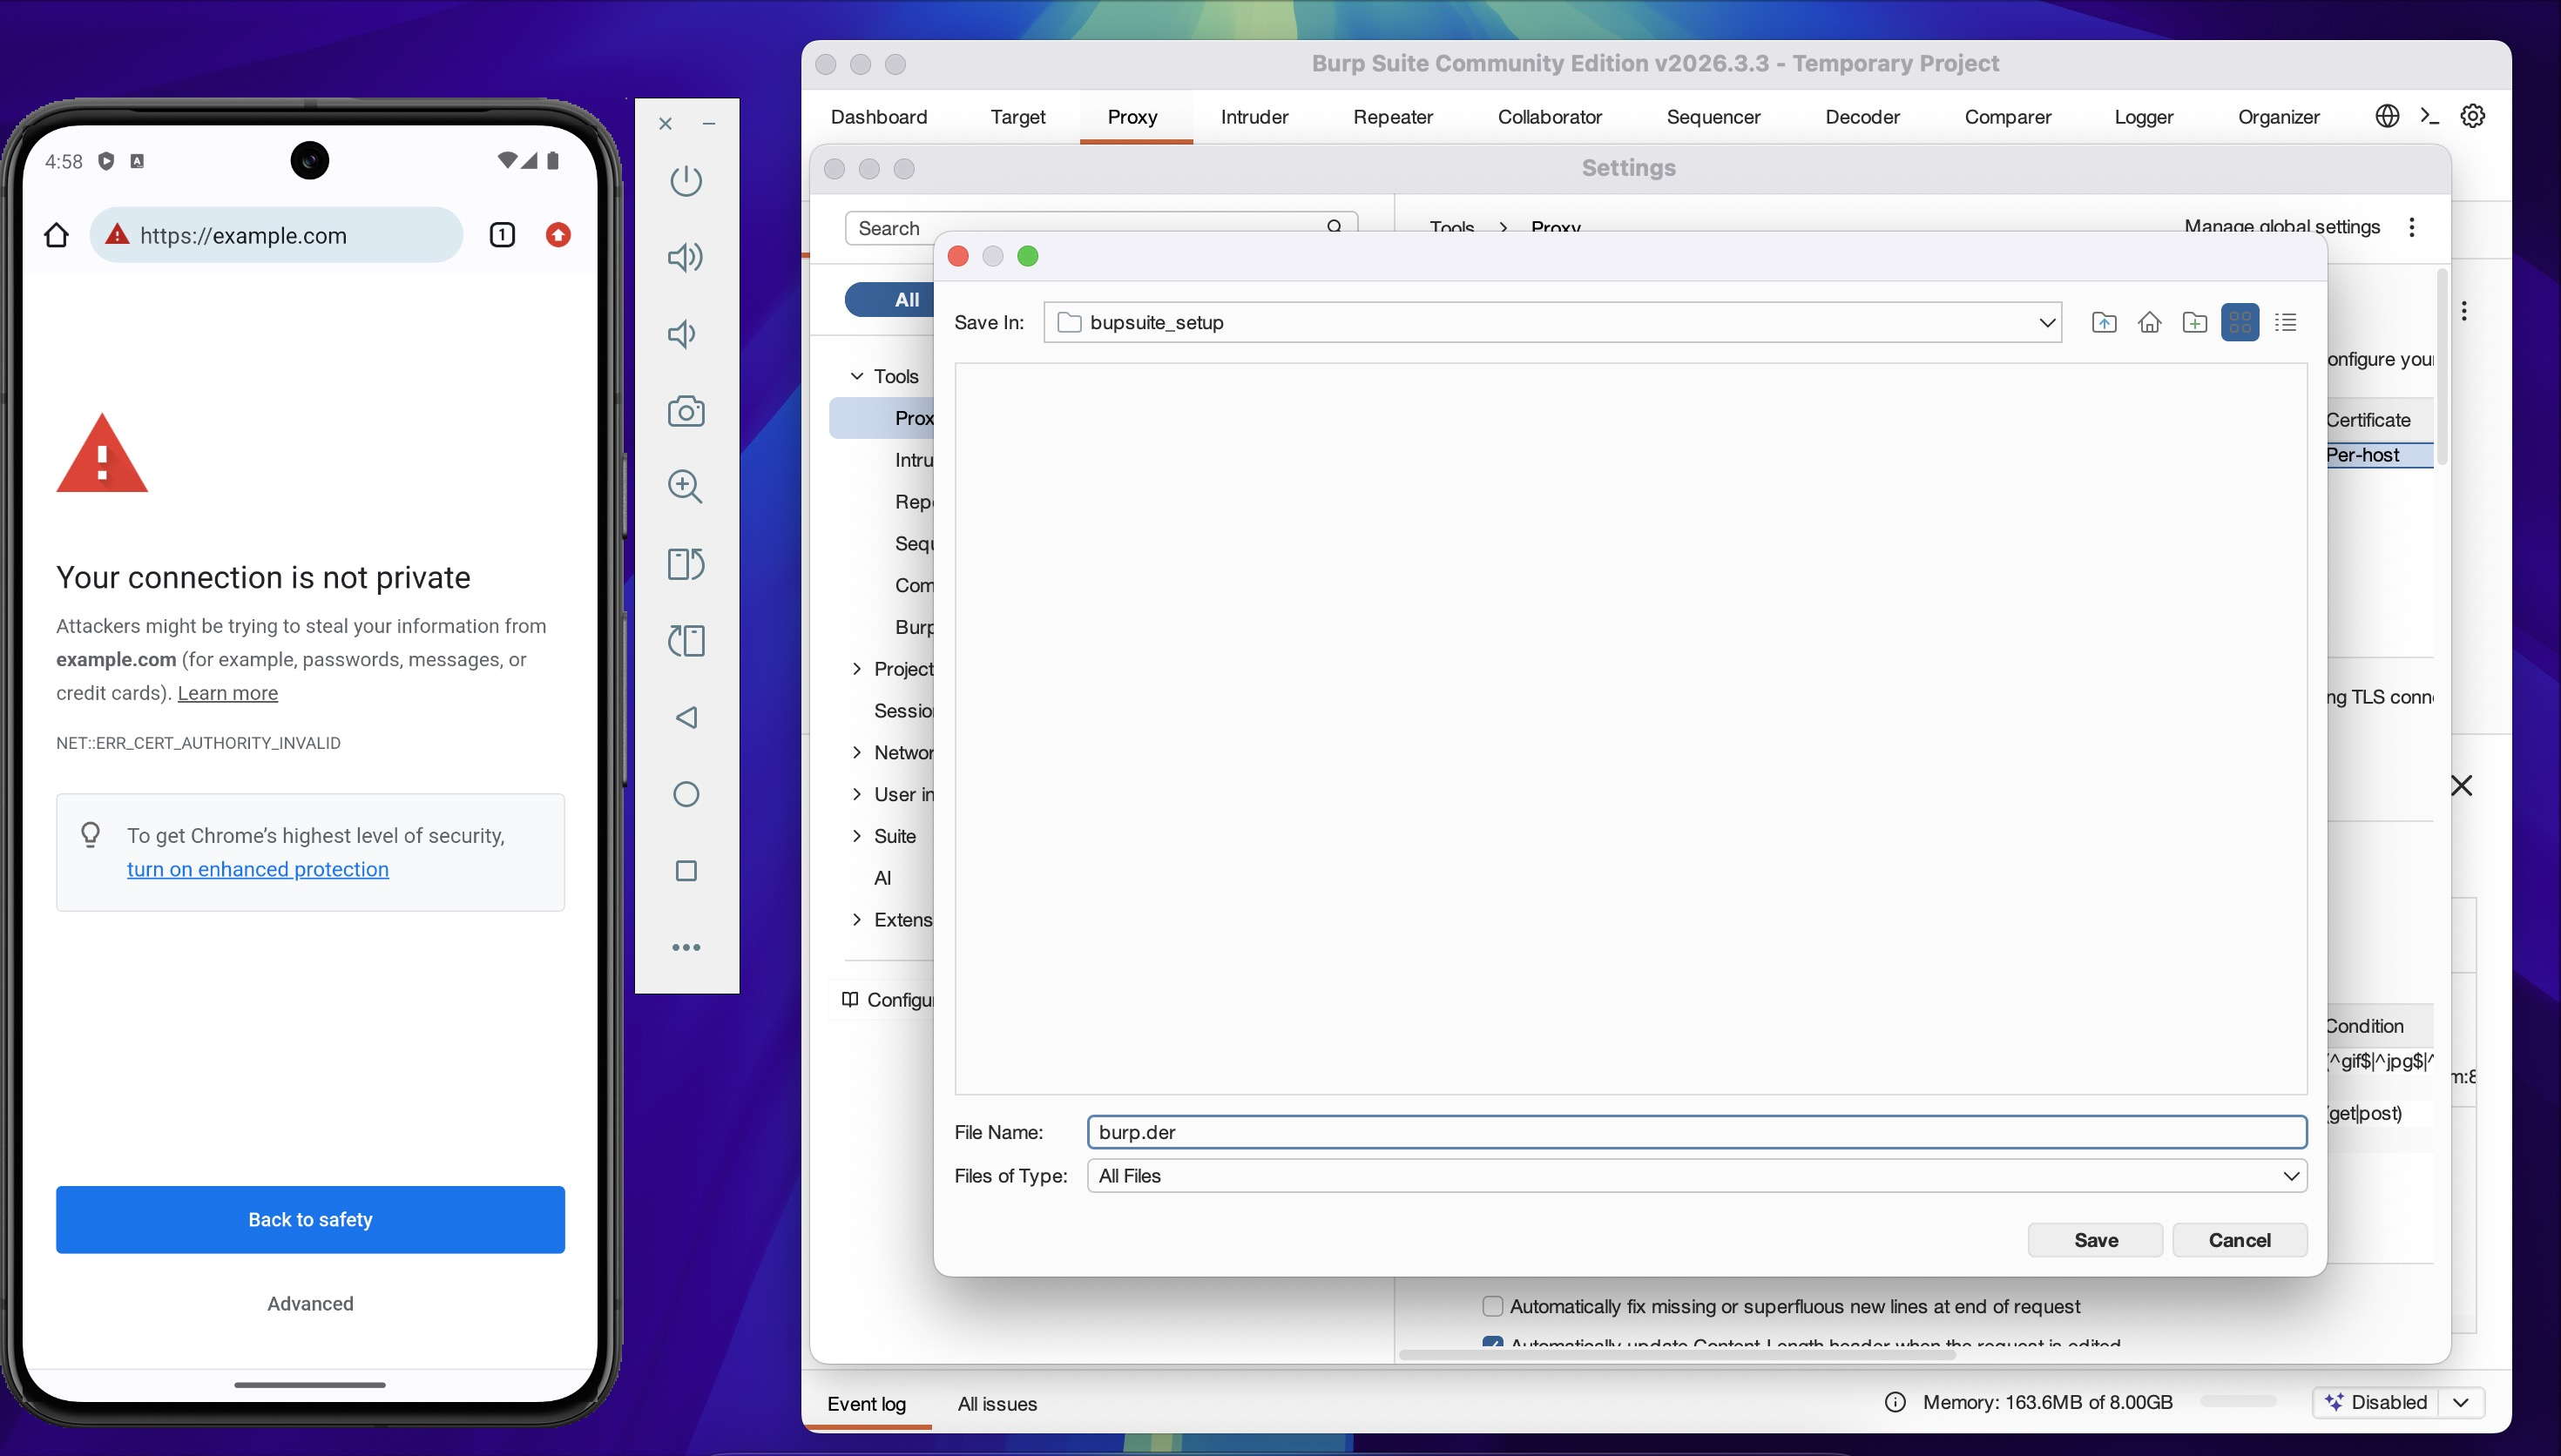
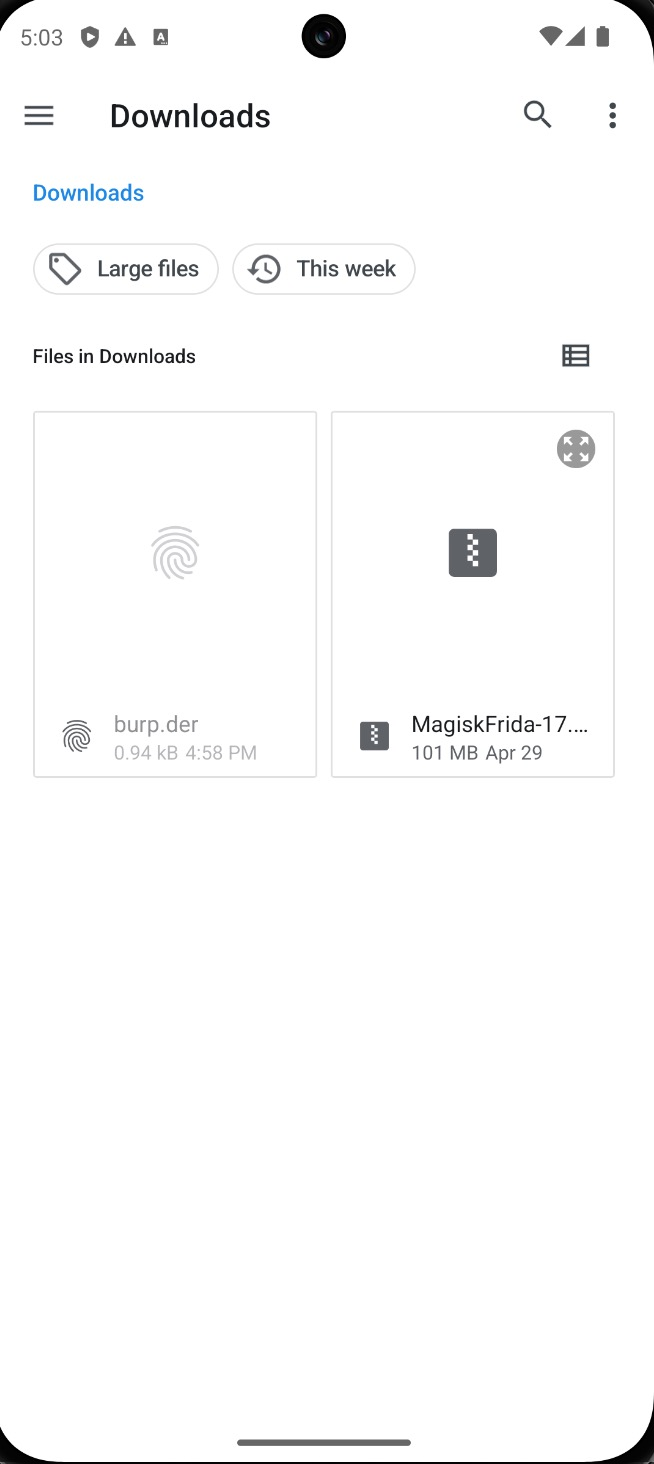
Export the certificate from Burp Suite: Proxy → Proxy Settings → Import / export CA
certificate and save as burp.der.
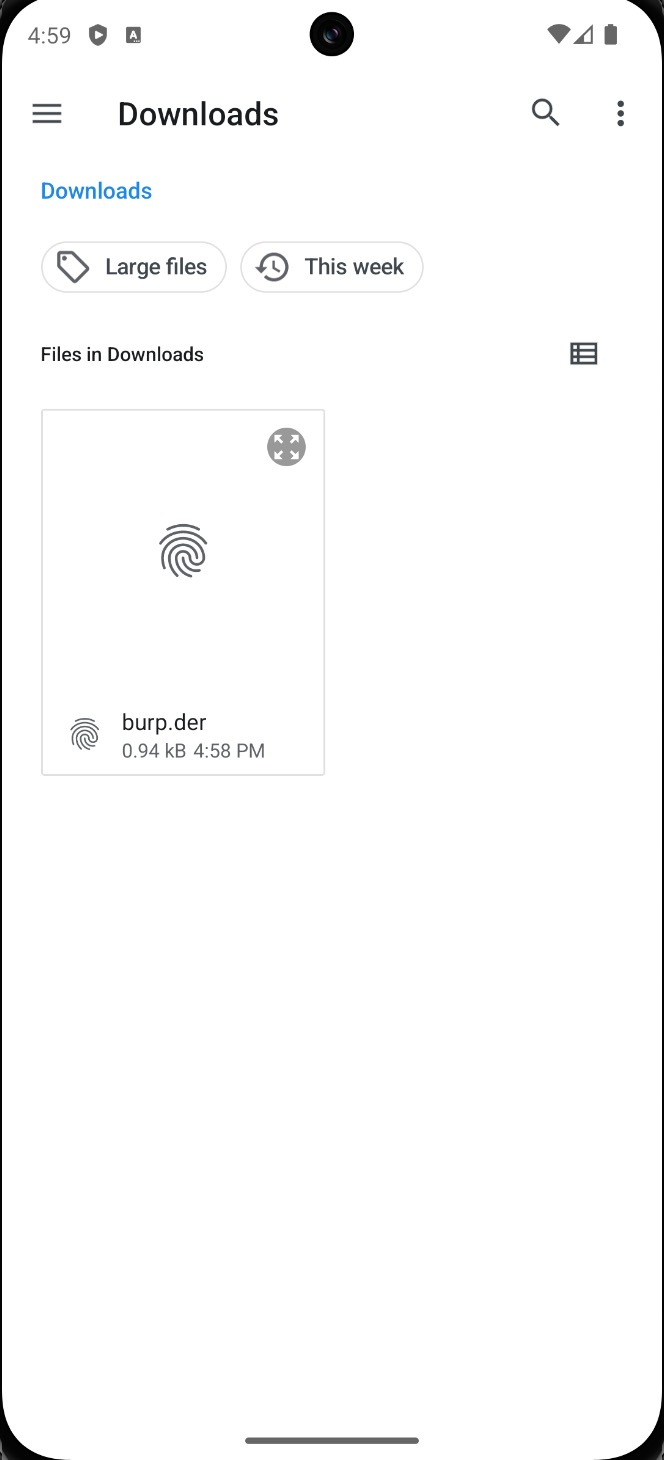
Push the certificate to the emulator:
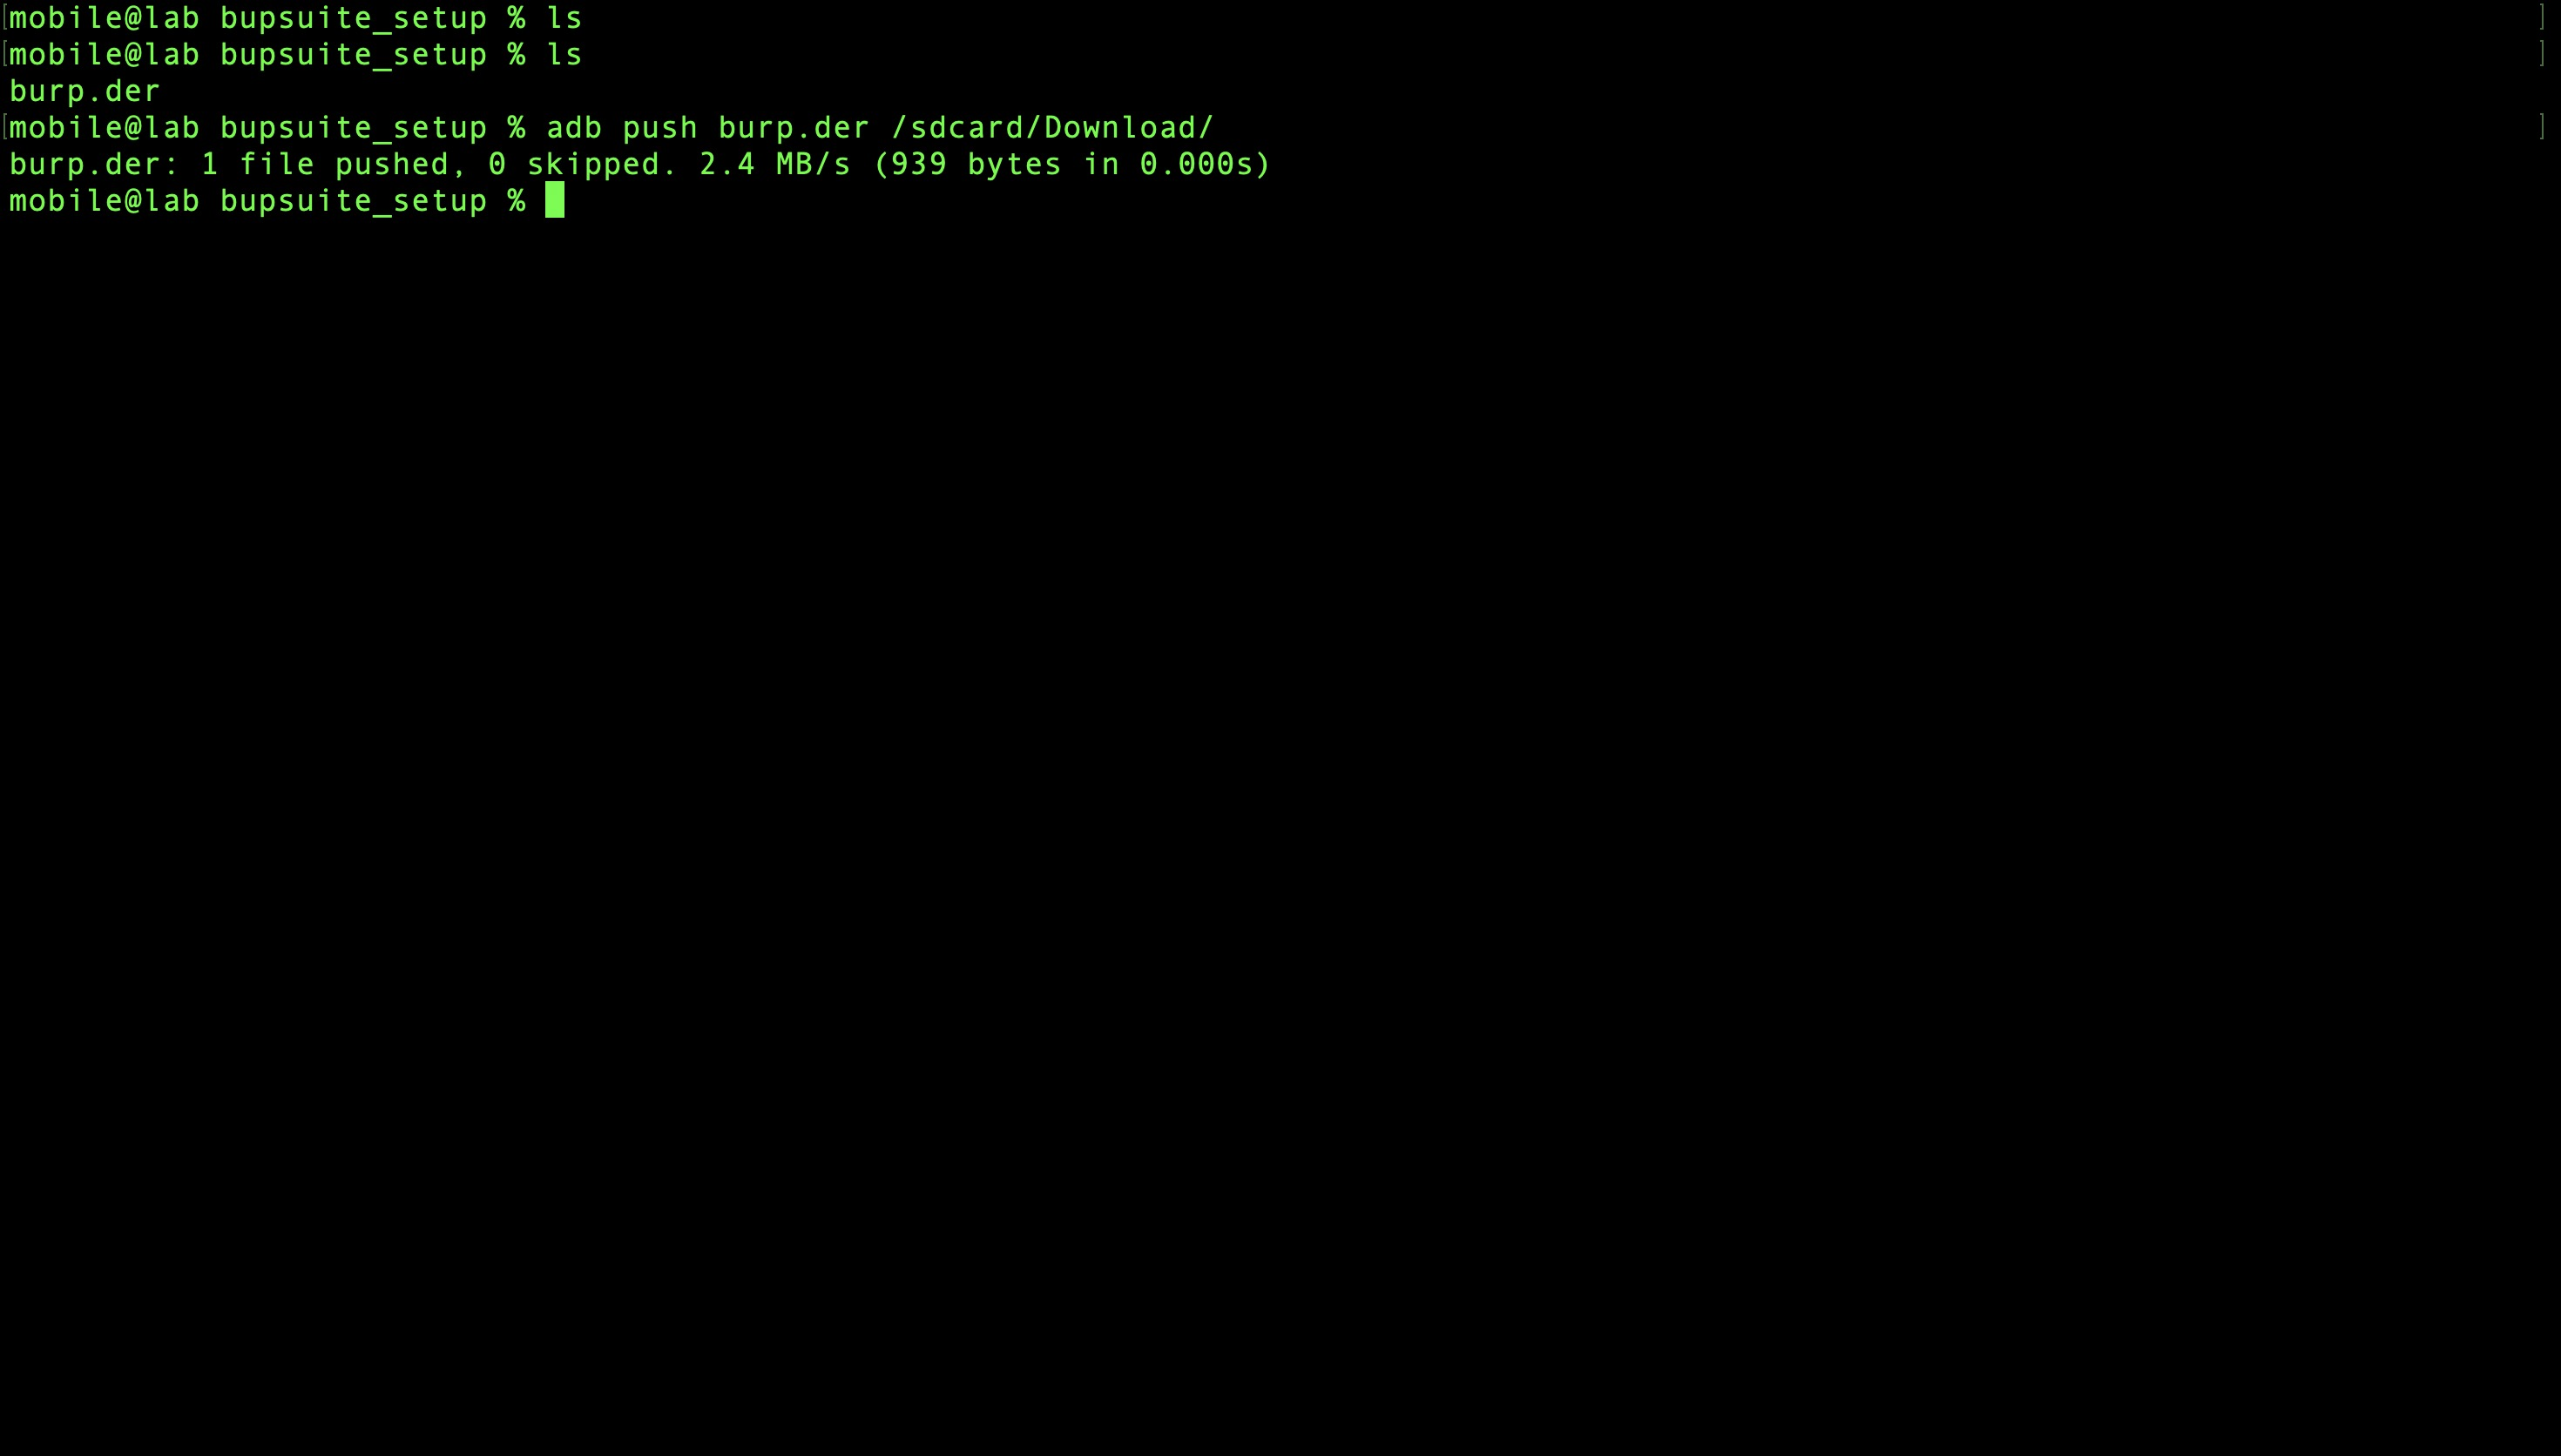
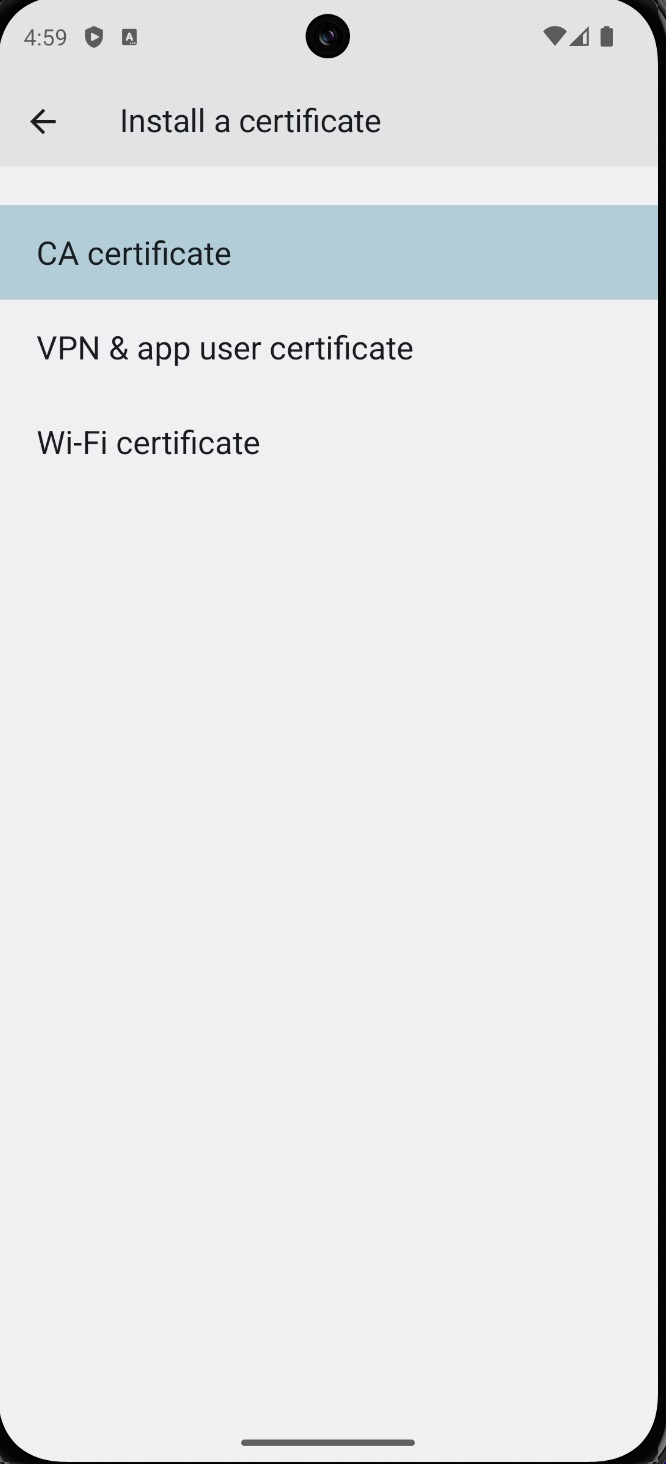
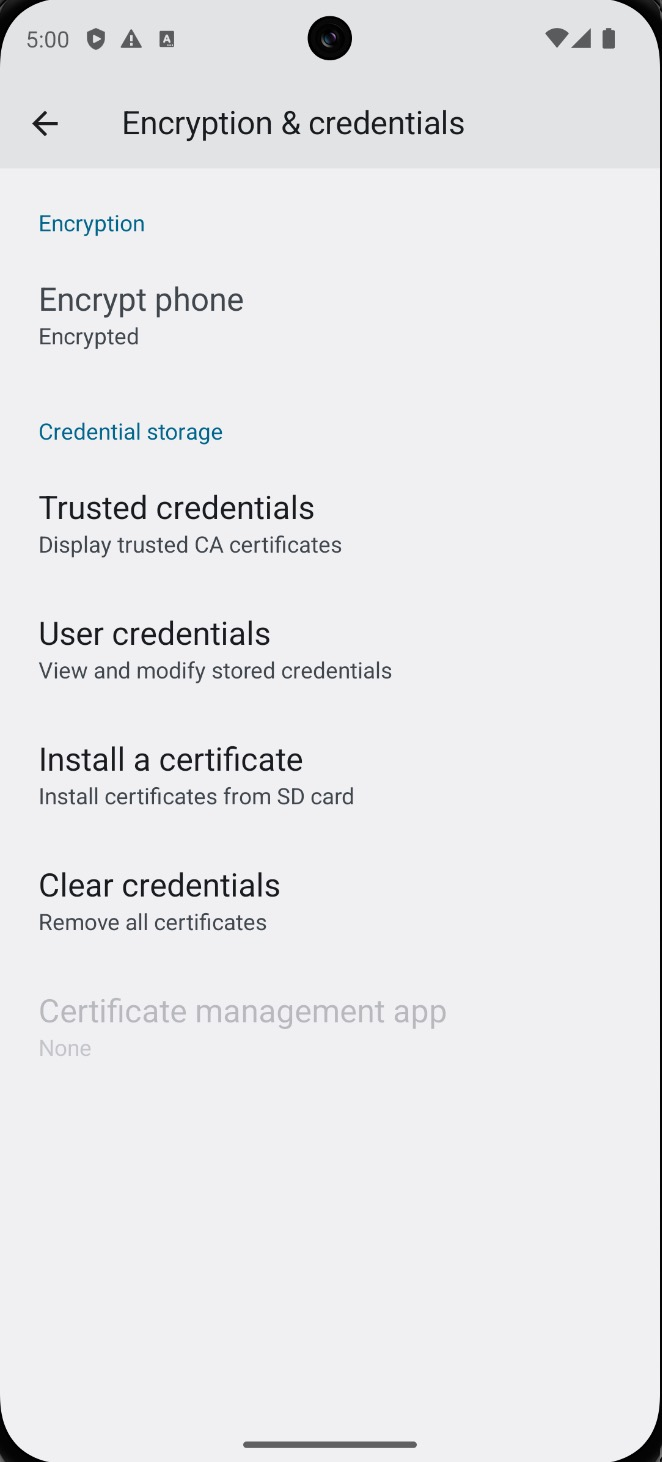
On the emulator, open Settings → search "Install certificate" and install burp.der from
the Downloads folder.
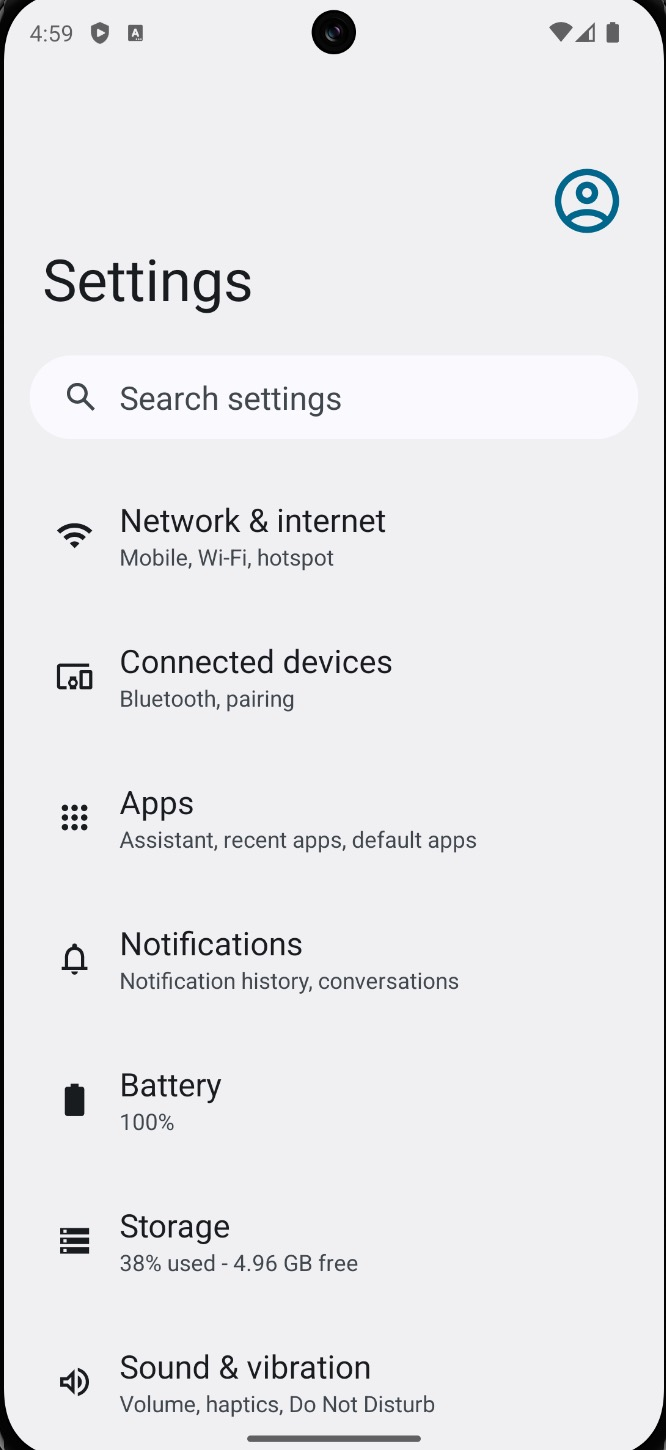
Confirm the certificate appears under User Credentials in the certificate store.
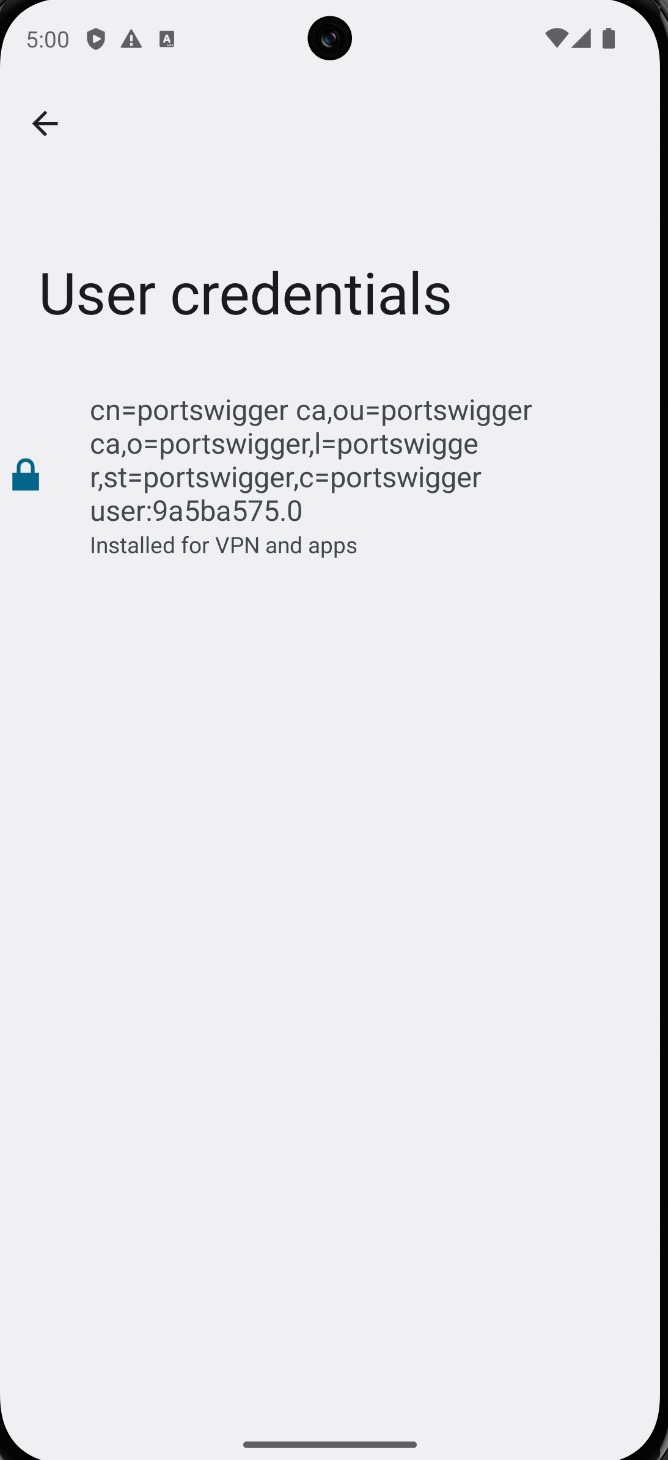
Reload https://example.com — HTTPS traffic is now successfully intercepted in Burp Suite.
Note: In older versions of Magisk, the AlwaysTrustUserCerts module was required to promote user certificates to system trust. This is no longer necessary in Magisk 30+.
6. Install Frida via MagiskFrida
With network interception working, the next layer is runtime instrumentation. Frida is deployed
as a Magisk module so frida-server starts automatically on boot — no manual ADB push needed
each session.
Module: https://github.com/ViRb3/magisk-frida
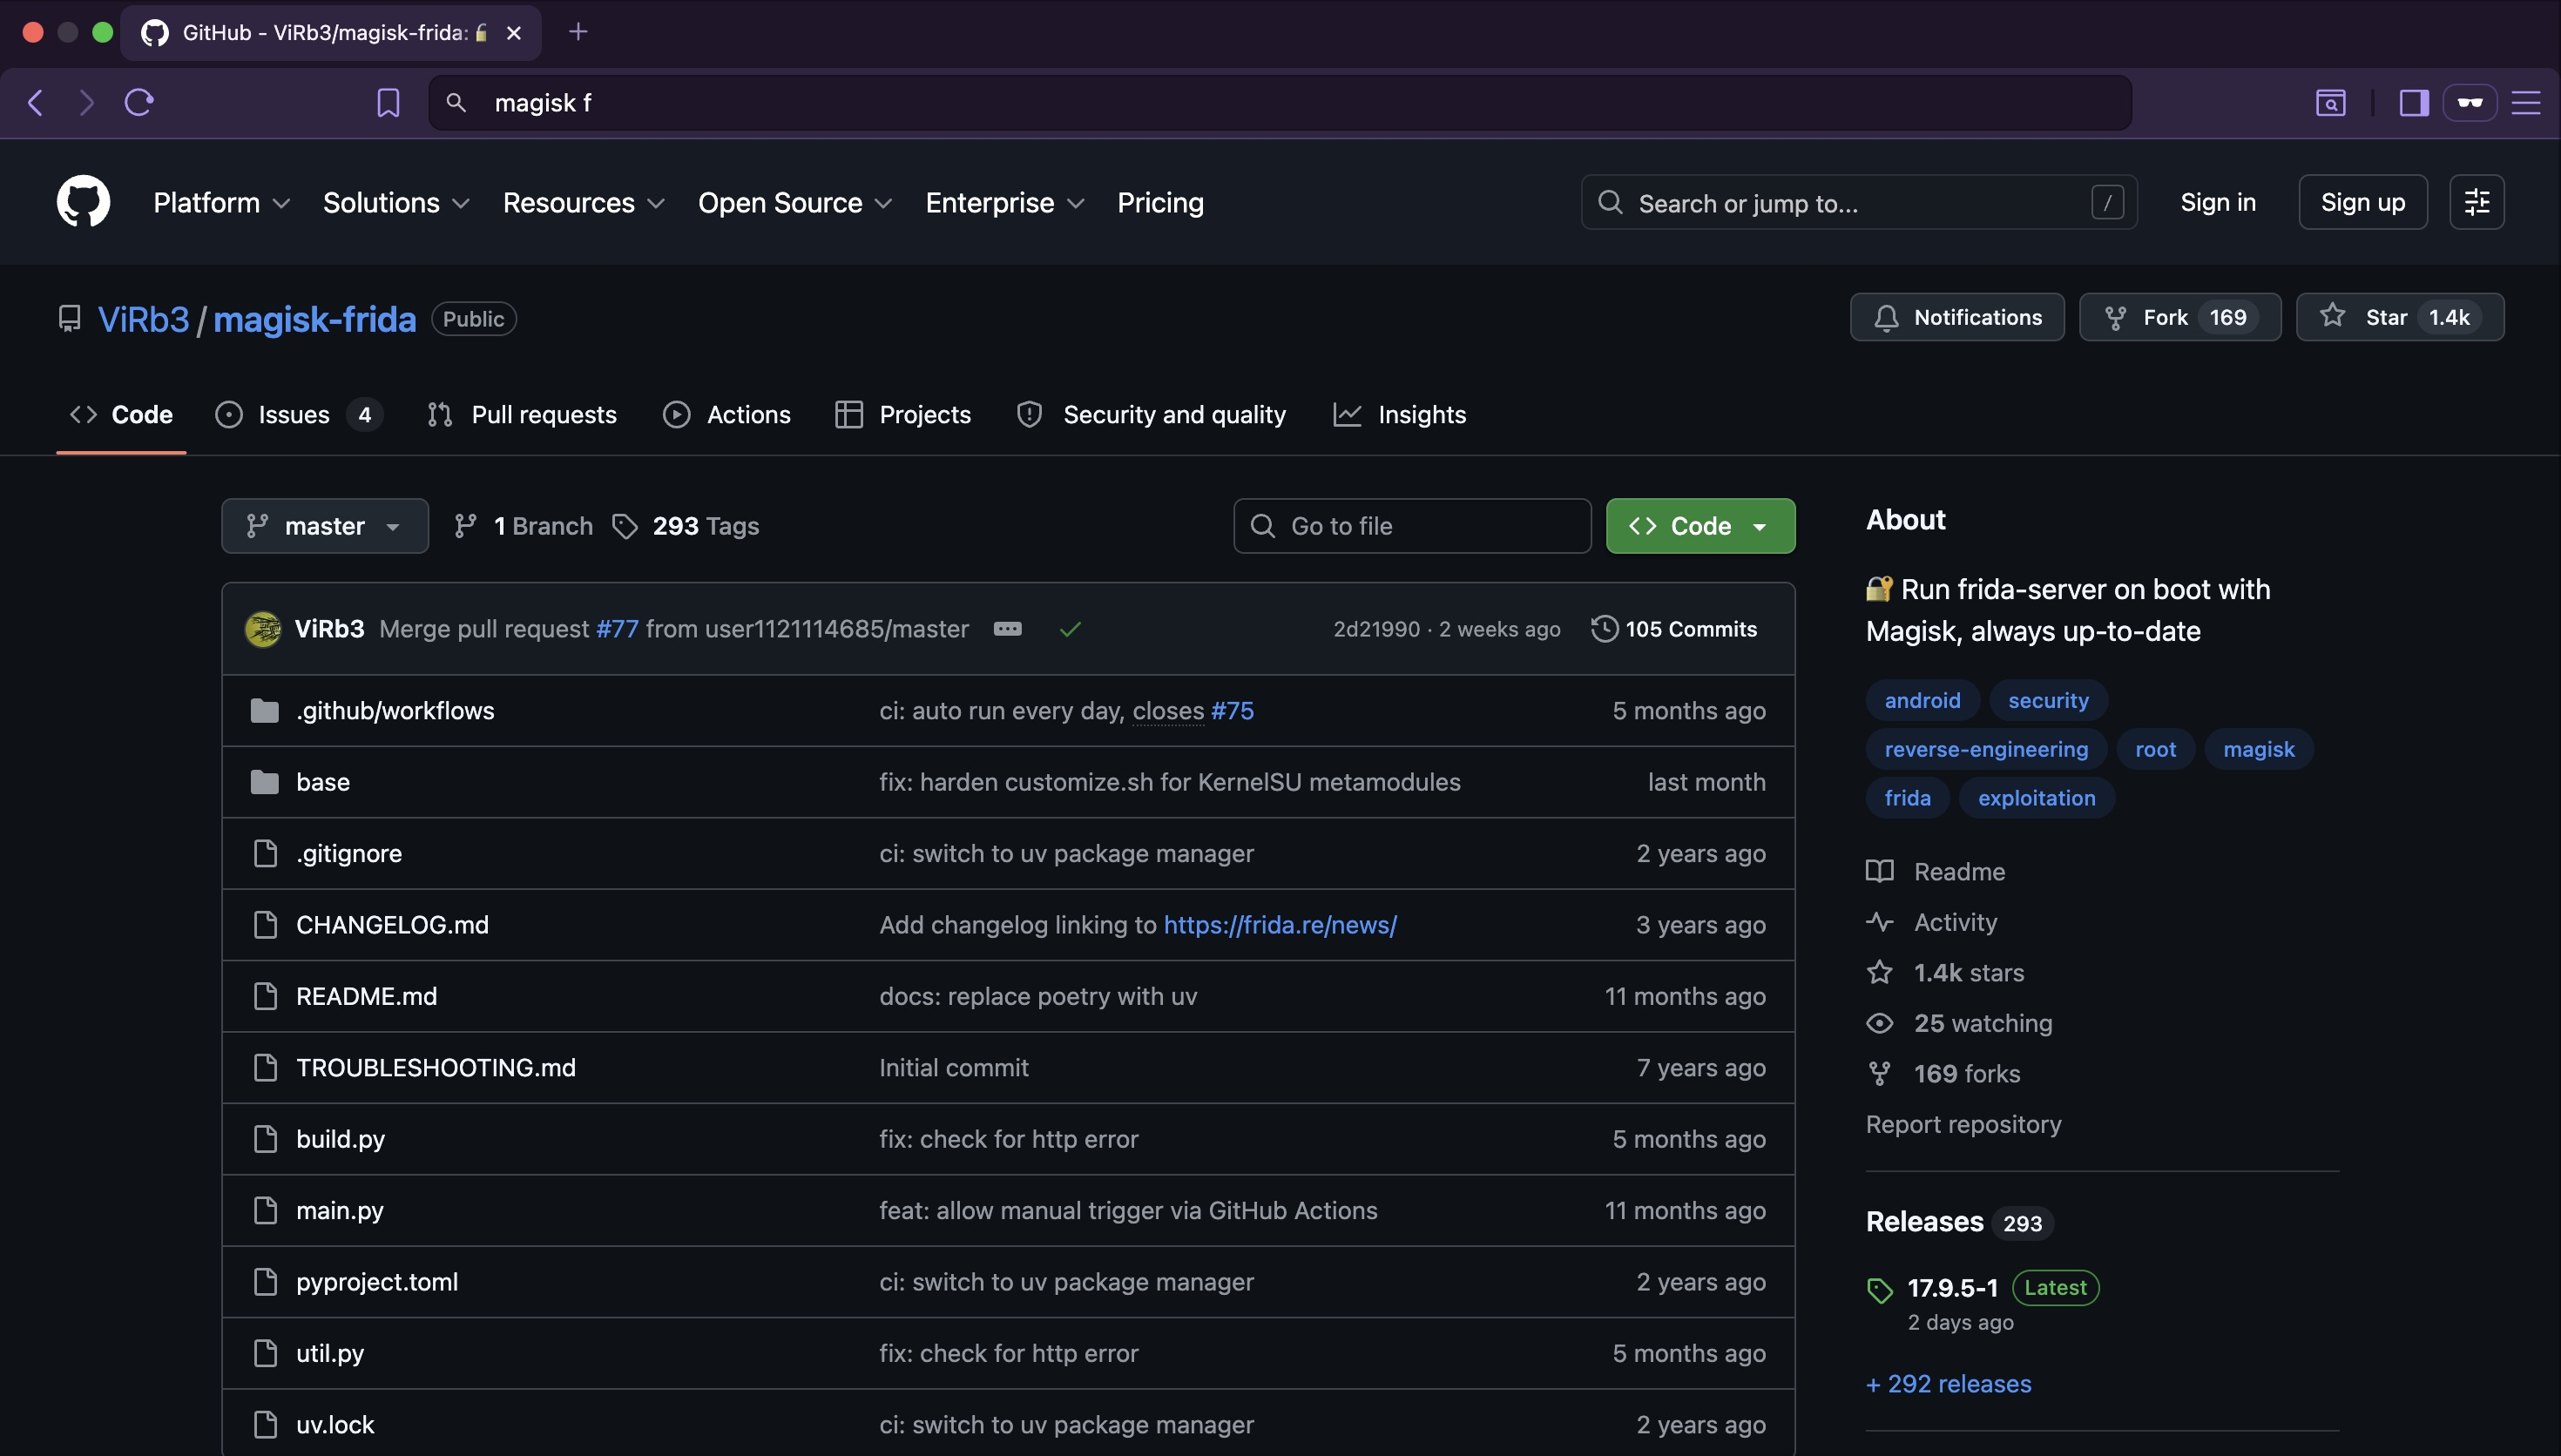
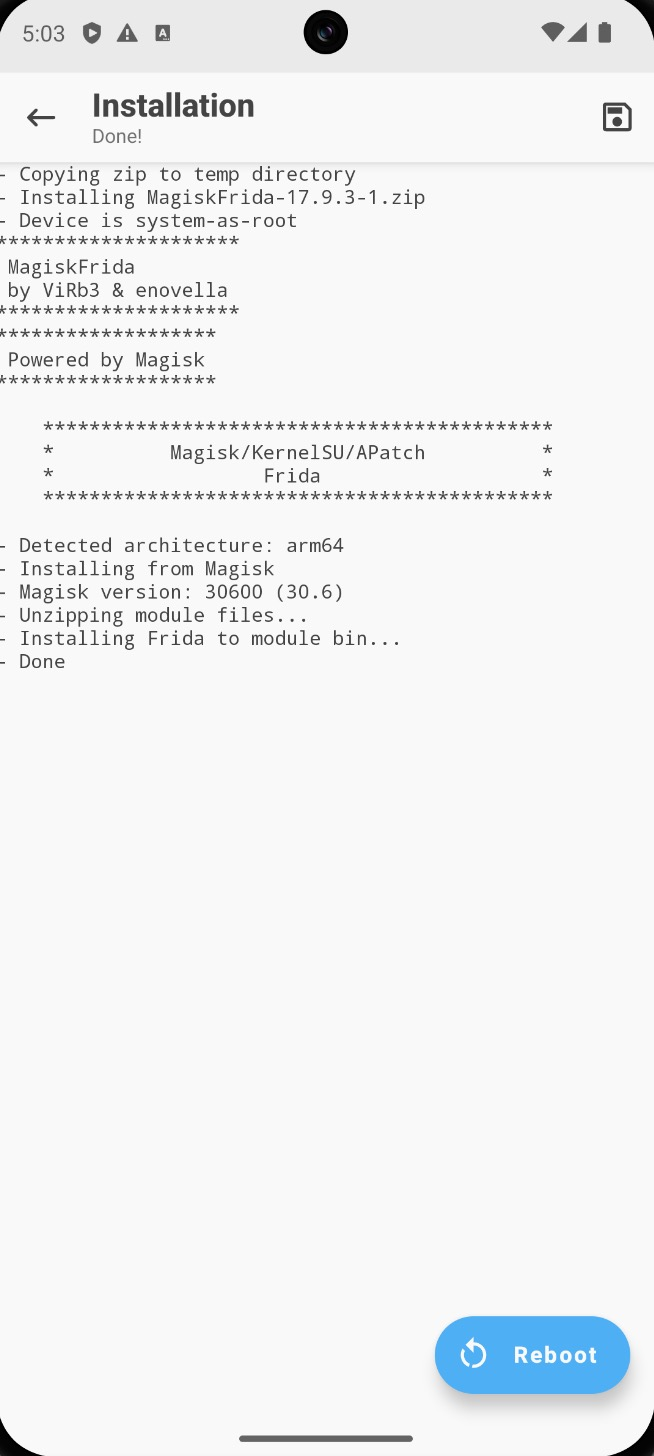
Clone the repository and push the module zip to the emulator:
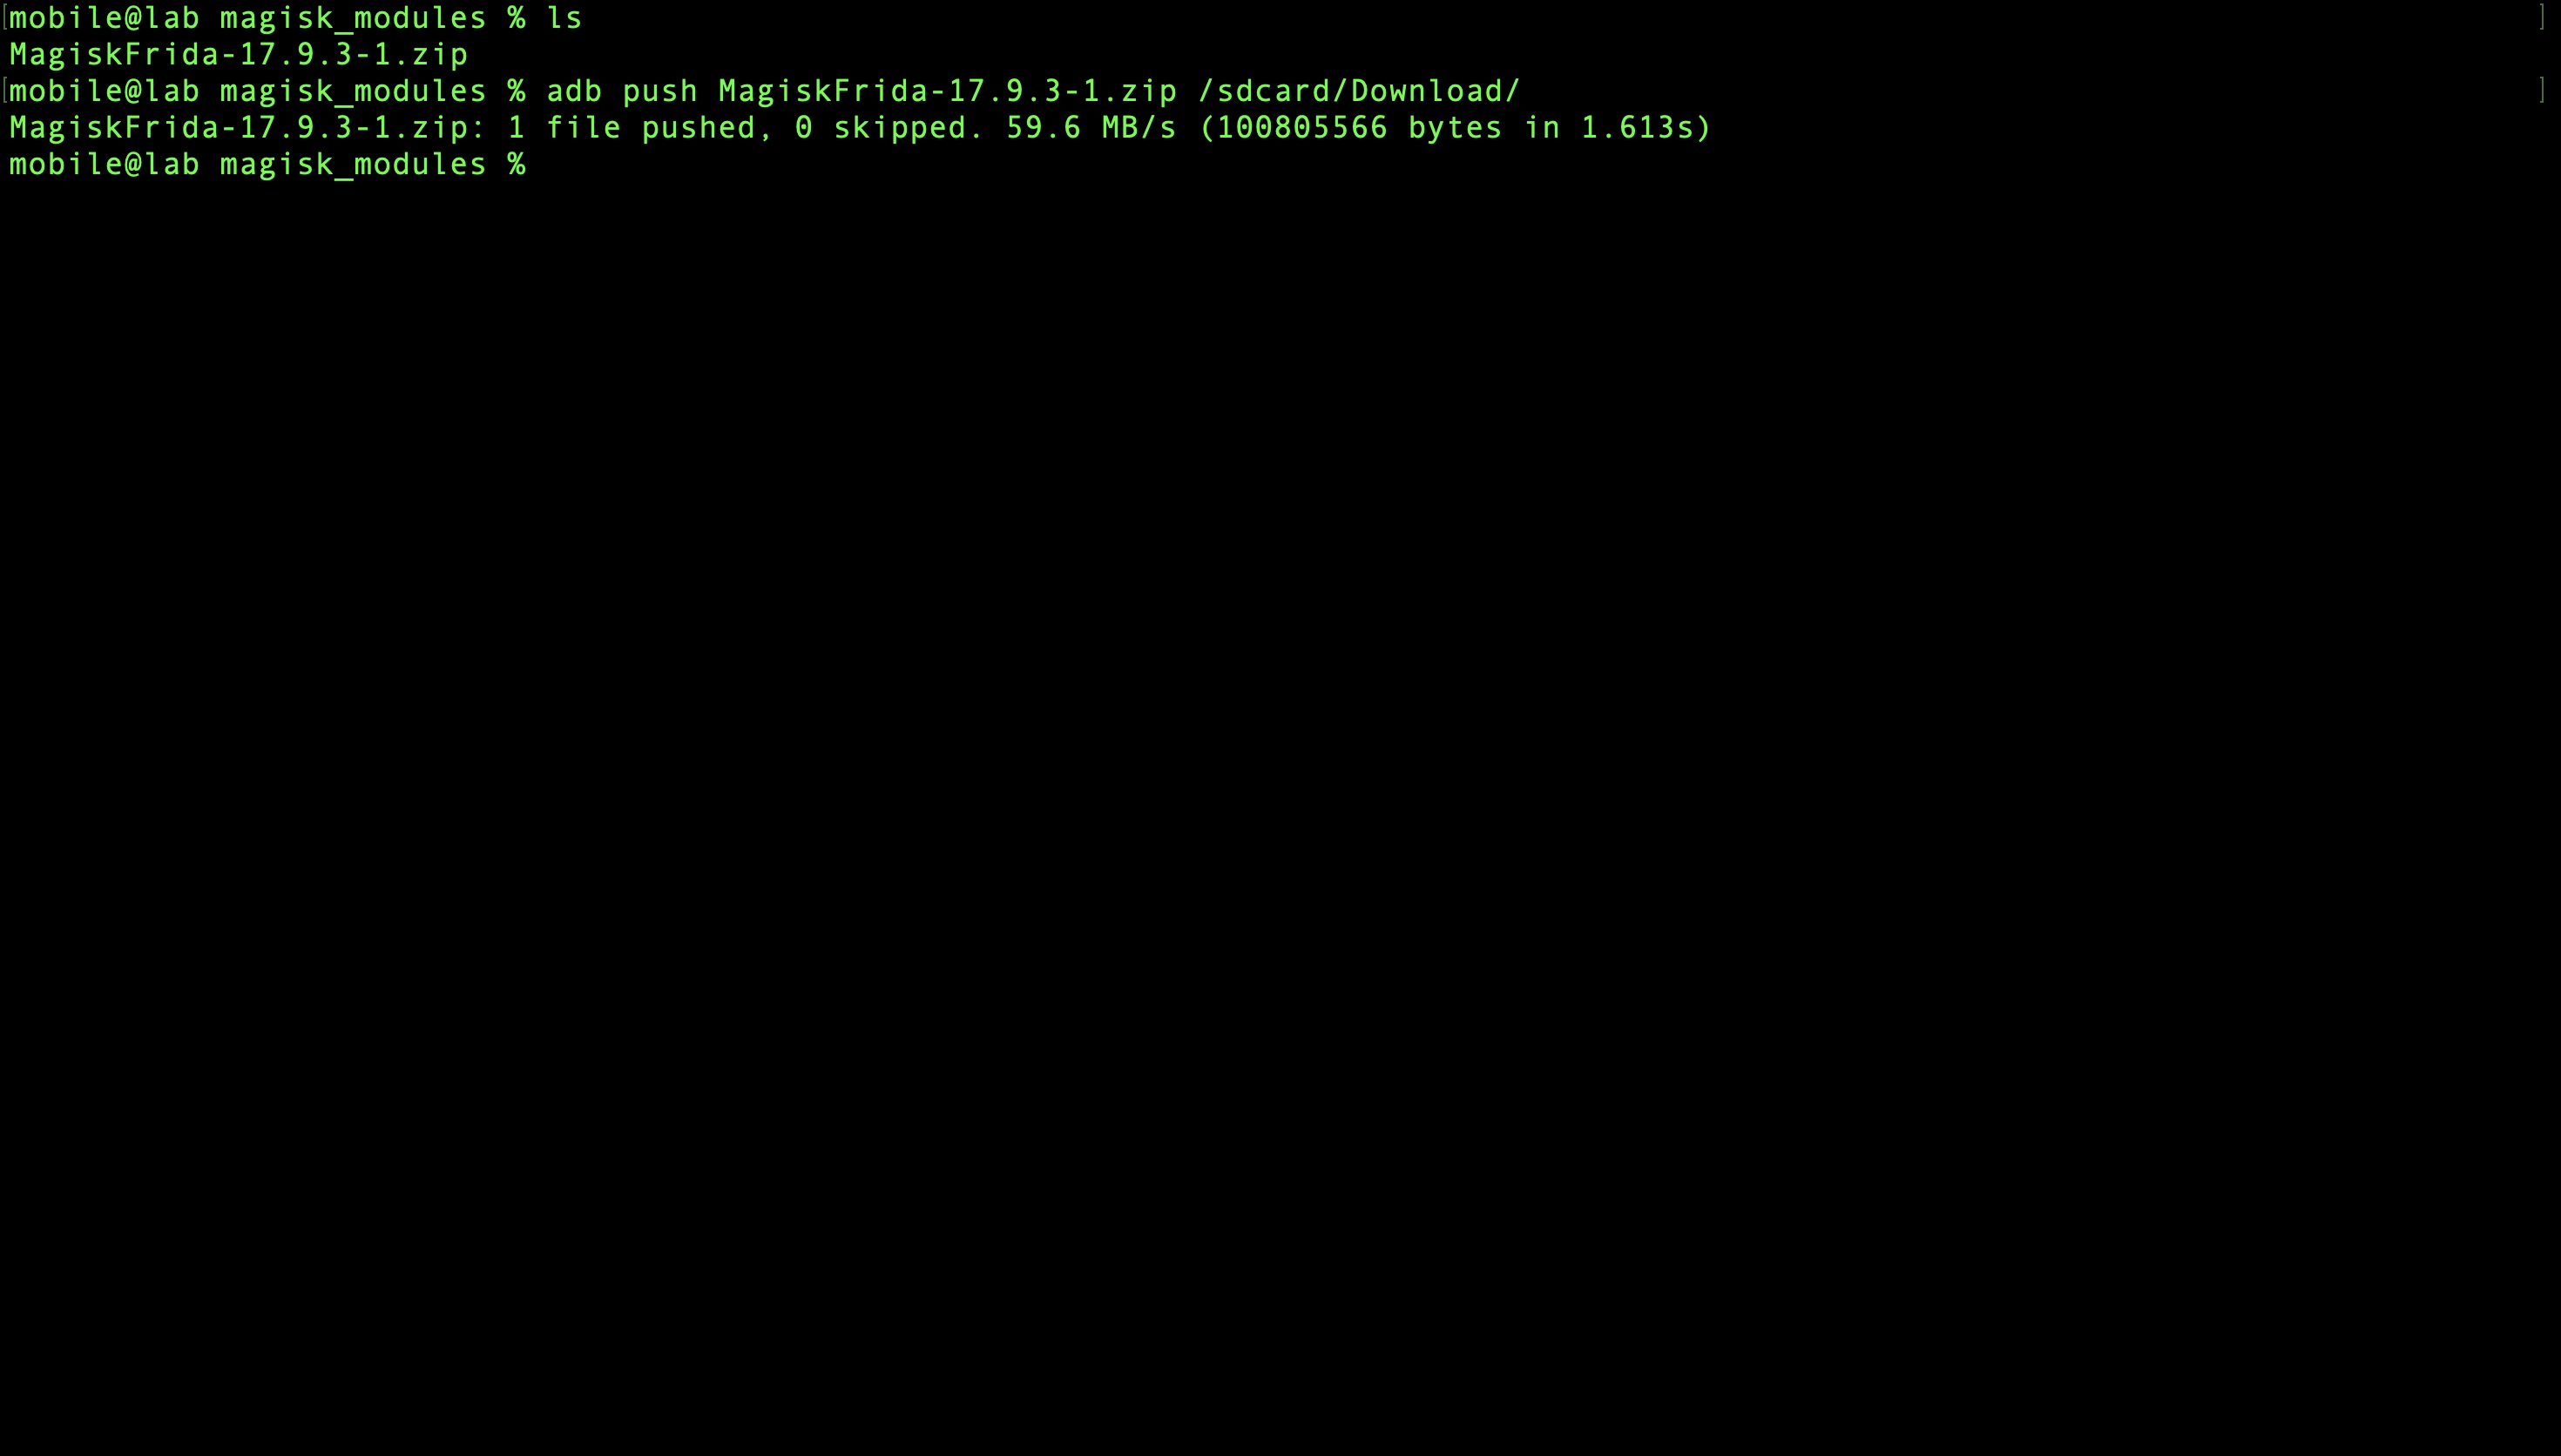
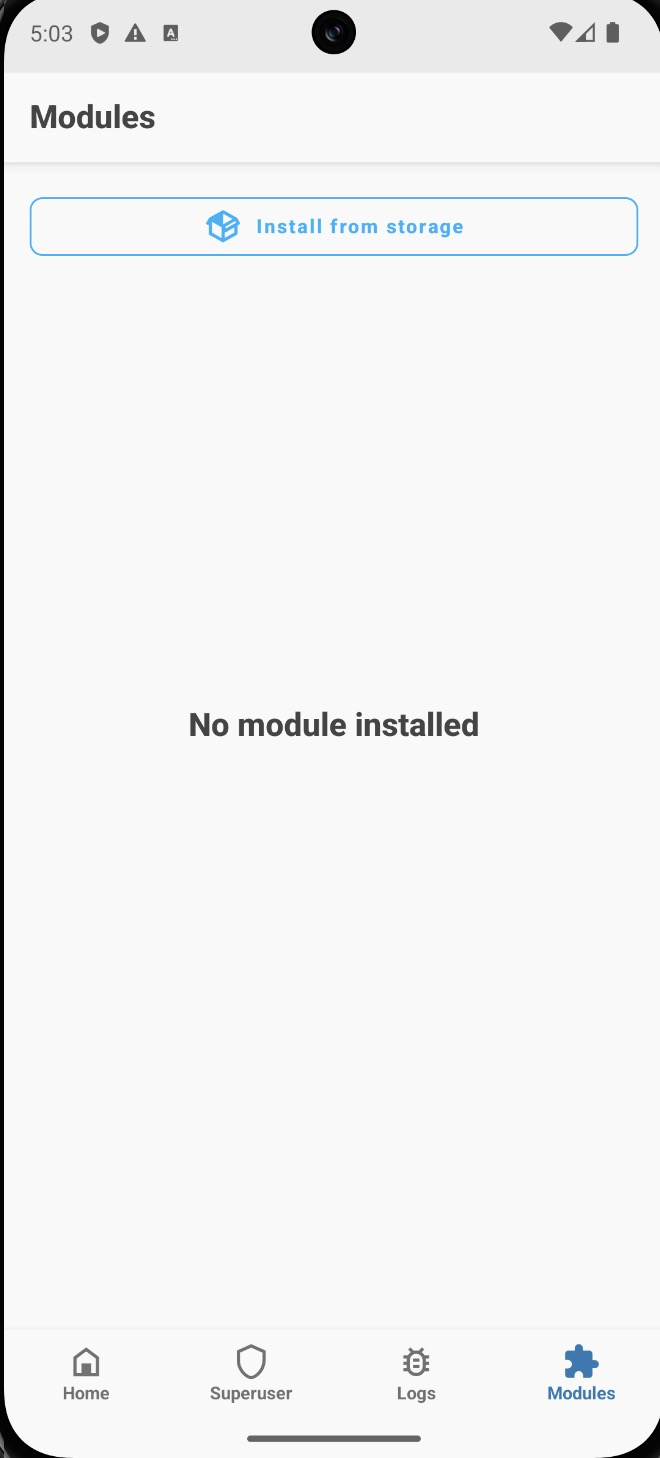
Open Magisk → Modules → Install from storage and select the zip file. Reboot when prompted.
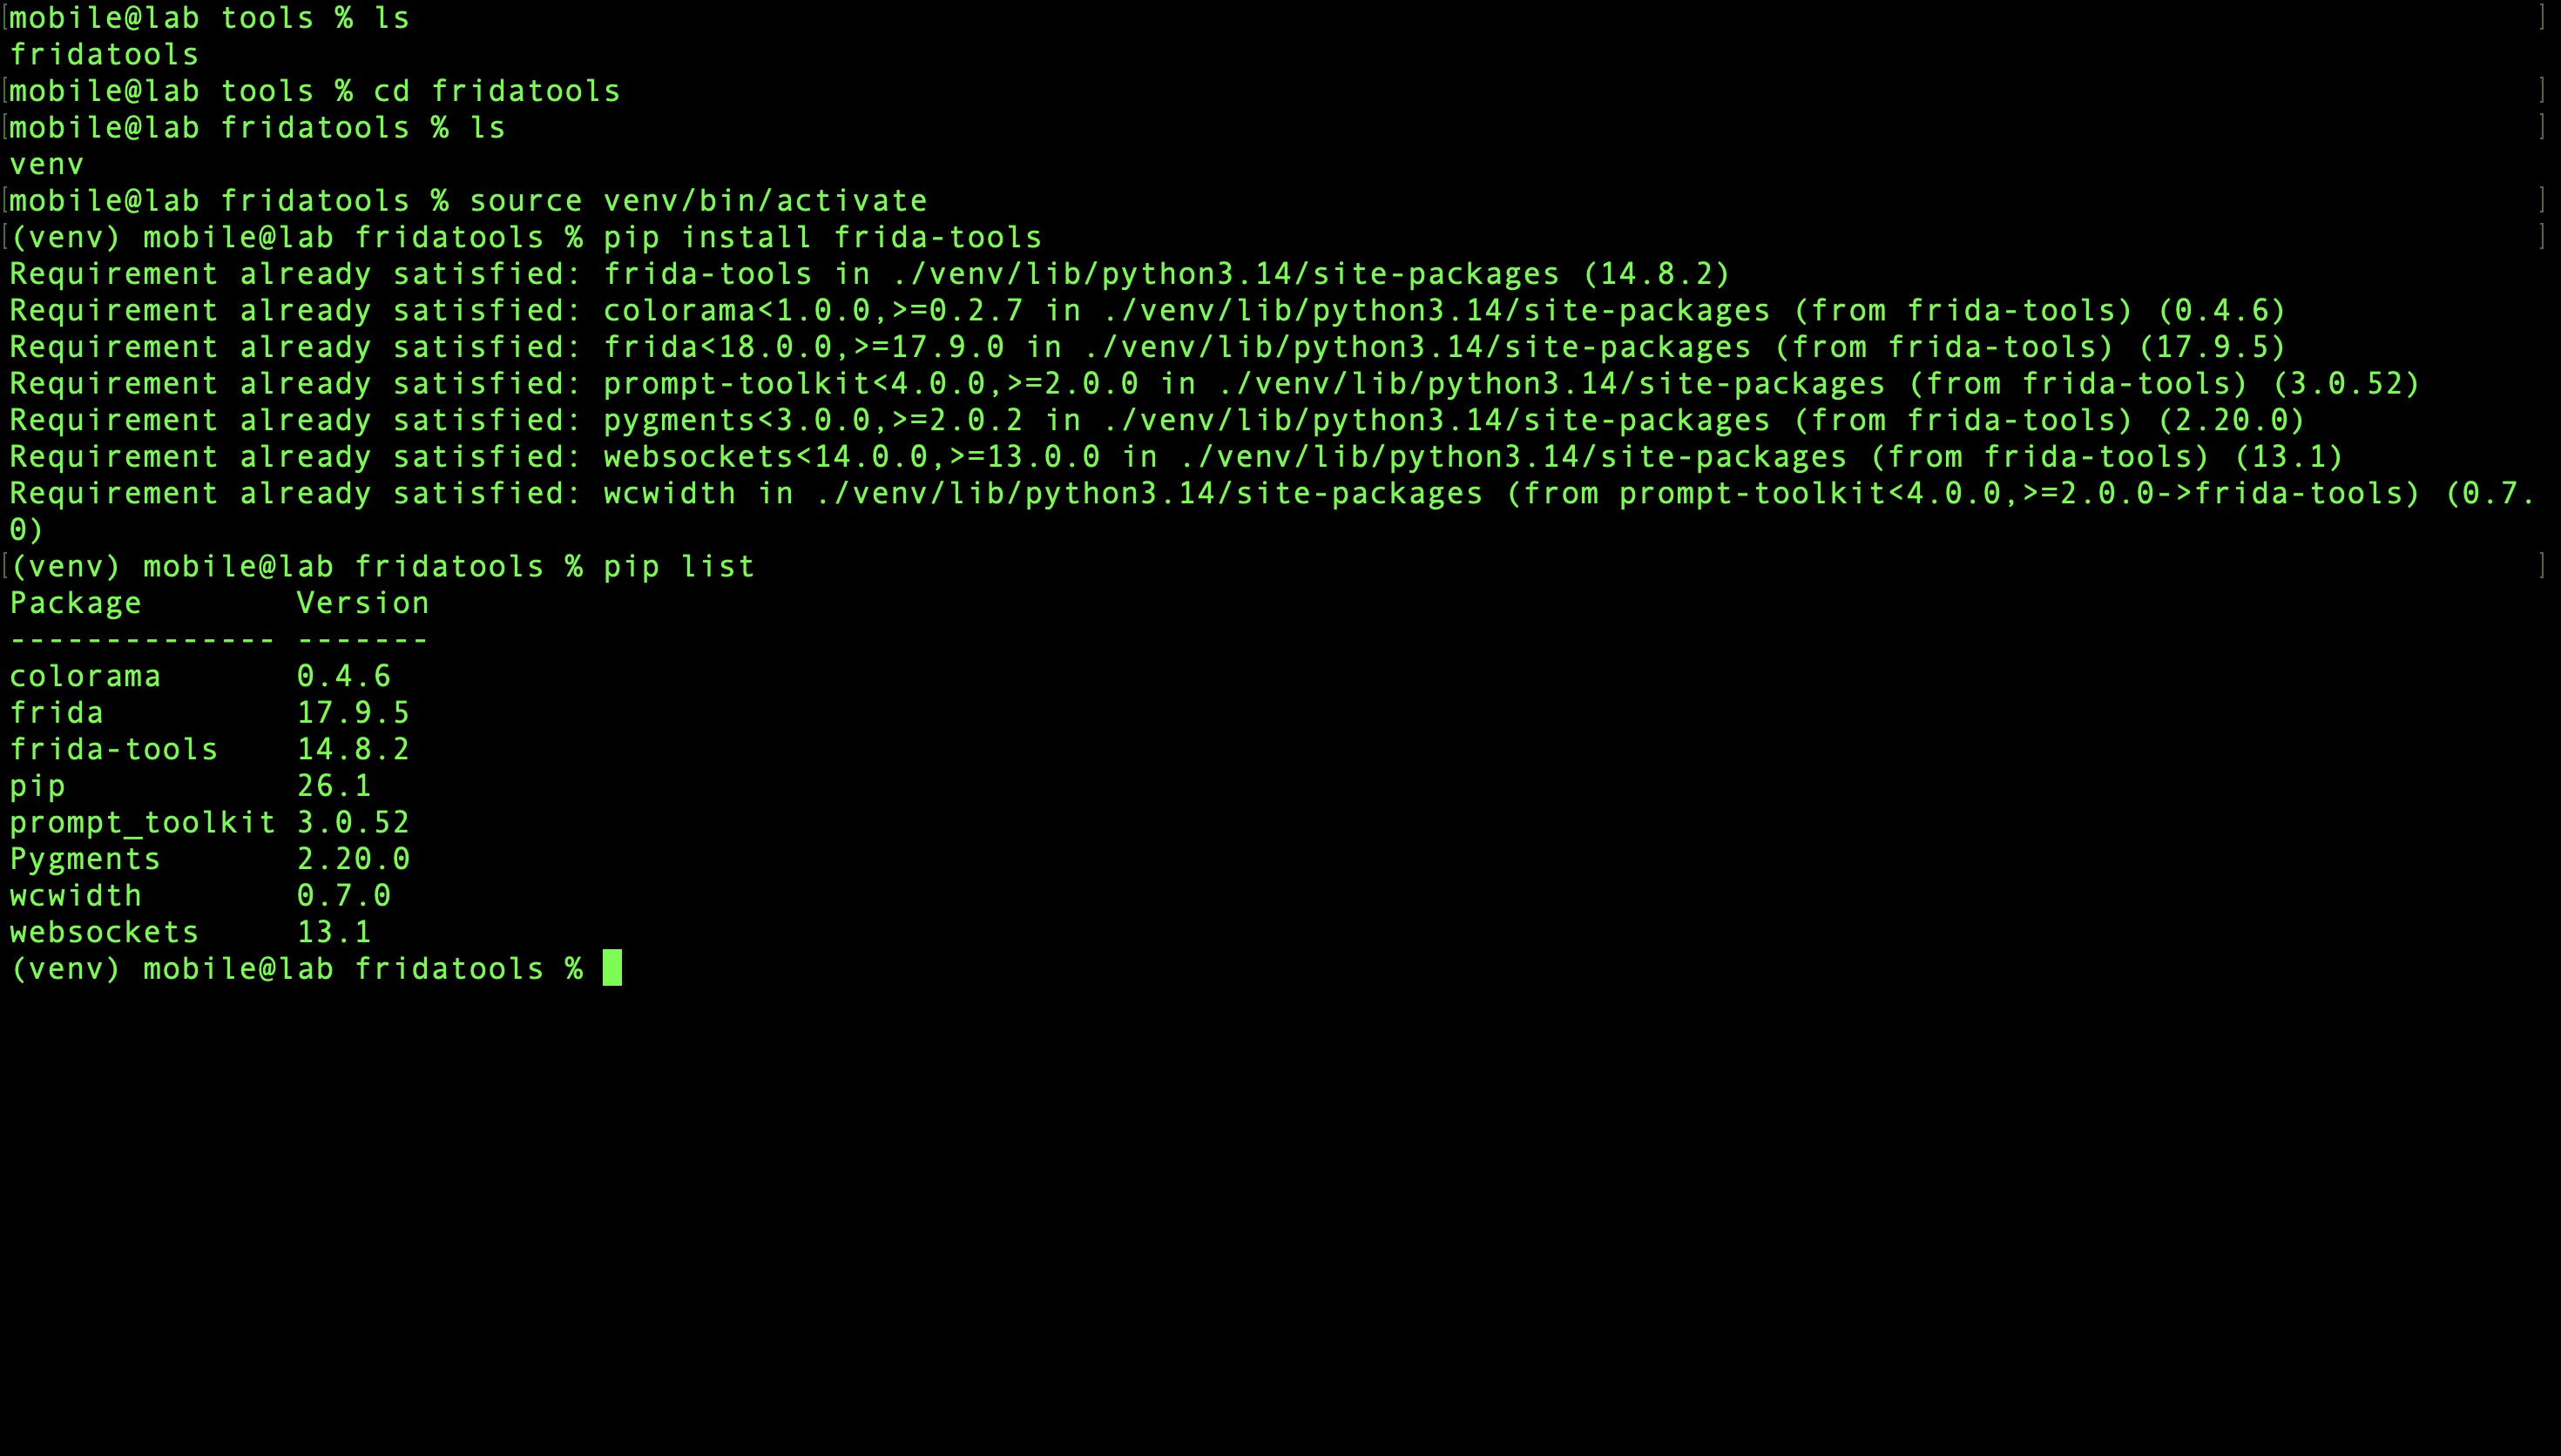
On the host machine, install the Frida client:
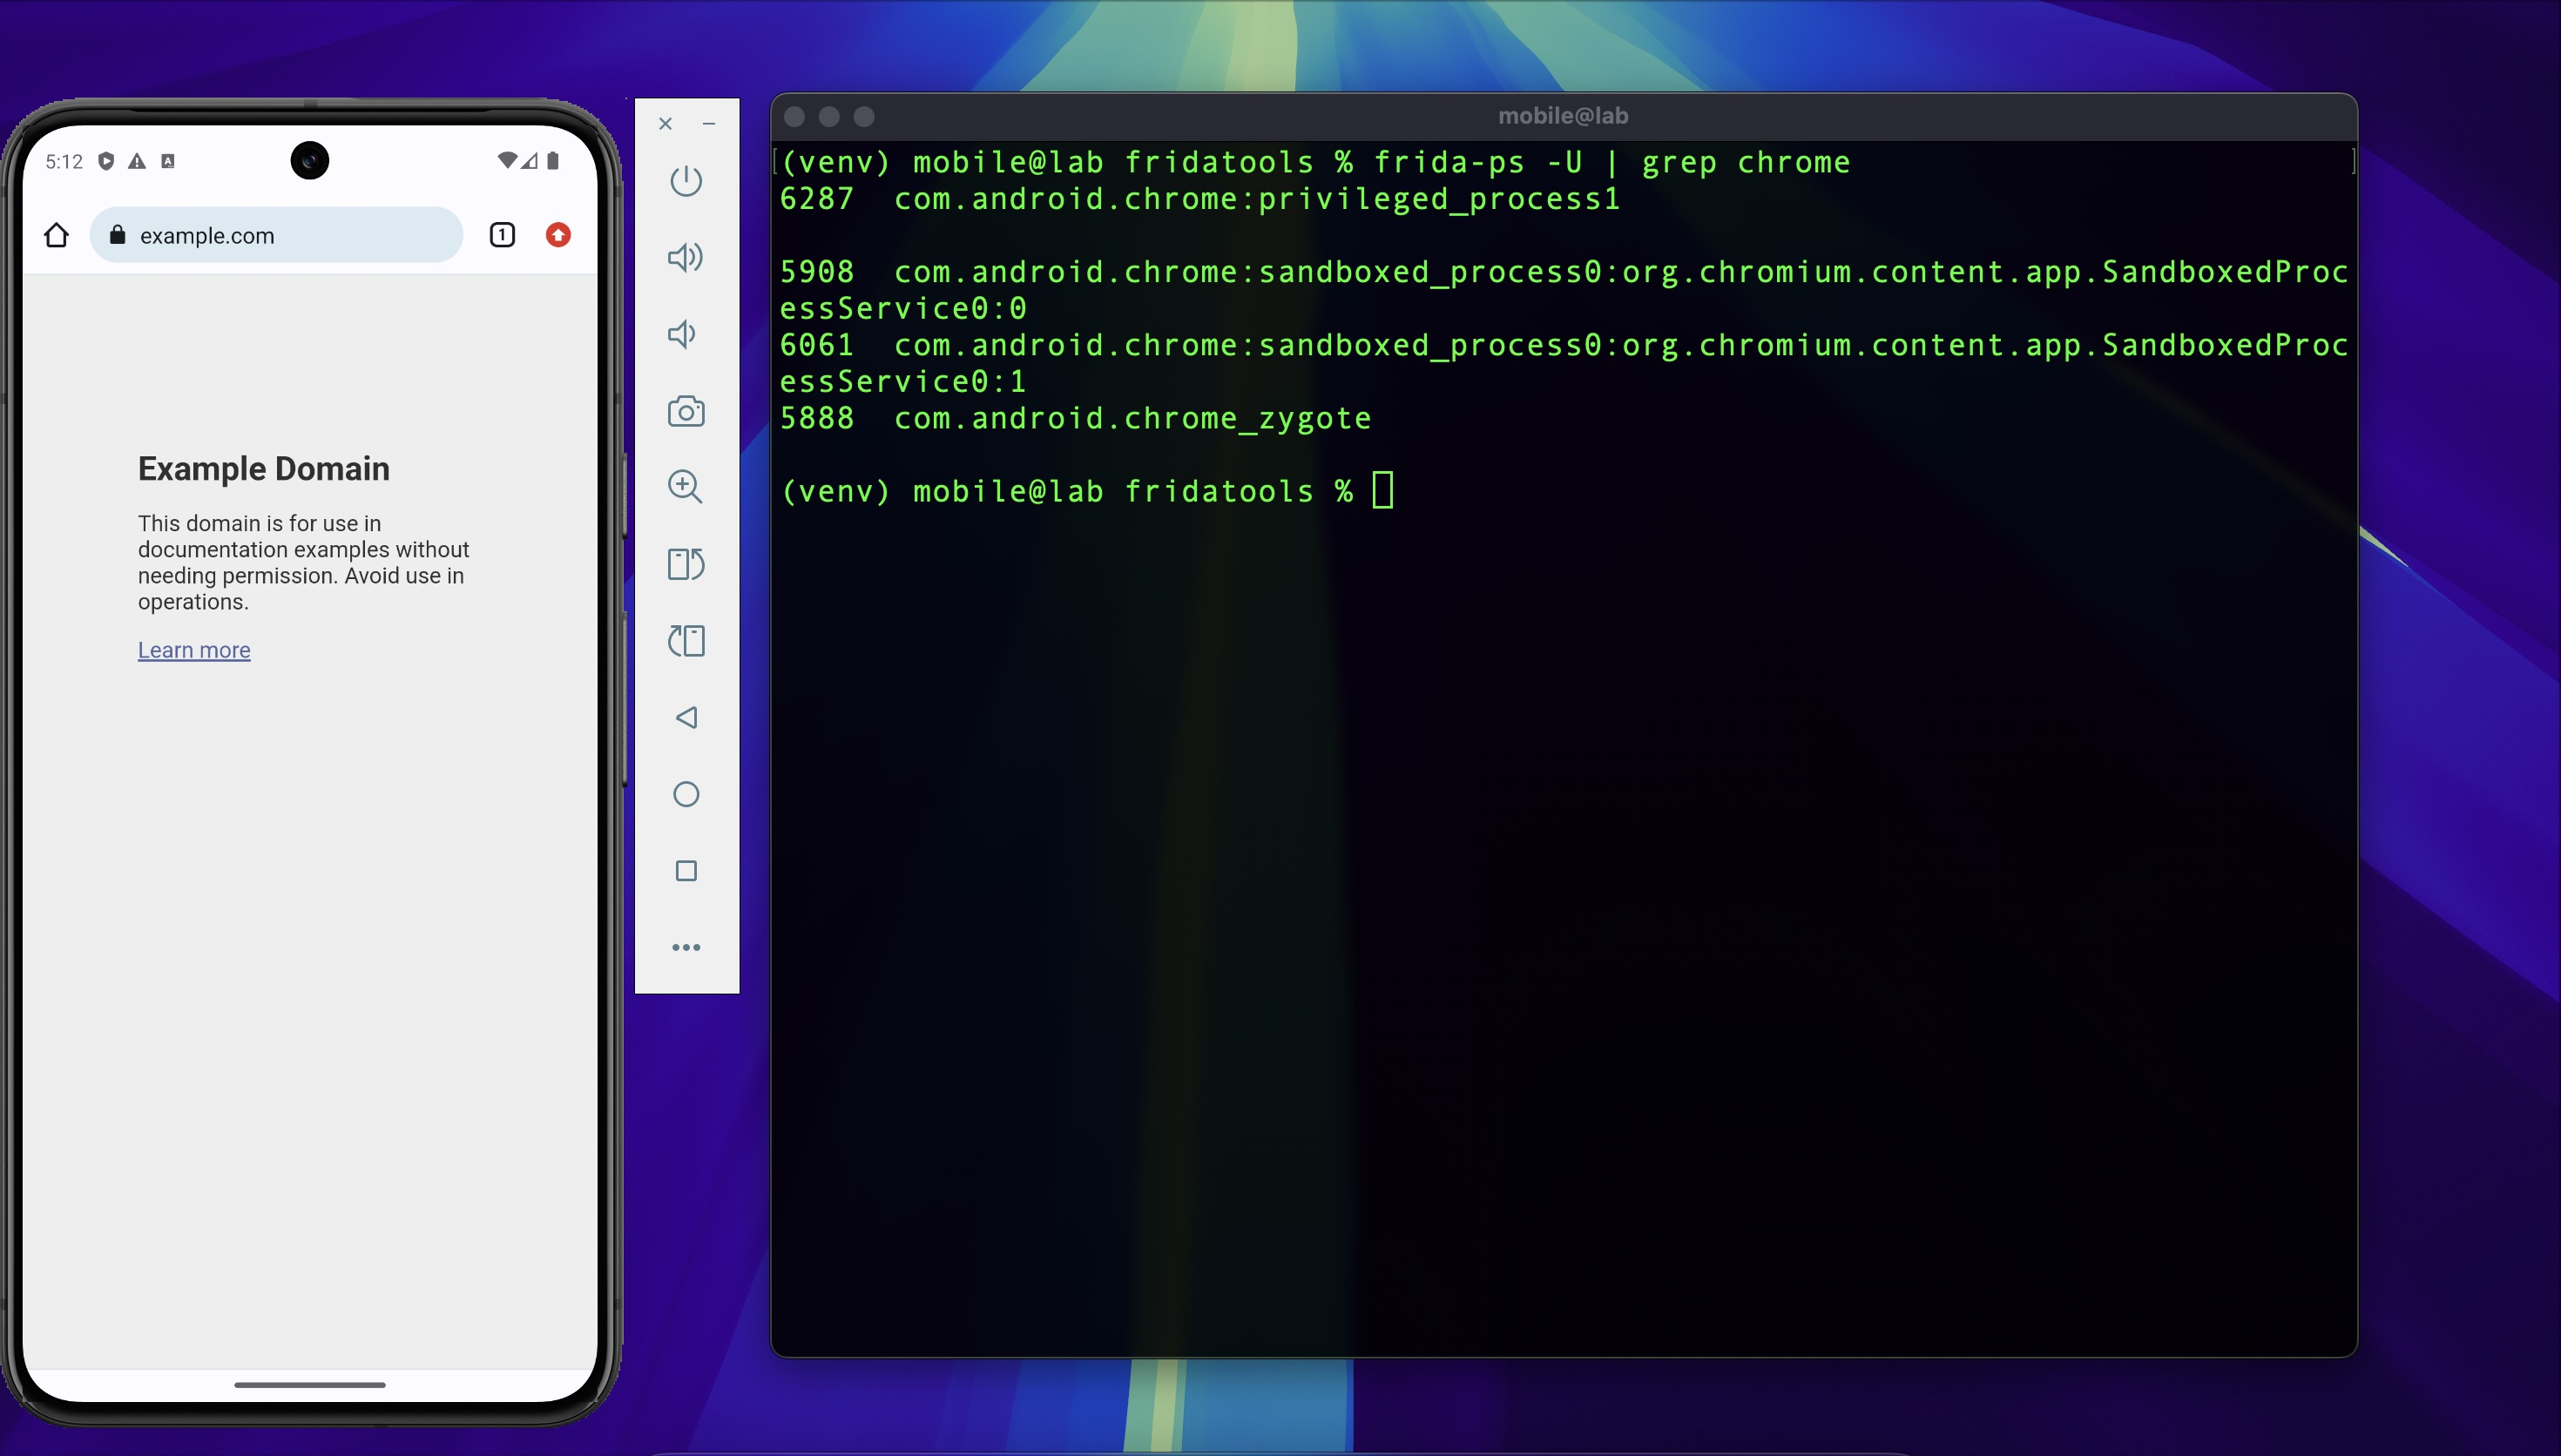
Verify the connection between host and device:
A successful response confirms frida-server is running and the host can attach to processes
on the device.
Setup Summary
| Decision | Reason |
|---|---|
| Google Play Store image | Non-rooted by default — closer to real-world device conditions |
| rootAVD over pre-rooted image | Reproducible process; demonstrates the rooting step explicitly |
| MagiskFrida over manual frida-server | Auto-starts on boot; no manual push each session |
| iptables over AVD proxy settings | Transparent redirect — captures non-proxy-aware app traffic |
| UDP 443 drop | Prevents QUIC from bypassing the TCP proxy |
| Magisk 30+ user cert trust | No additional module needed to promote user certs to system trust |