Backend Setup
Overview
The backend target is a REST API built with Node.js and Express, deployed on Railway with a MySQL database. It is publicly accessible over HTTPS — providing a realistic remote API target for the mobile application to communicate with.
Architecture
| Layer | Responsibility |
|---|---|
| Controller | HTTP request handling and routing |
| Service | Business logic and authorization |
| Repository | Database queries |
| Middleware | Authentication, validation, error handling |
Deployment on Railway
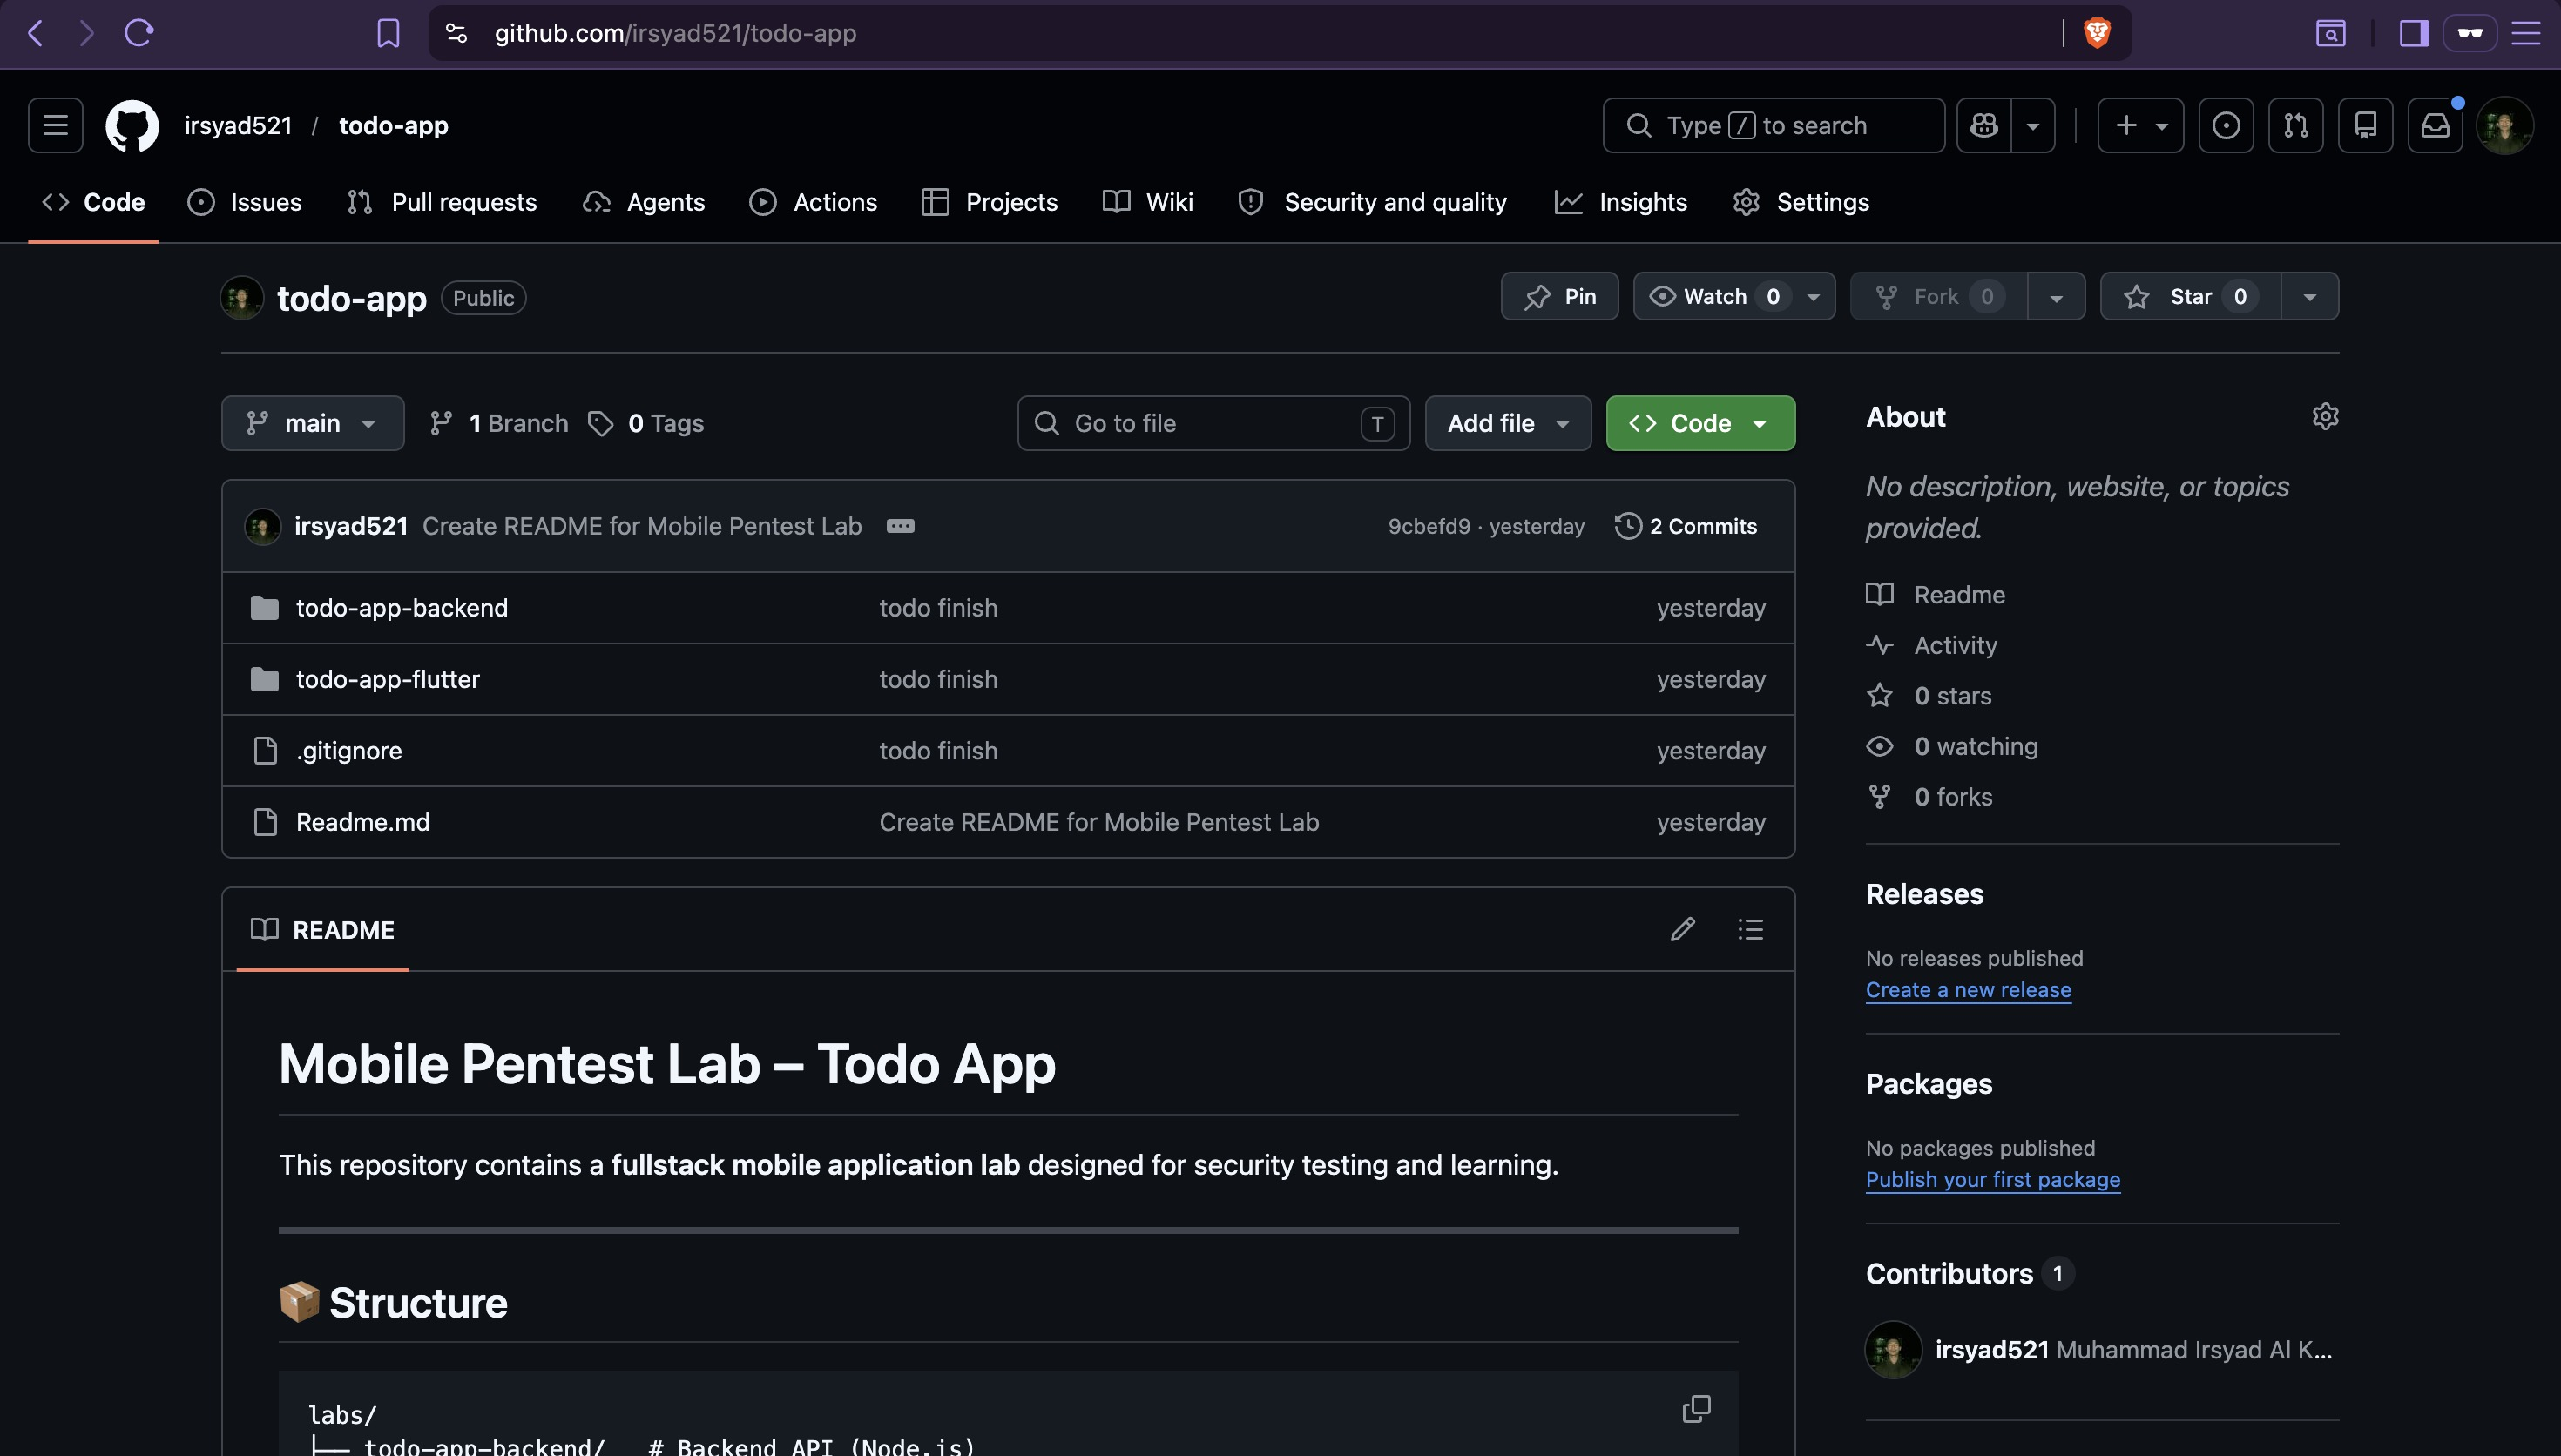
Clone the project repository — this contains both the Flutter frontend and Node.js backend:
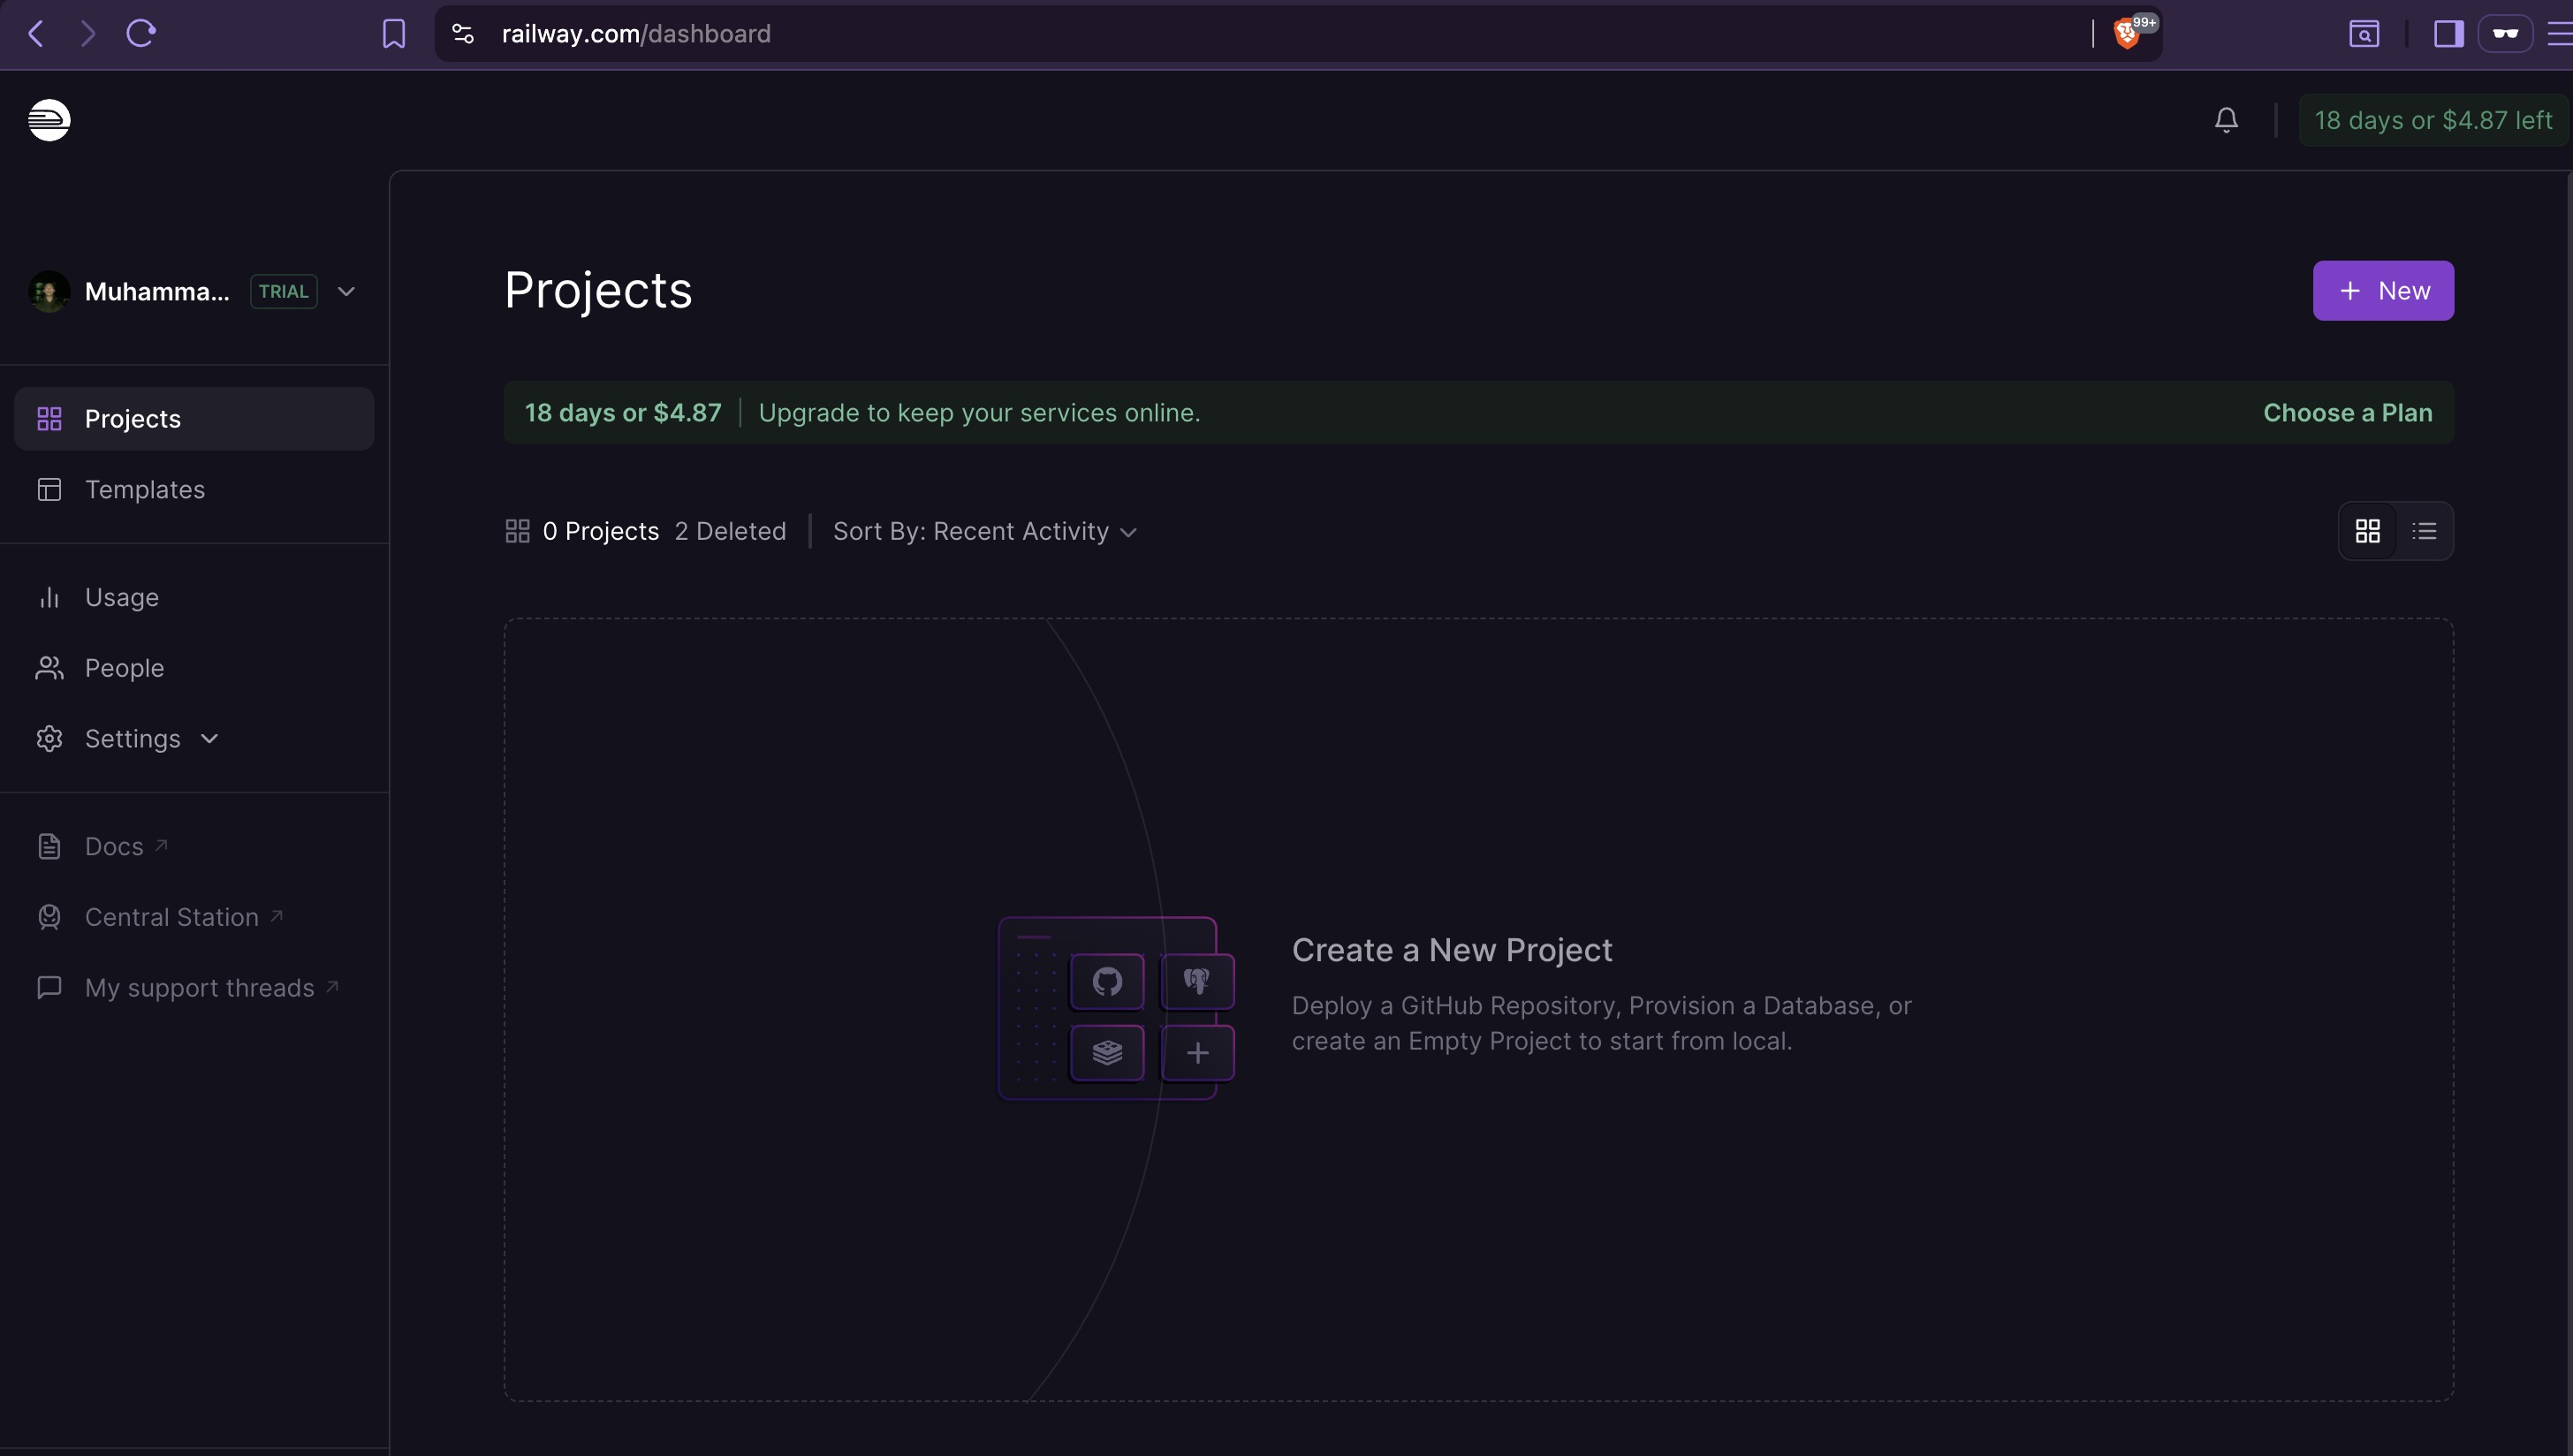
1. Create a Railway Account
Sign up at https://railway.com — Railway provides $5 free credit and handles SSL certificate provisioning automatically. The domain and its certificate are relevant later: the Flutter app implements SSL pinning against the deployed Railway domain, so the certificate fingerprint discovered during static analysis maps directly back to whatever Railway provisions here.
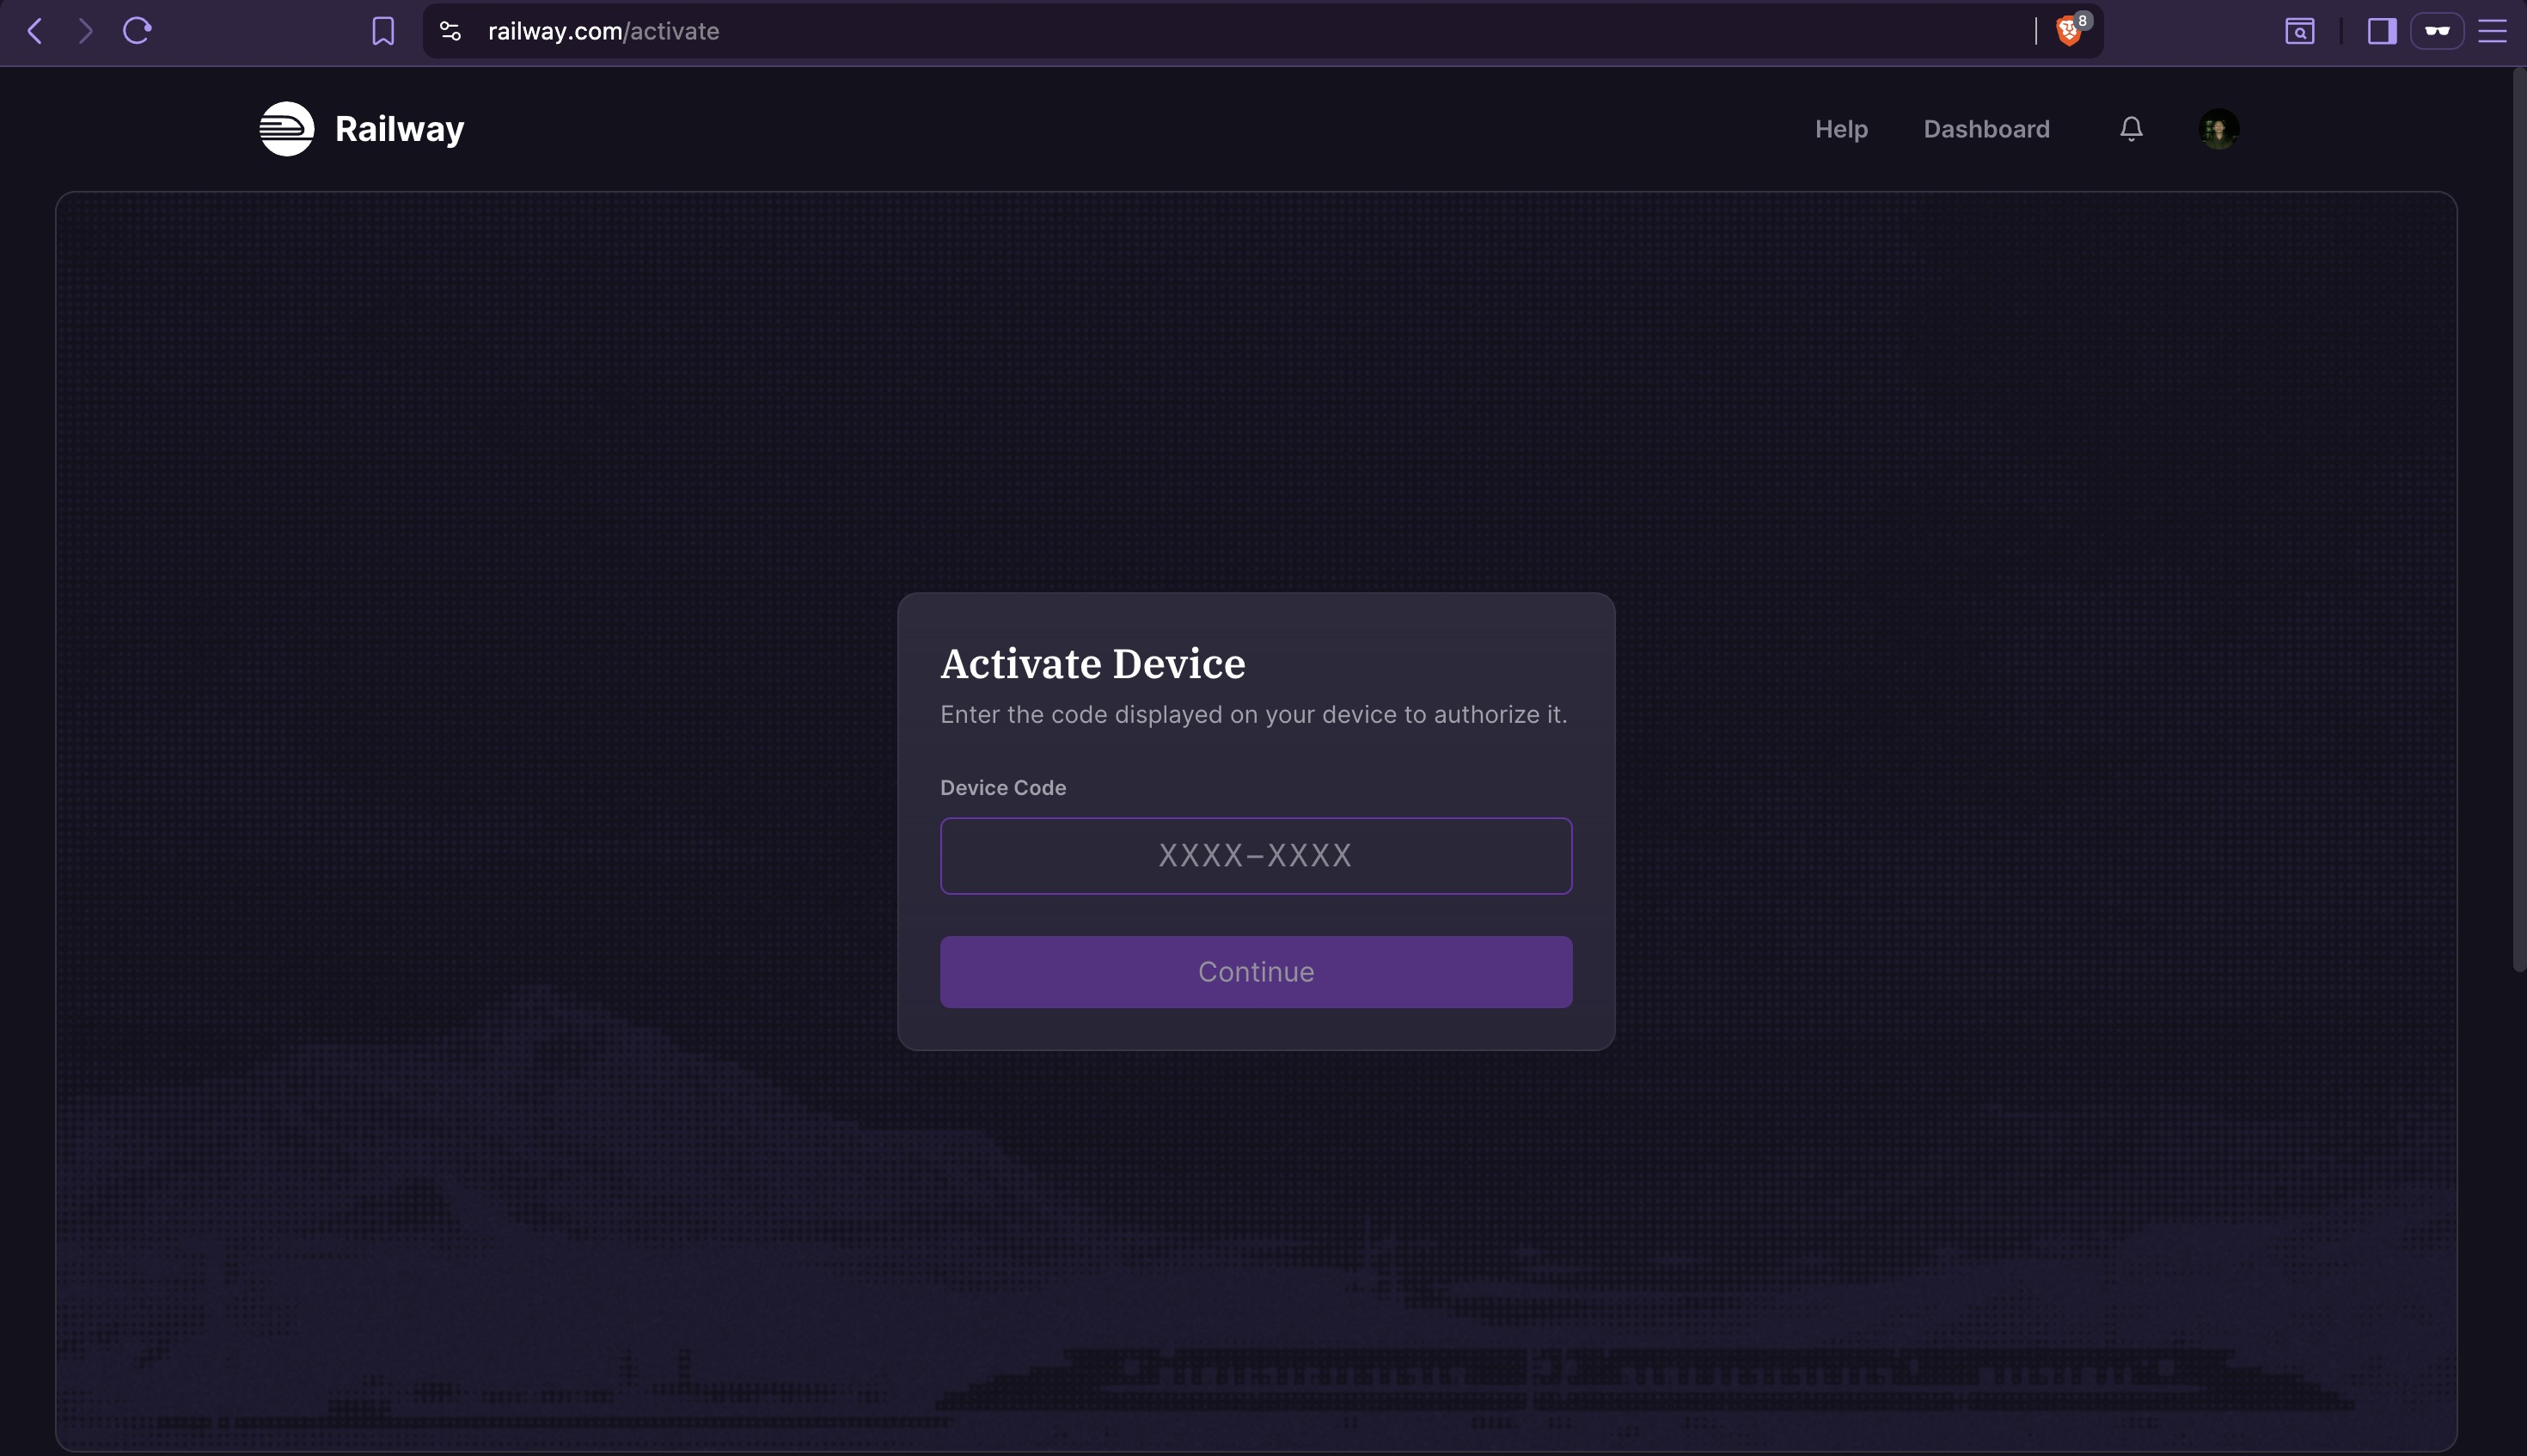
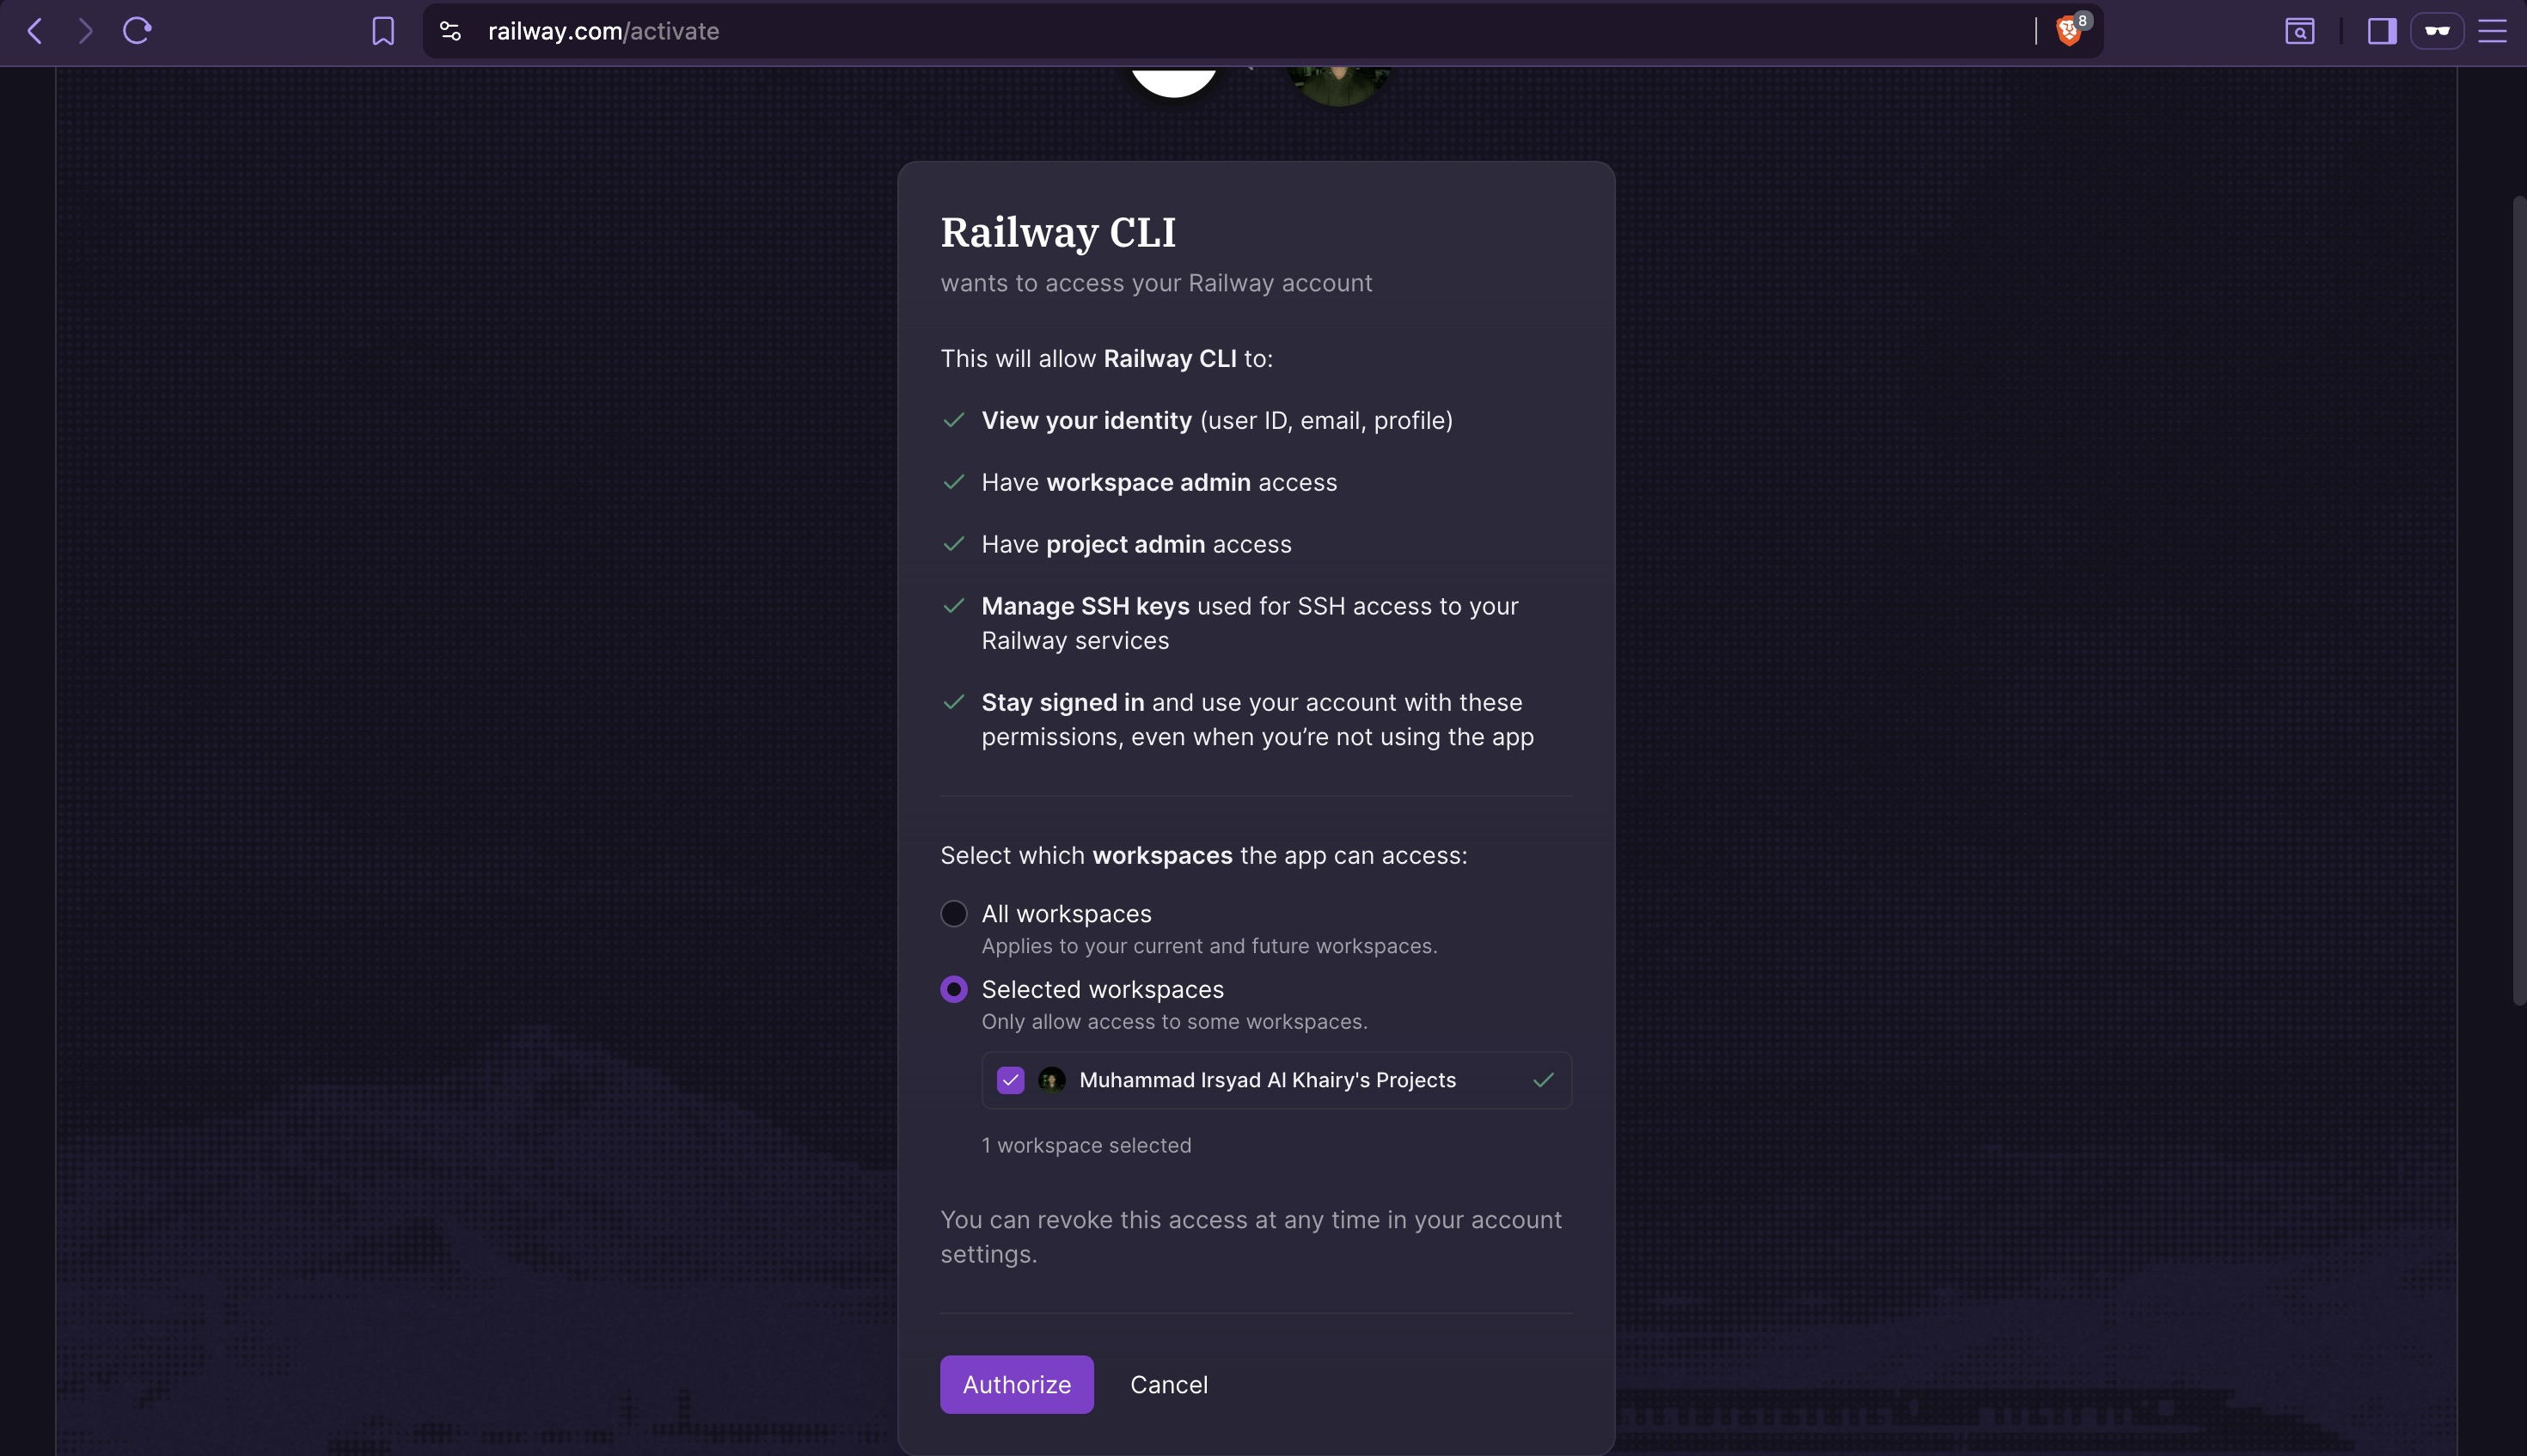
2. Install Railway CLI and Login
Follow the installation guide at https://docs.railway.com/cli, then authenticate:
This opens a browser prompt with a confirmation code.

Verify authentication:

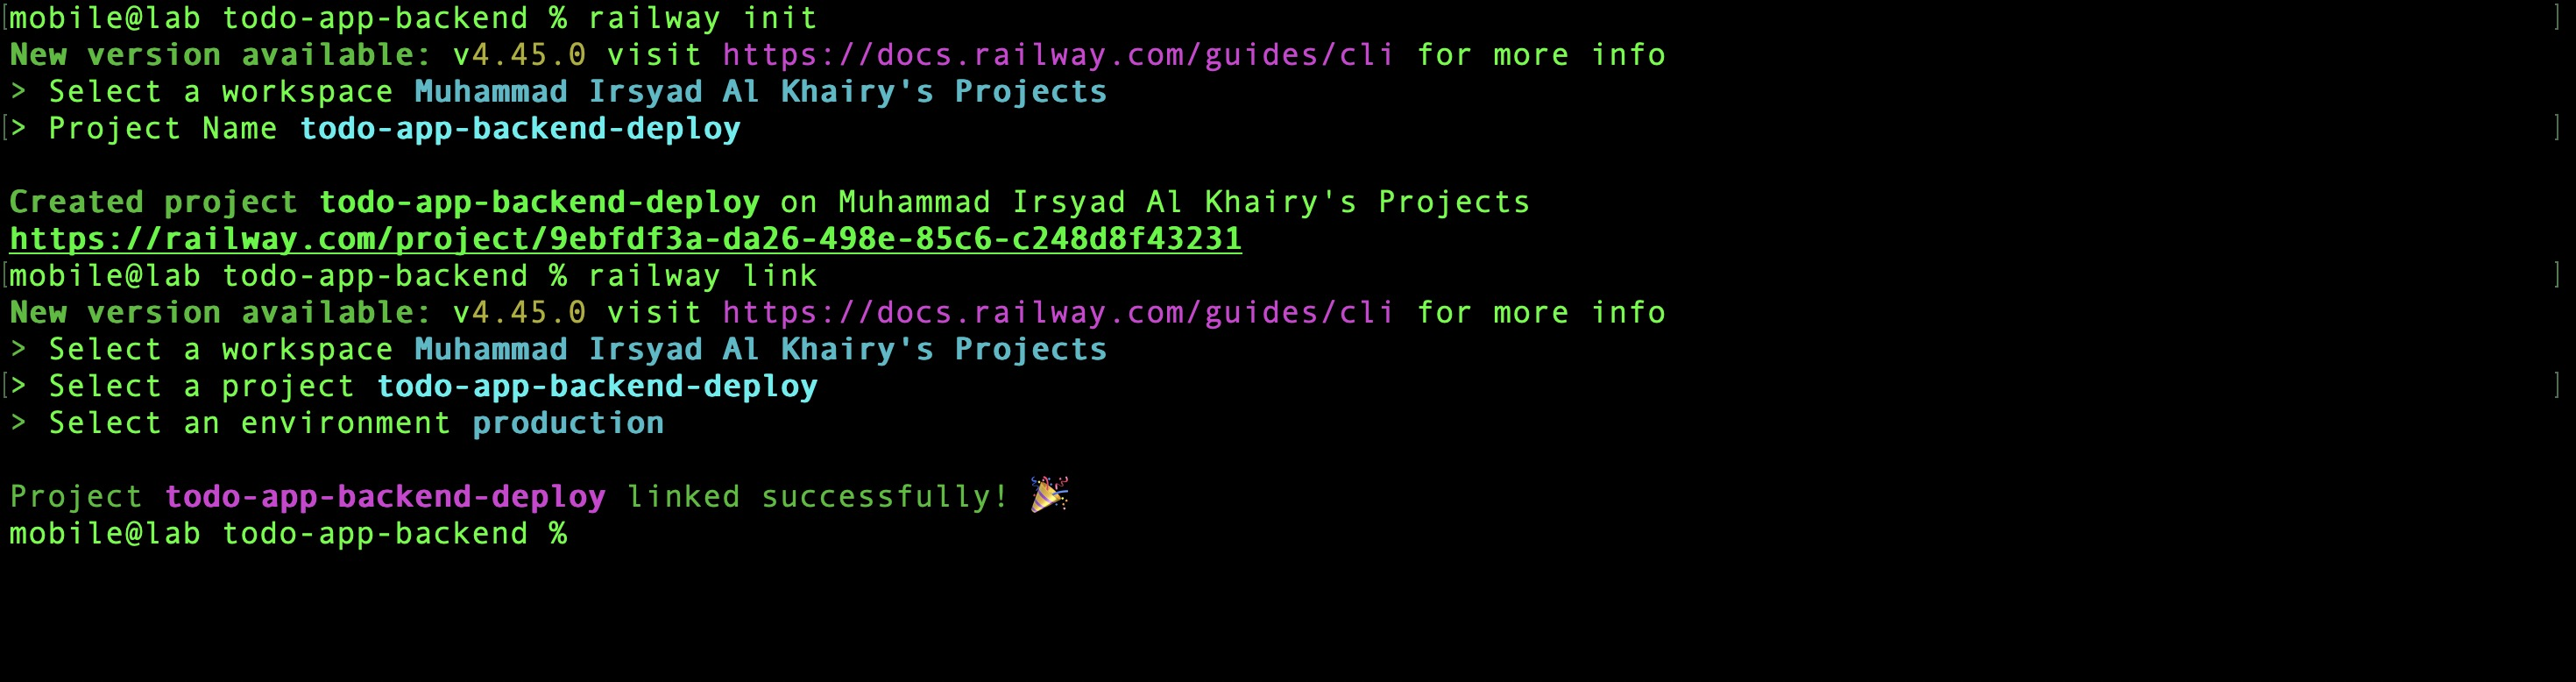
3. Initialize and Link Project
railway init    # enter project name: todo-app-backend-deploy
railway link    # select the project just created
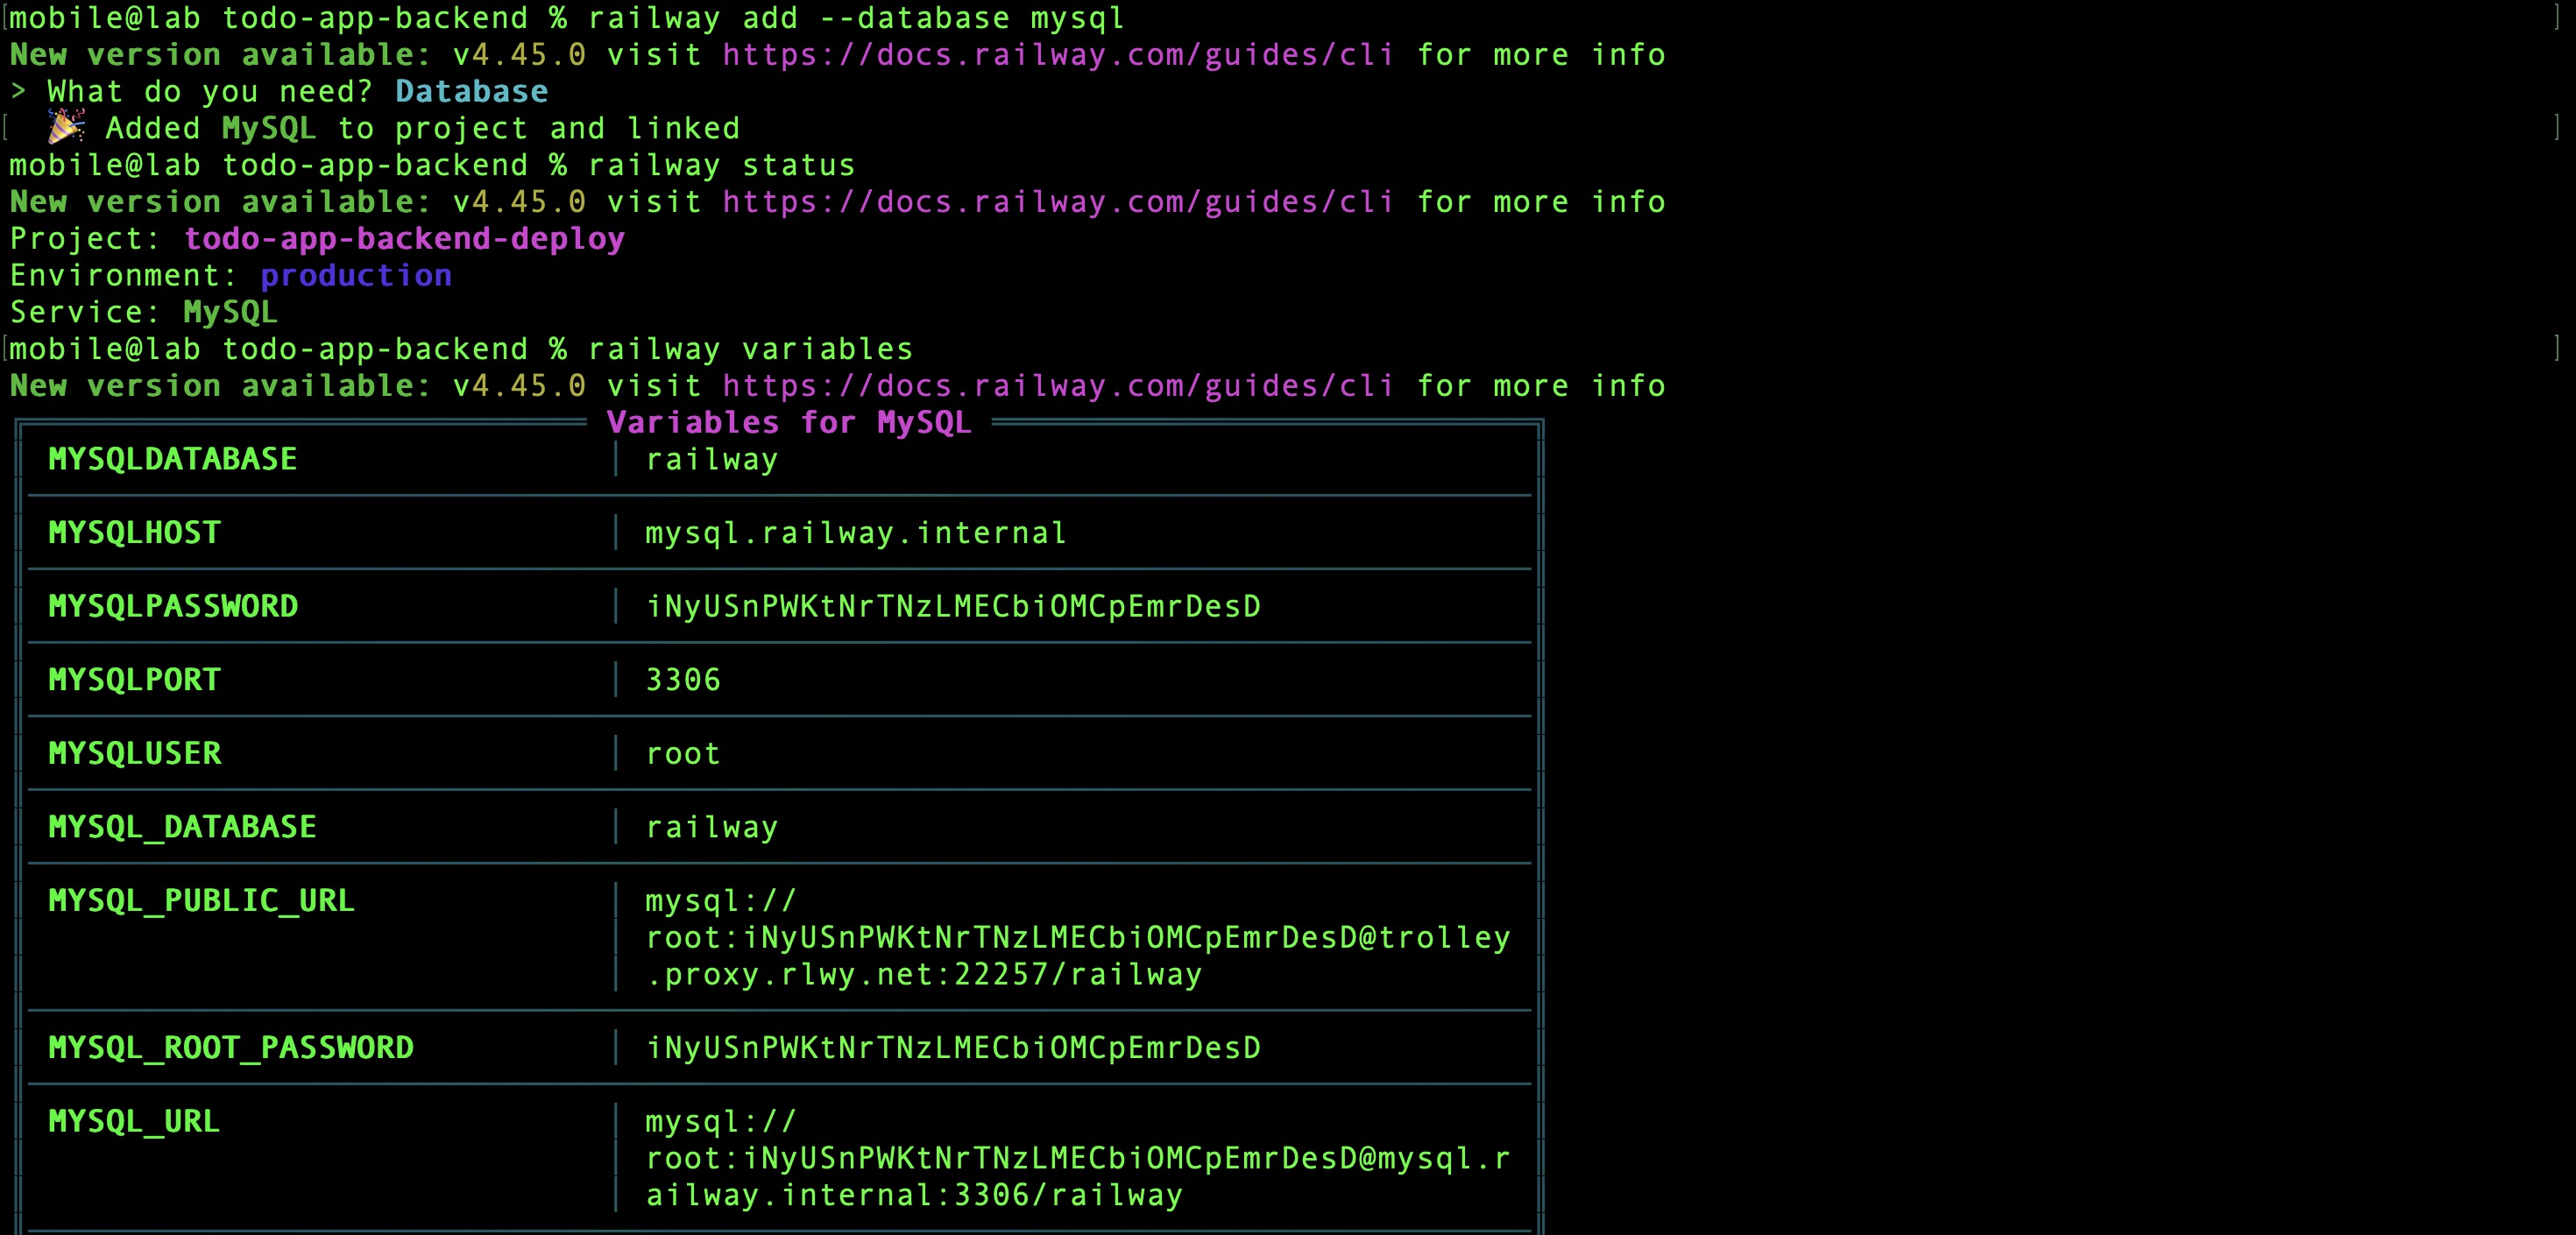
4. Add MySQL Database
railway add --database mysql    # provision MySQL service
railway status                  # verify services in project
railway variables               # inspect MySQL connection variables
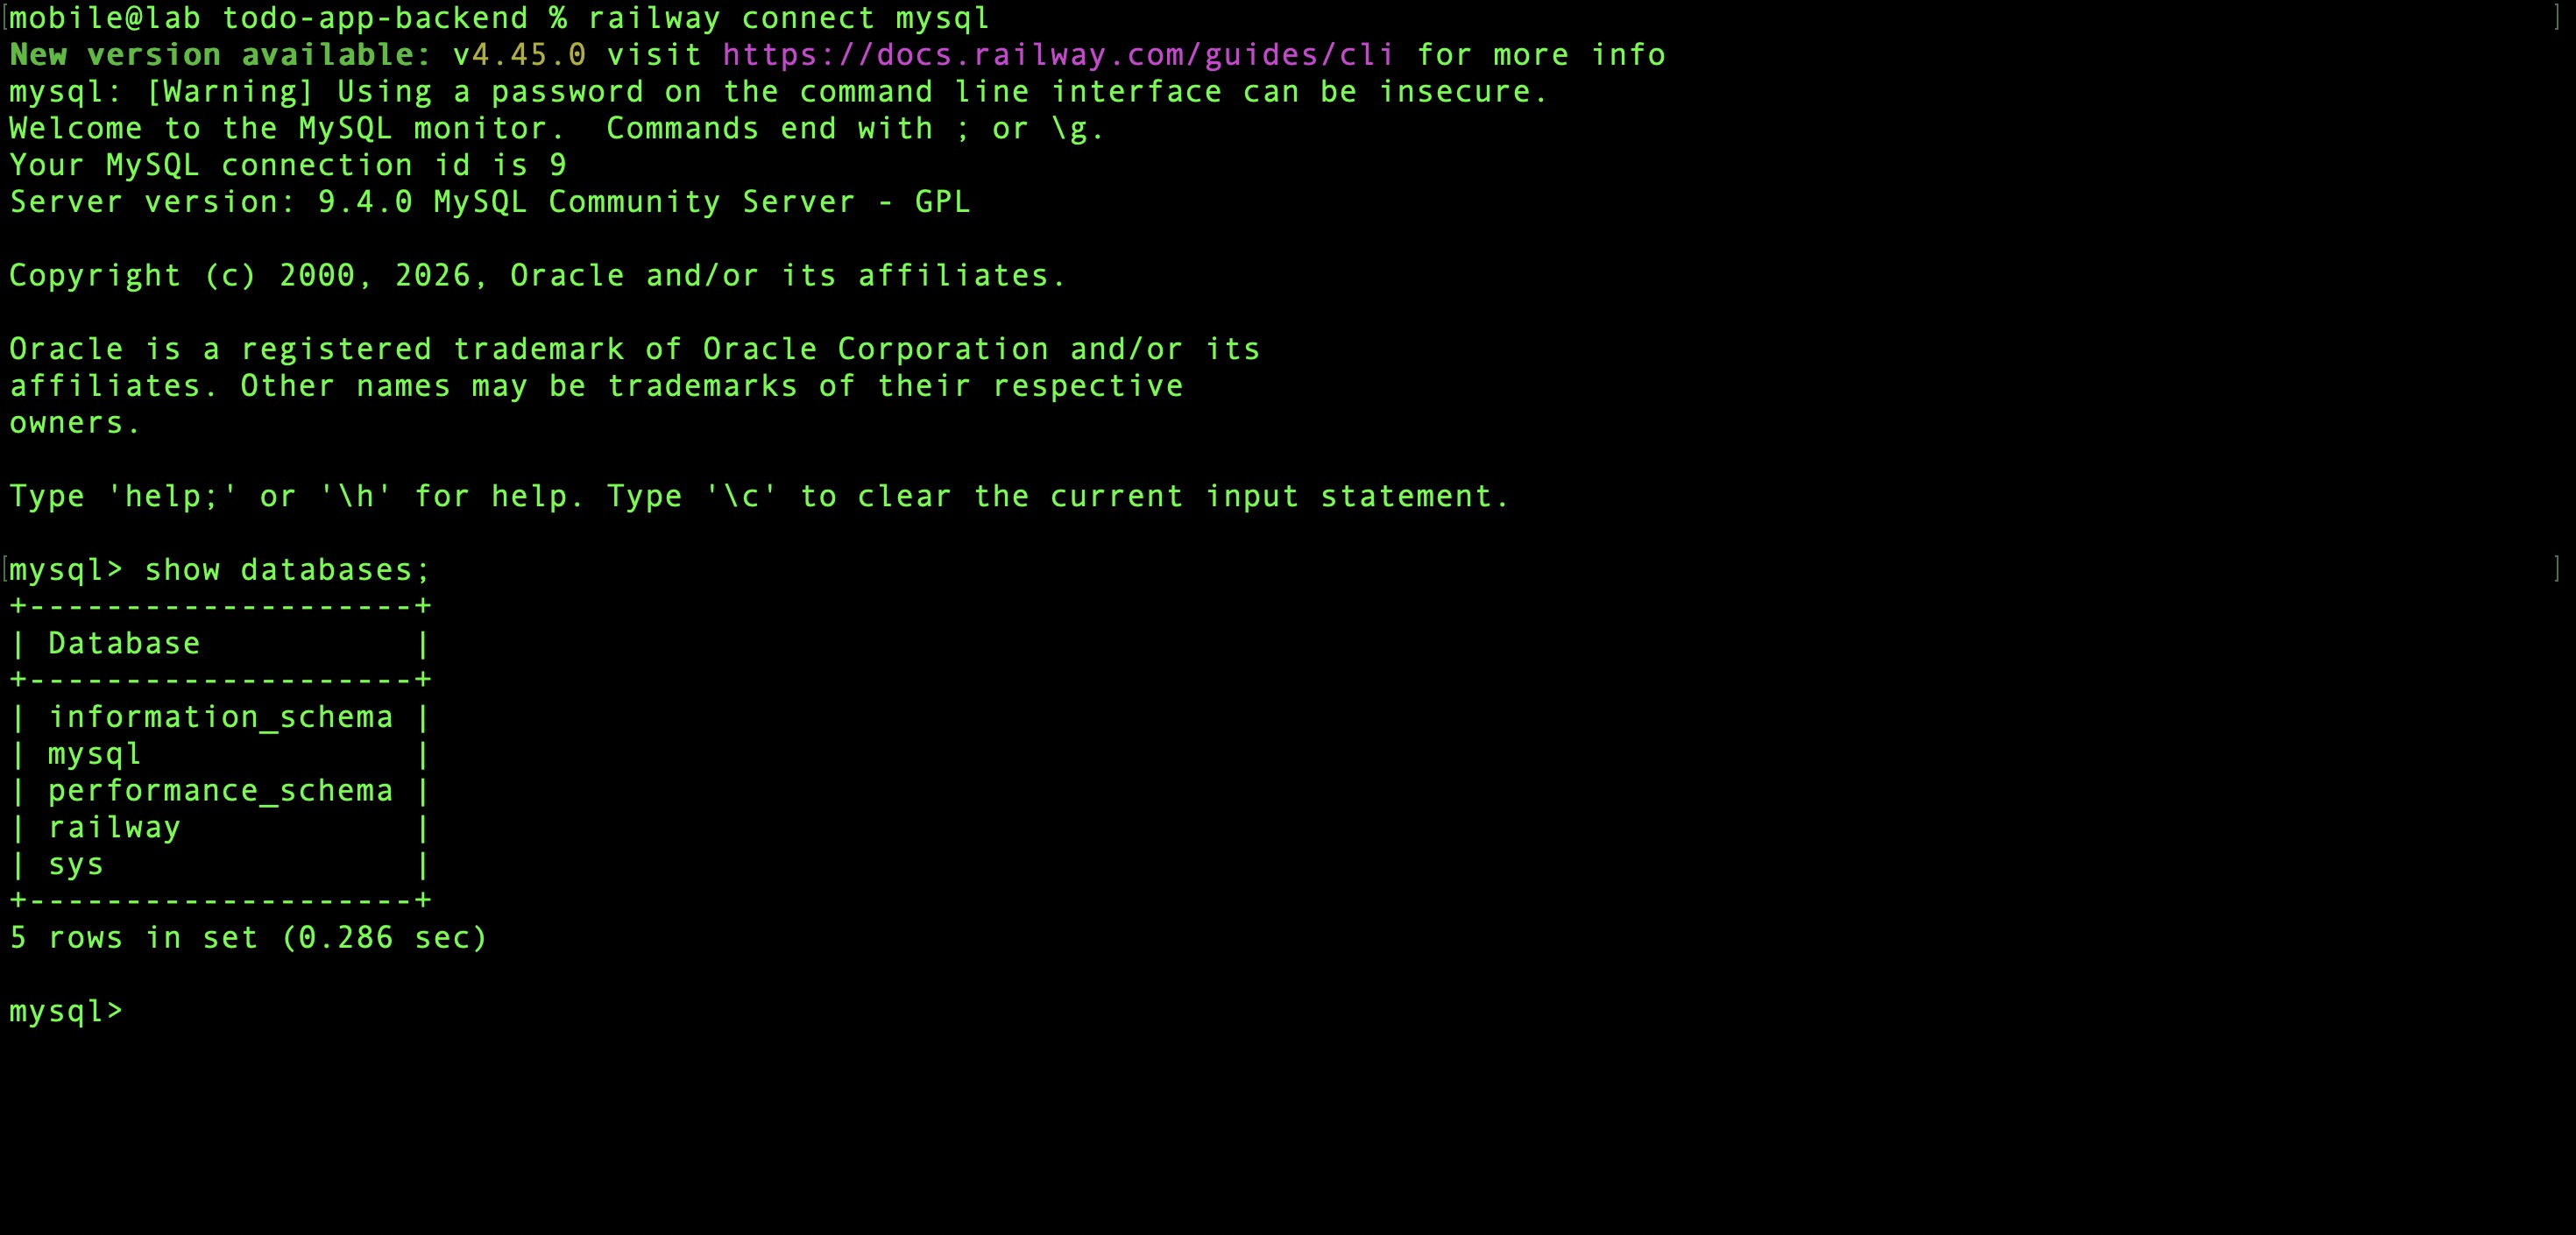
Confirm the database is reachable:
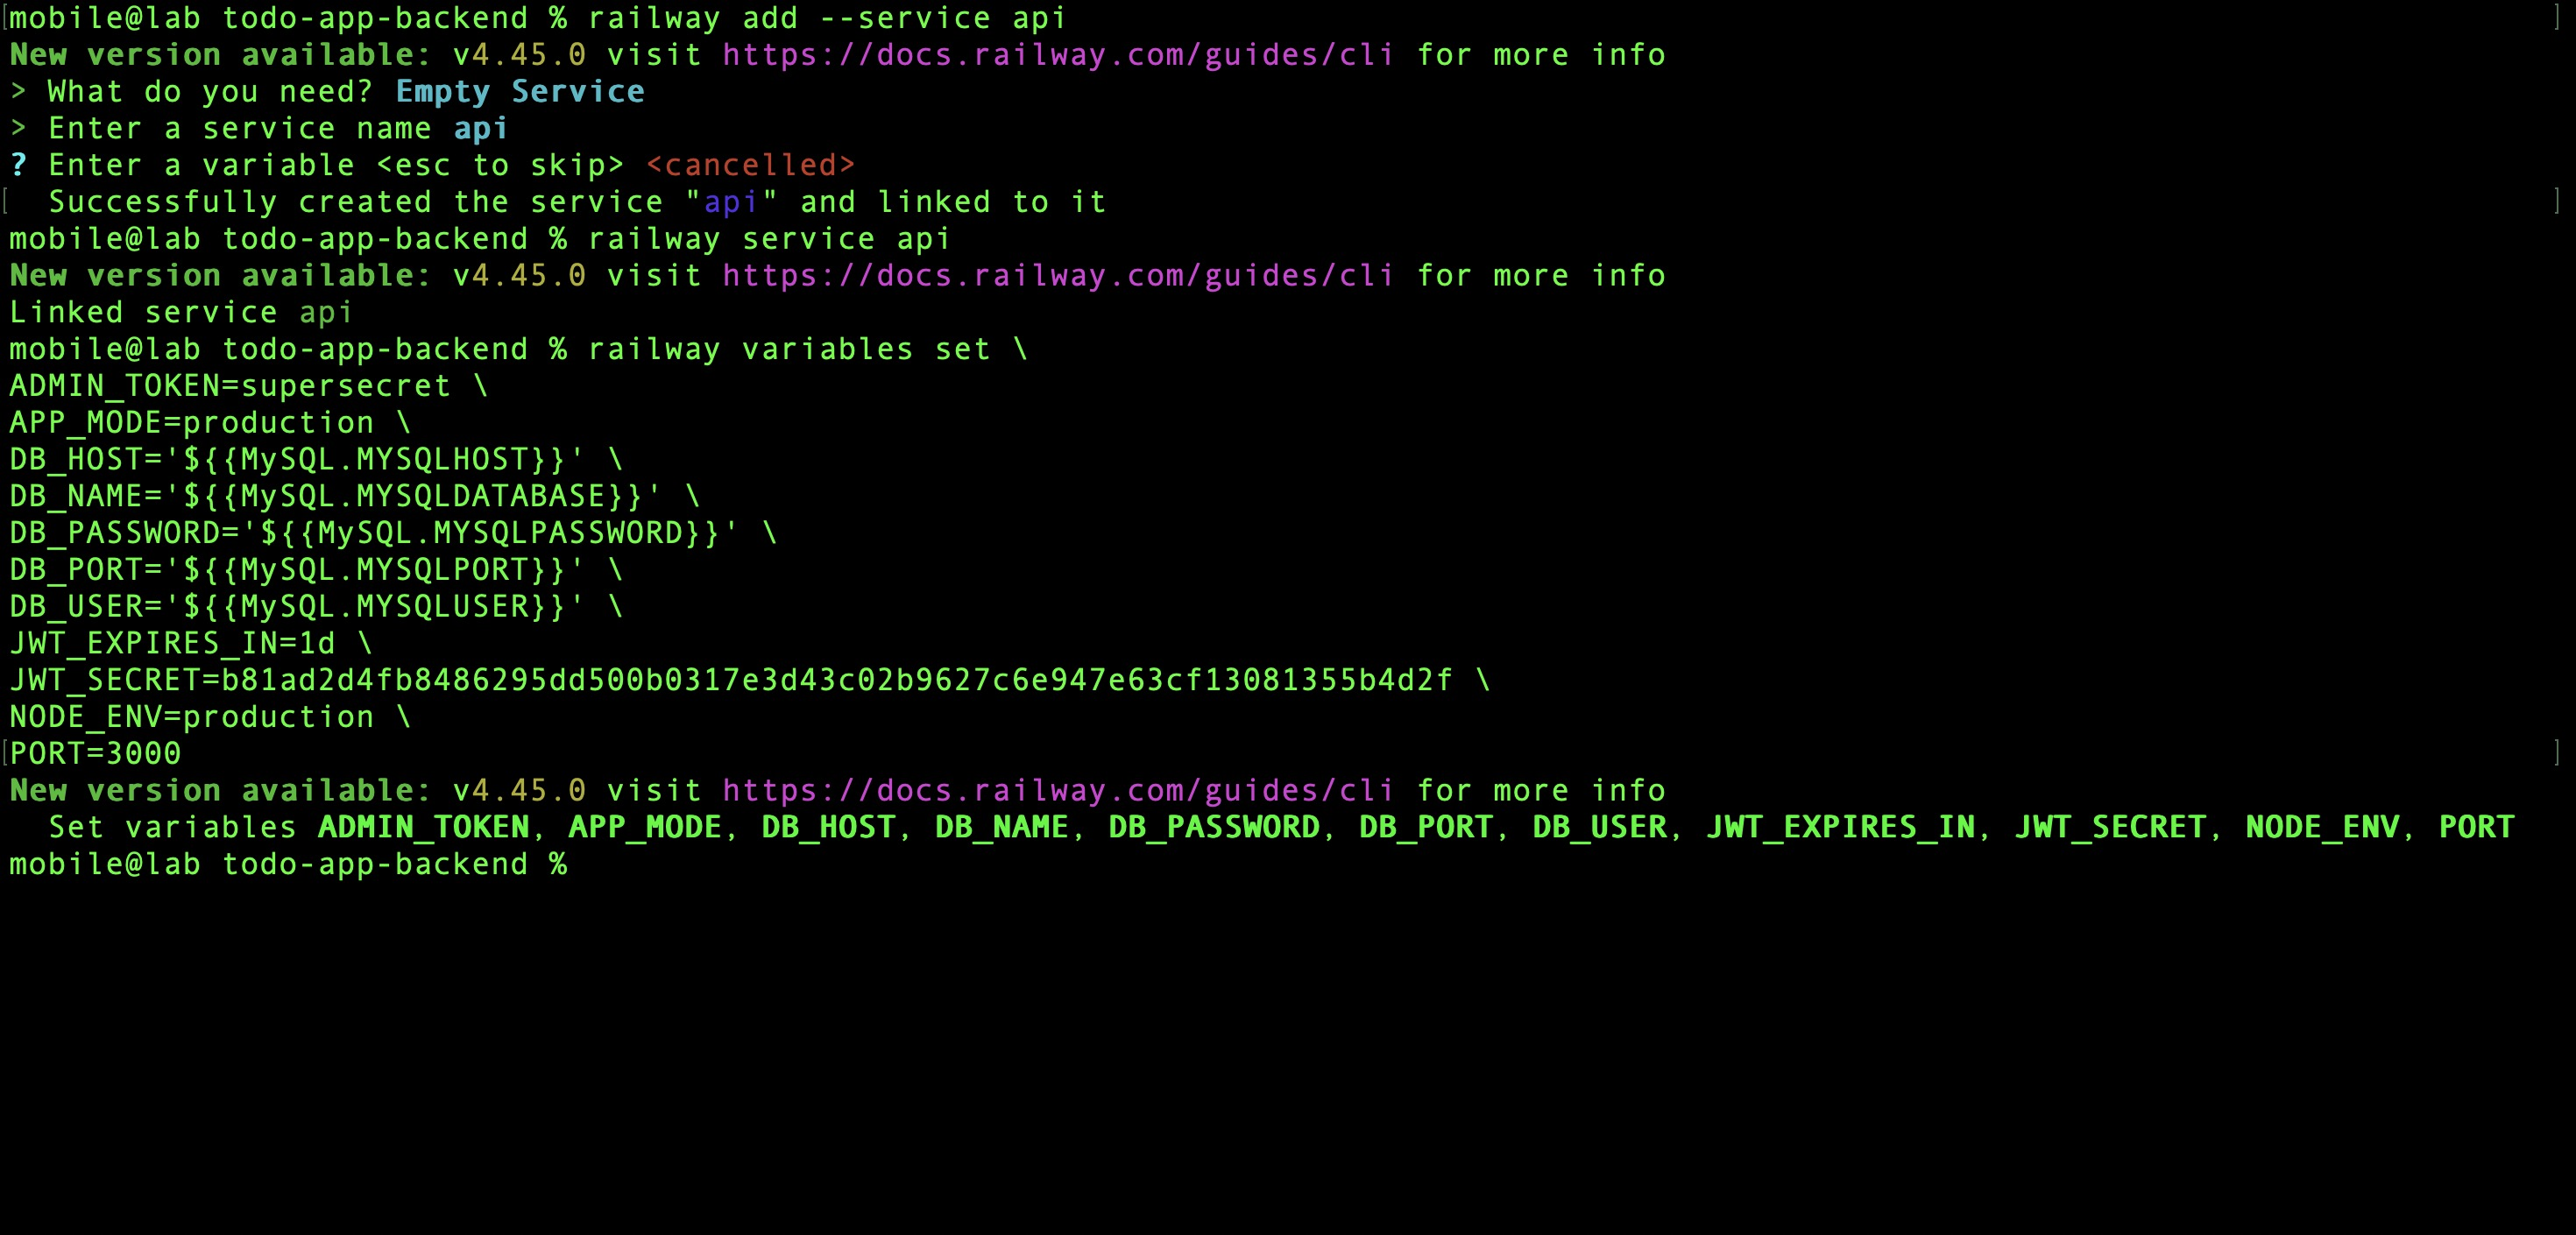
5. Add and Configure API Service
From inside the todo-app-backend directory, create the API service:
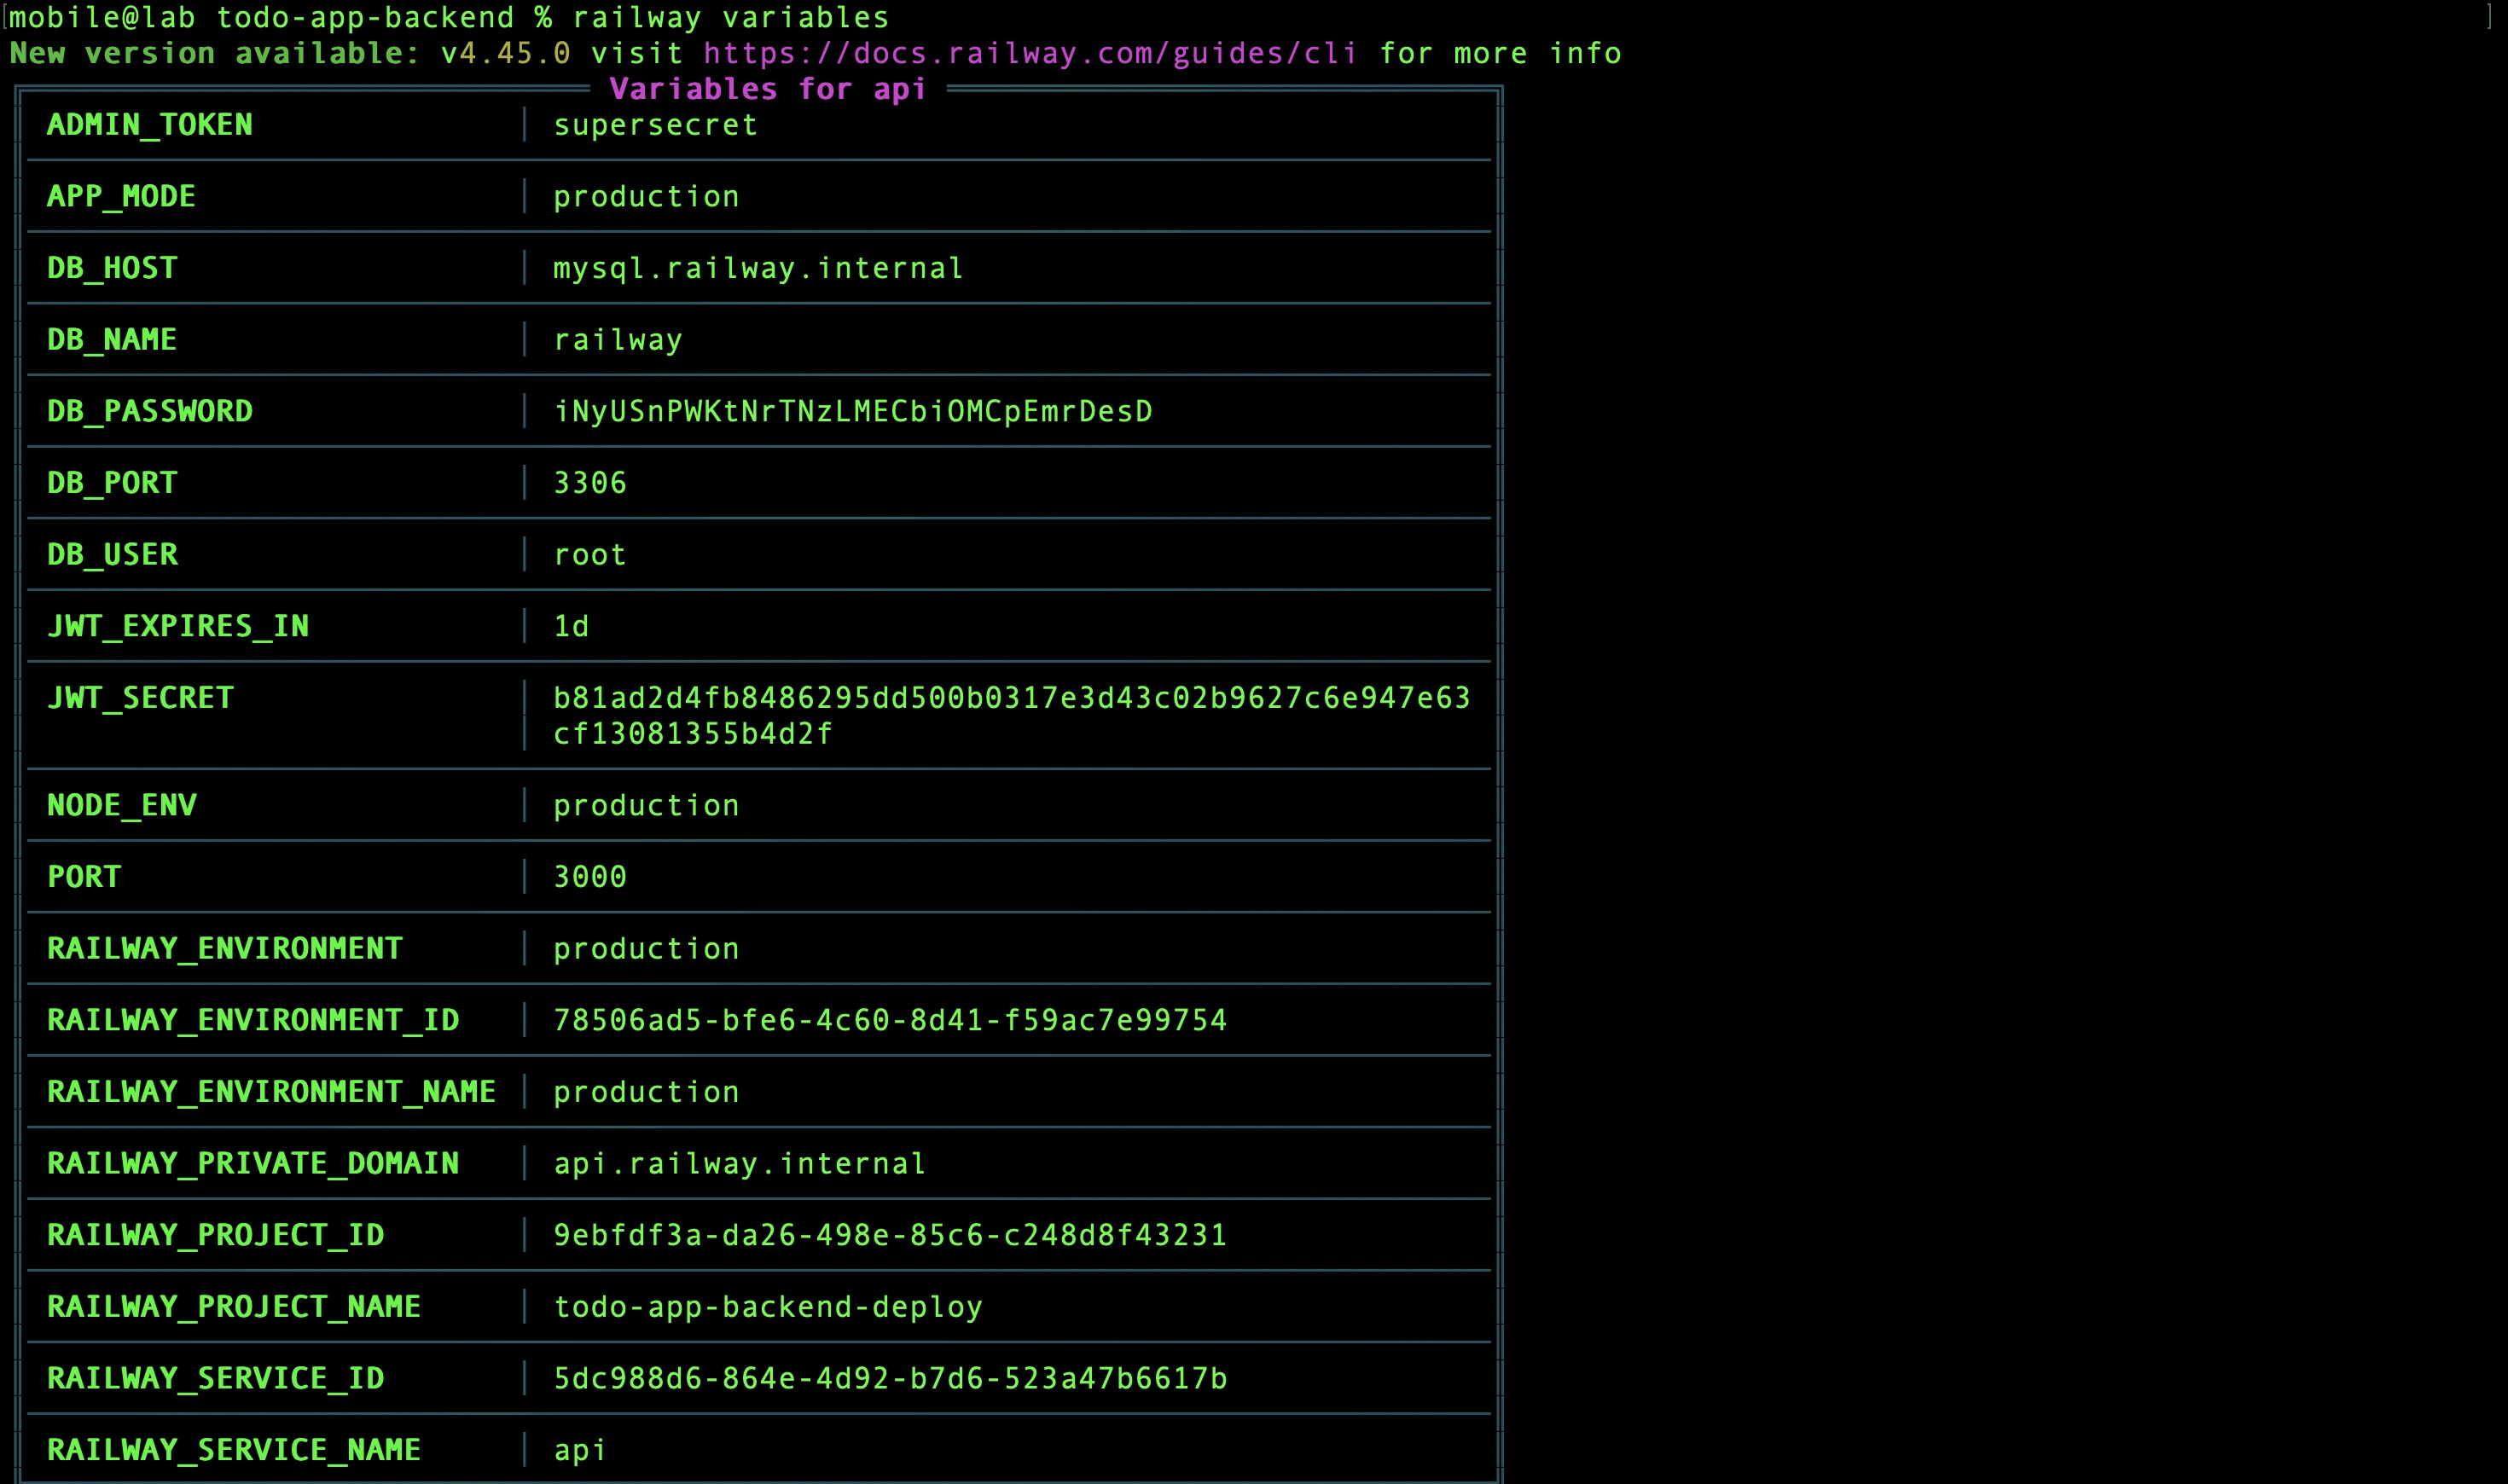
Set the required environment variables:
railway variables set \
  ADMIN_TOKEN=supersecret \
  APP_MODE=production \
  DB_HOST='${{MySQL.MYSQLHOST}}' \
  DB_NAME='${{MySQL.MYSQLDATABASE}}' \
  DB_PASSWORD='${{MySQL.MYSQLPASSWORD}}' \
  DB_PORT='${{MySQL.MYSQLPORT}}' \
  DB_USER='${{MySQL.MYSQLUSER}}' \
  JWT_EXPIRES_IN=1d \
  JWT_SECRET=b81ad2d4fb8486295dd500b0317e3d43c02b9627c6e947e63cf13081355b4d2f \
  NODE_ENV=production \
  PORT=3000
Verify the variables are applied:
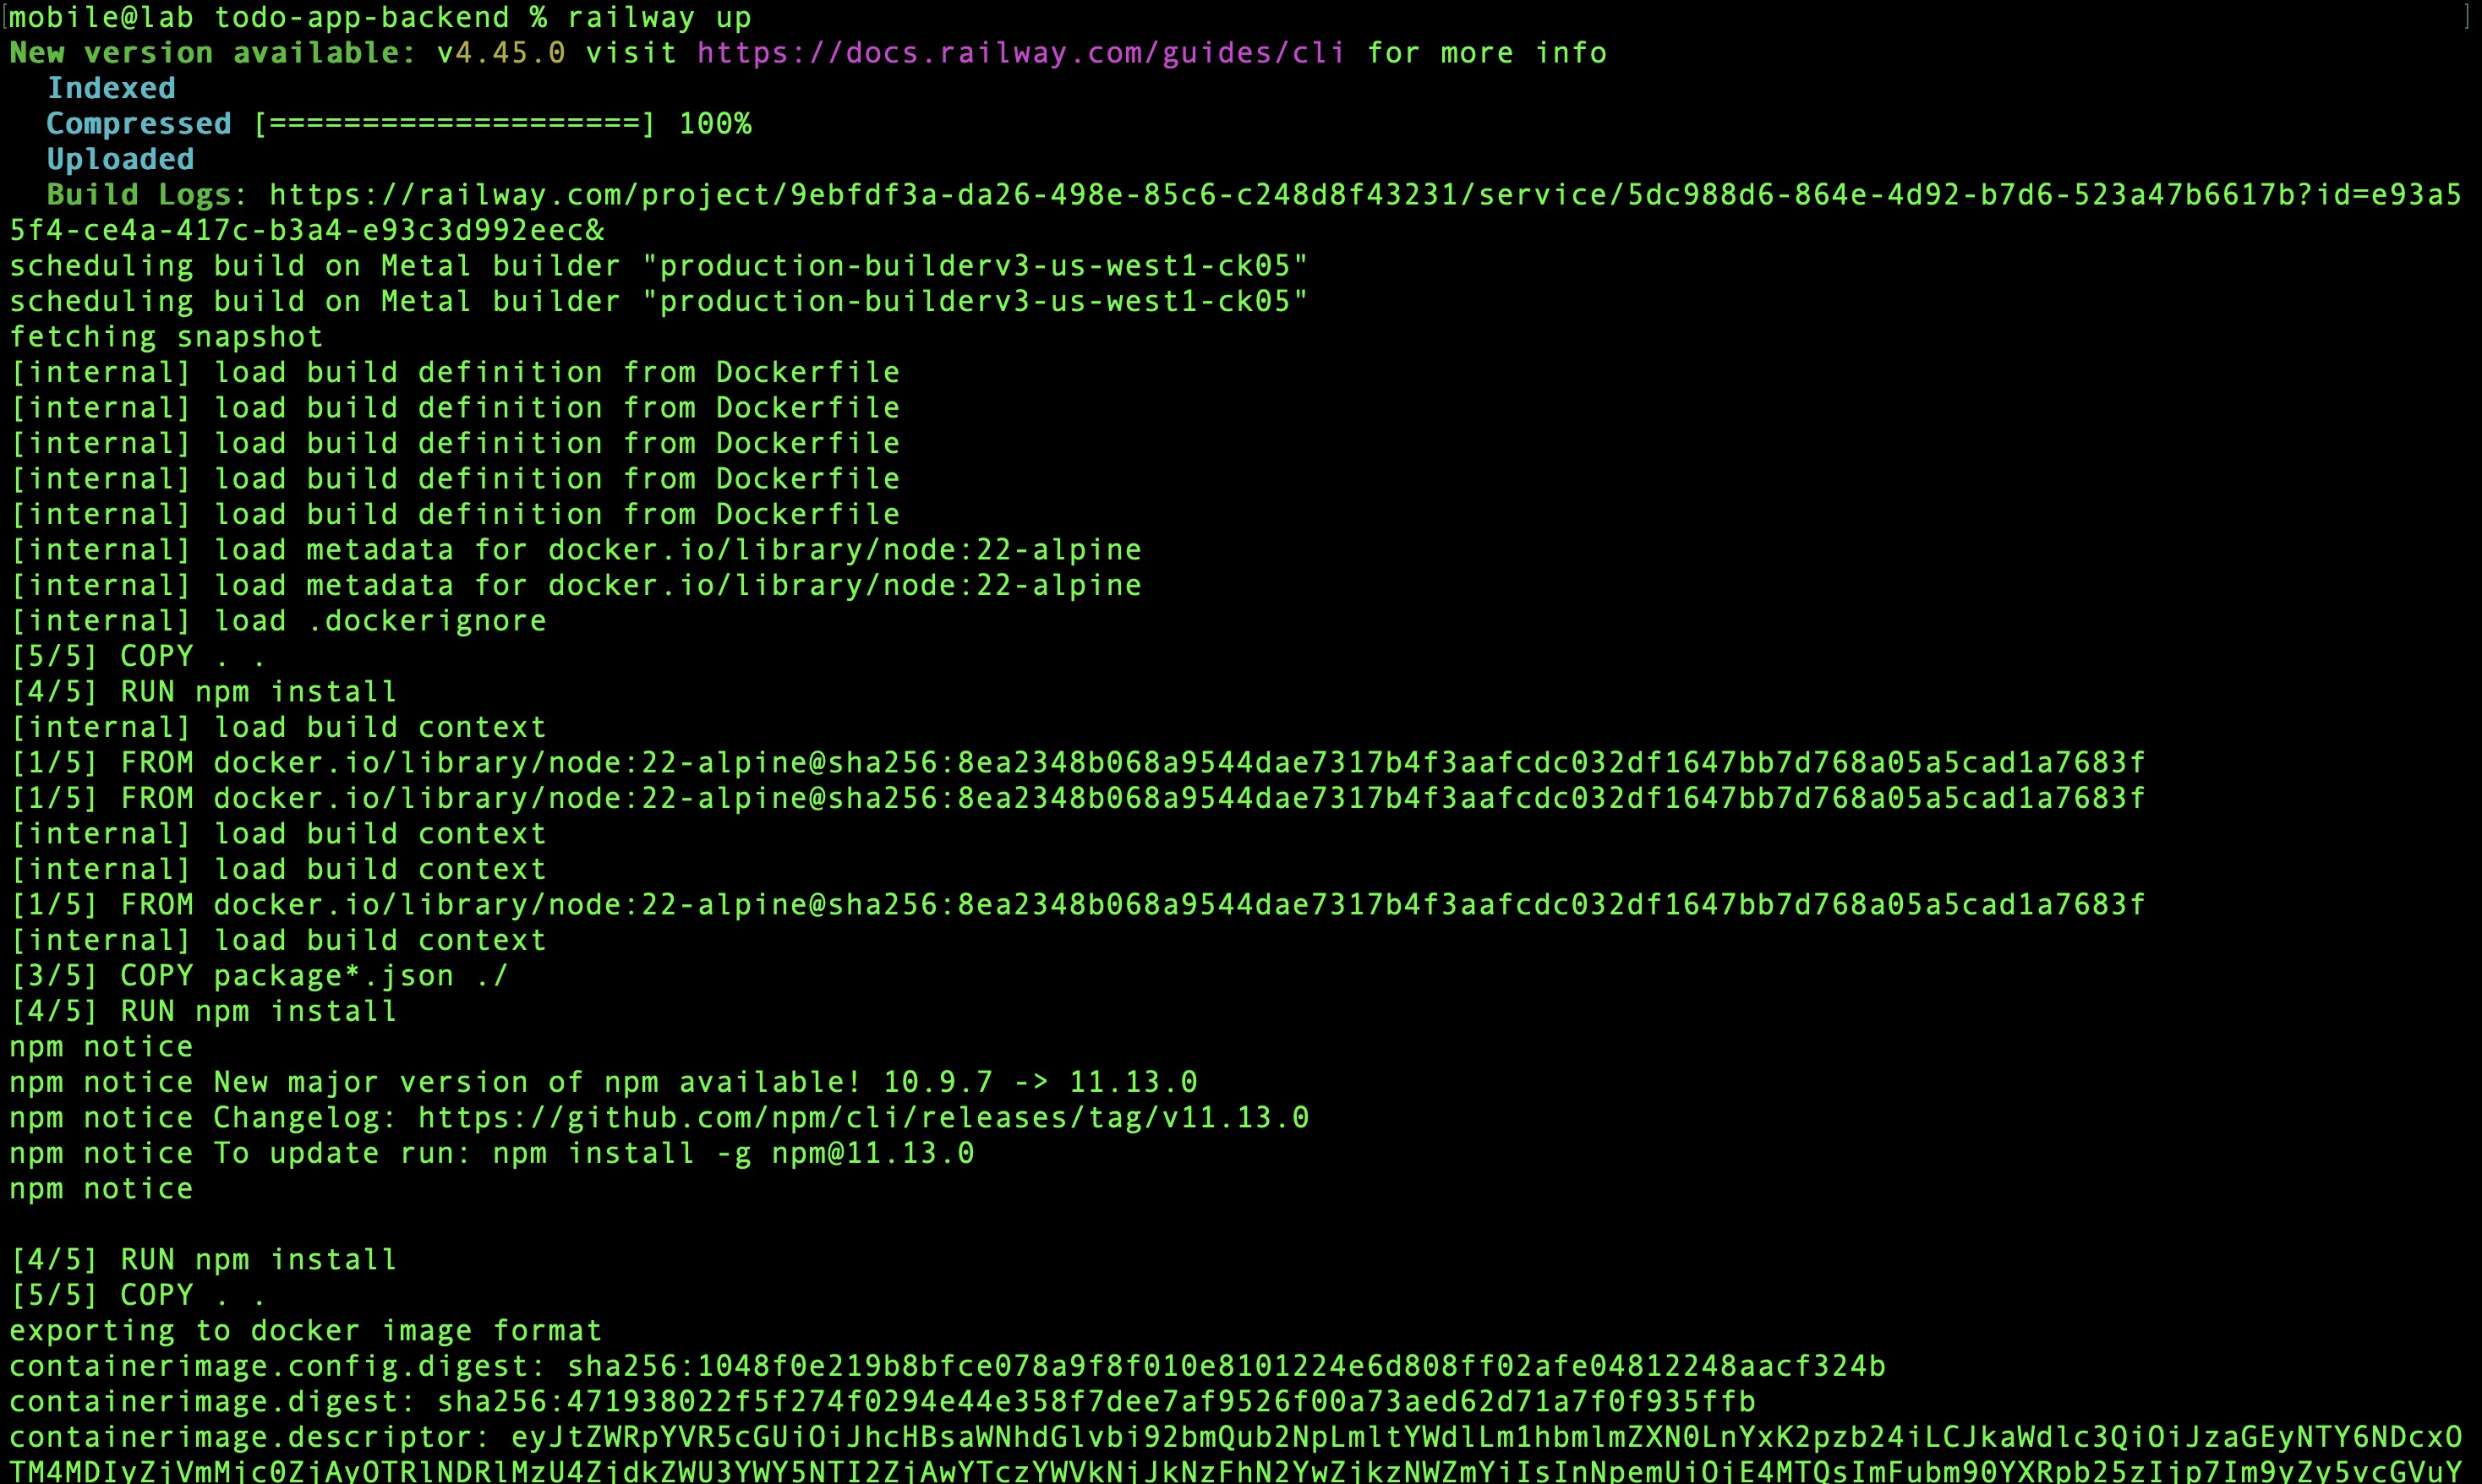
6. Deploy
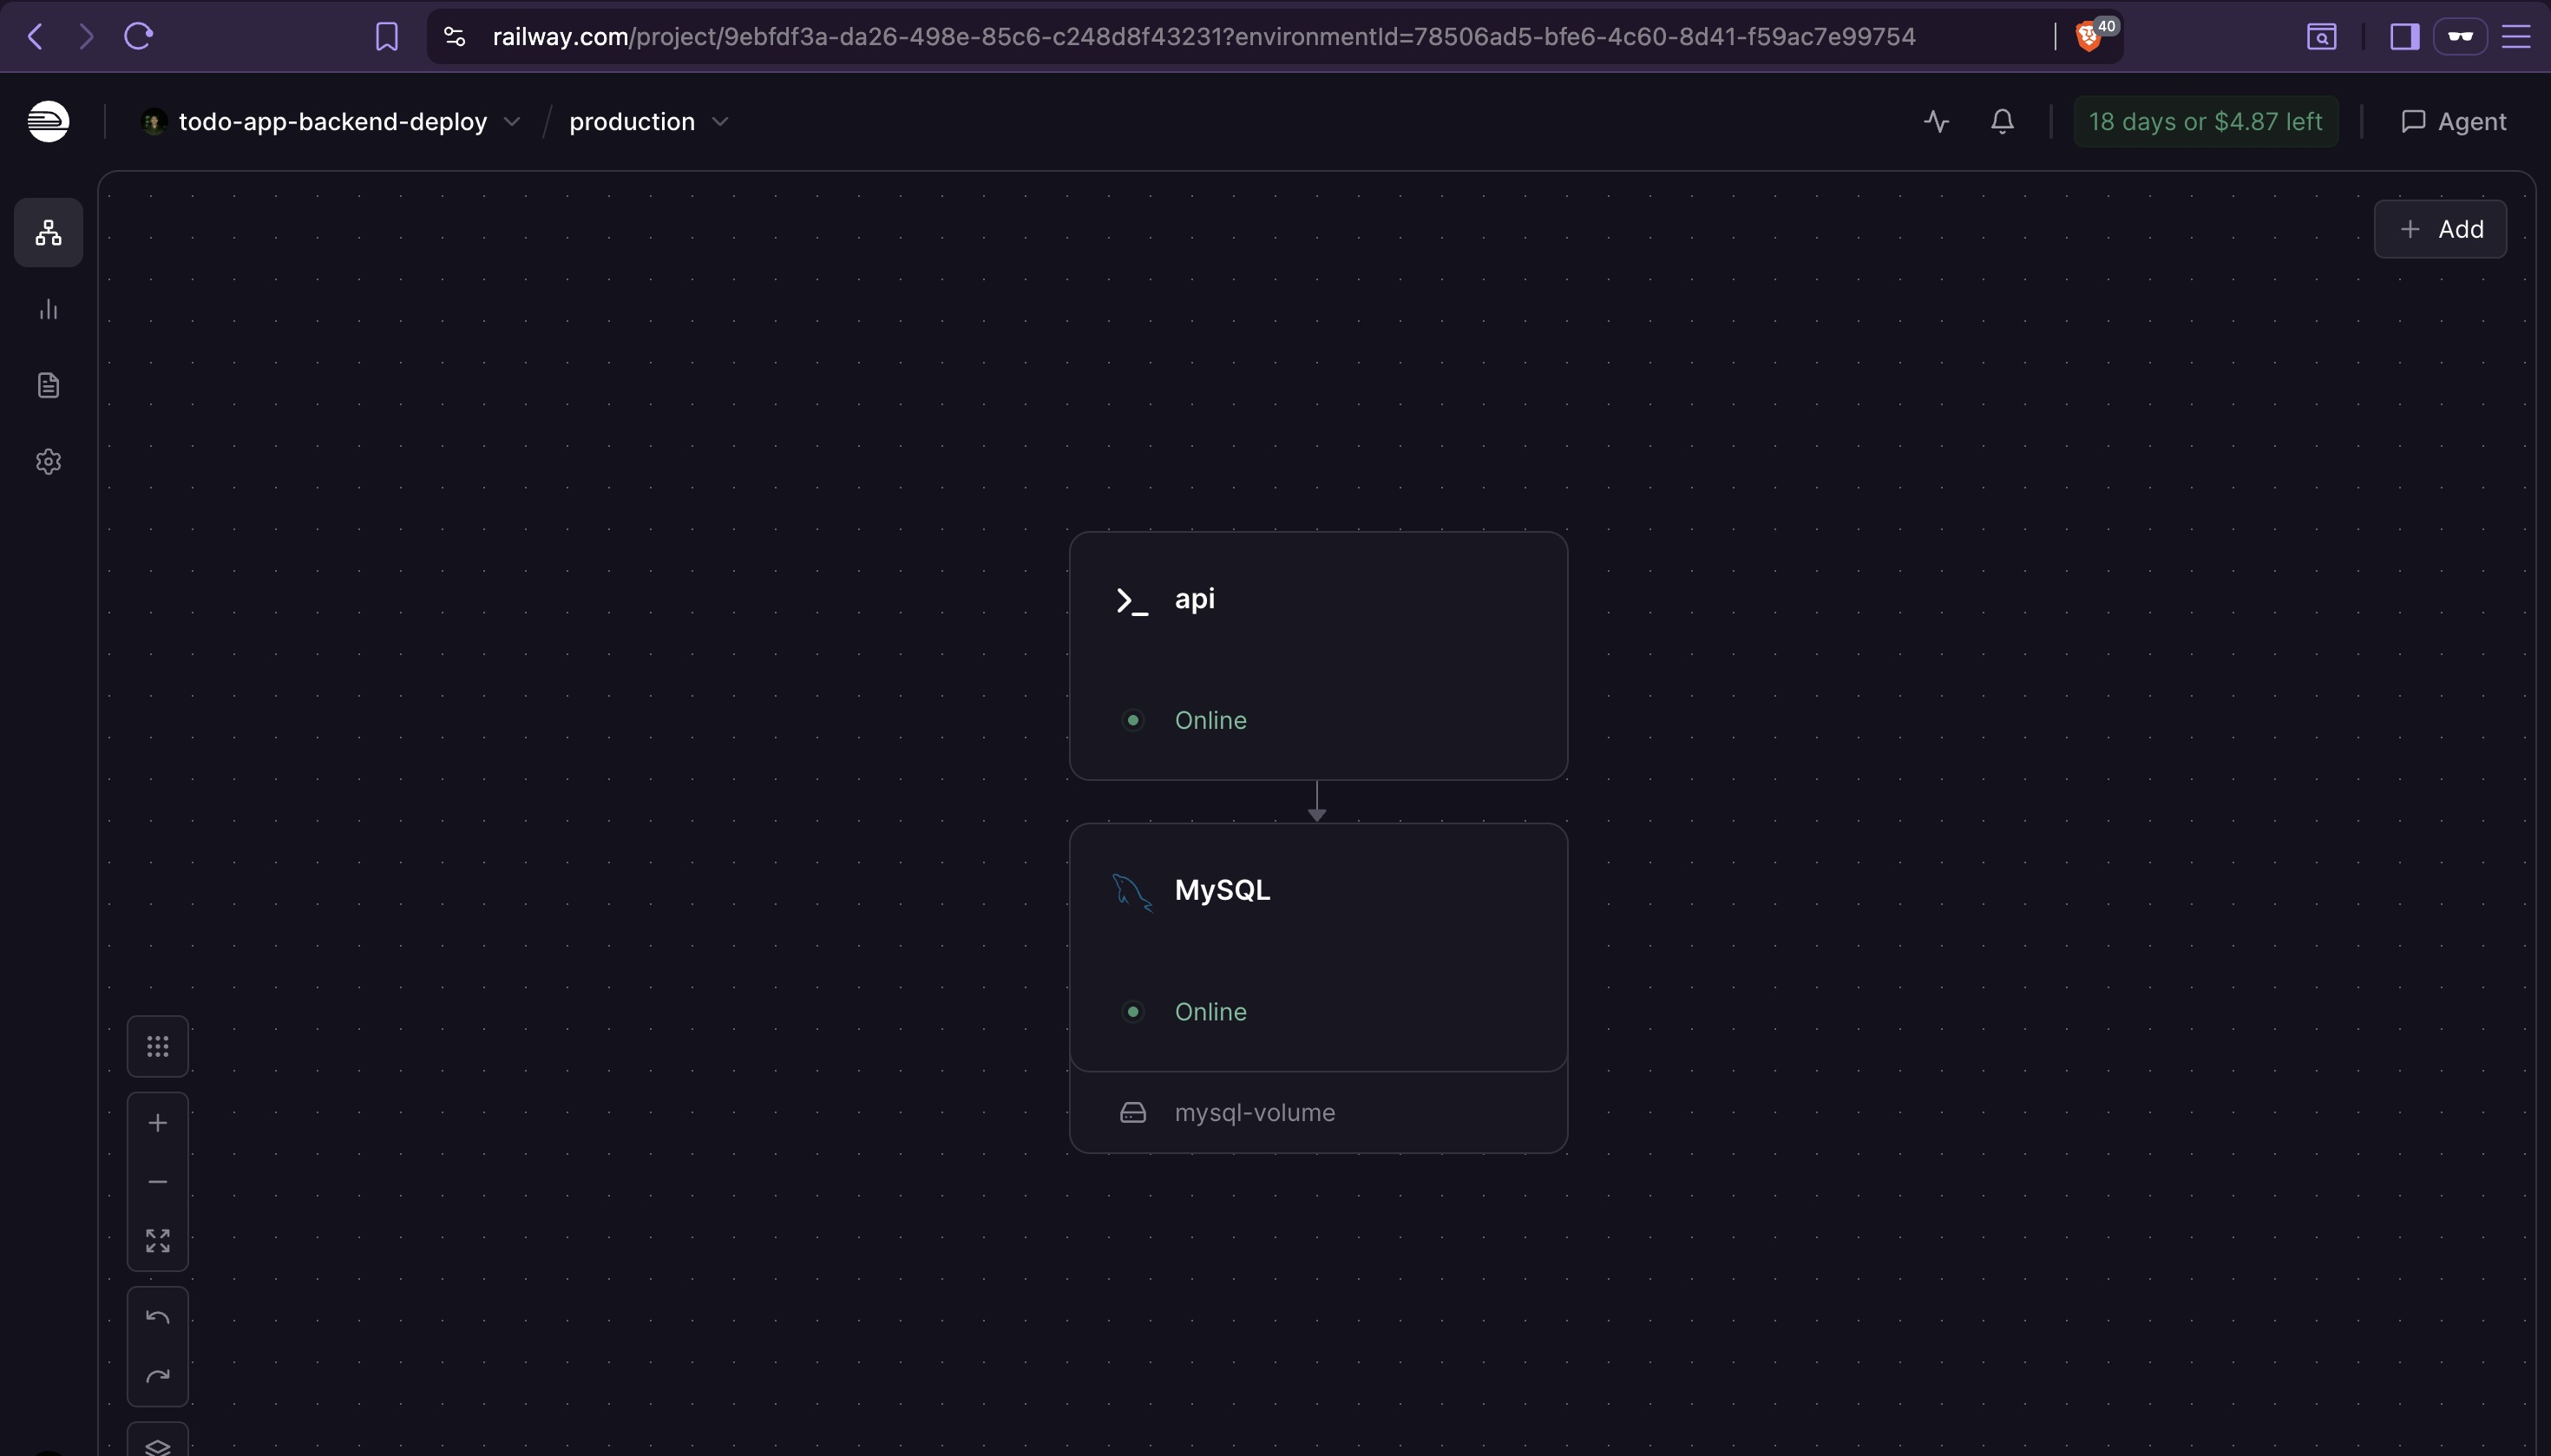
Railway builds and deploys the Docker image. Once complete, the API is live on port 3000.
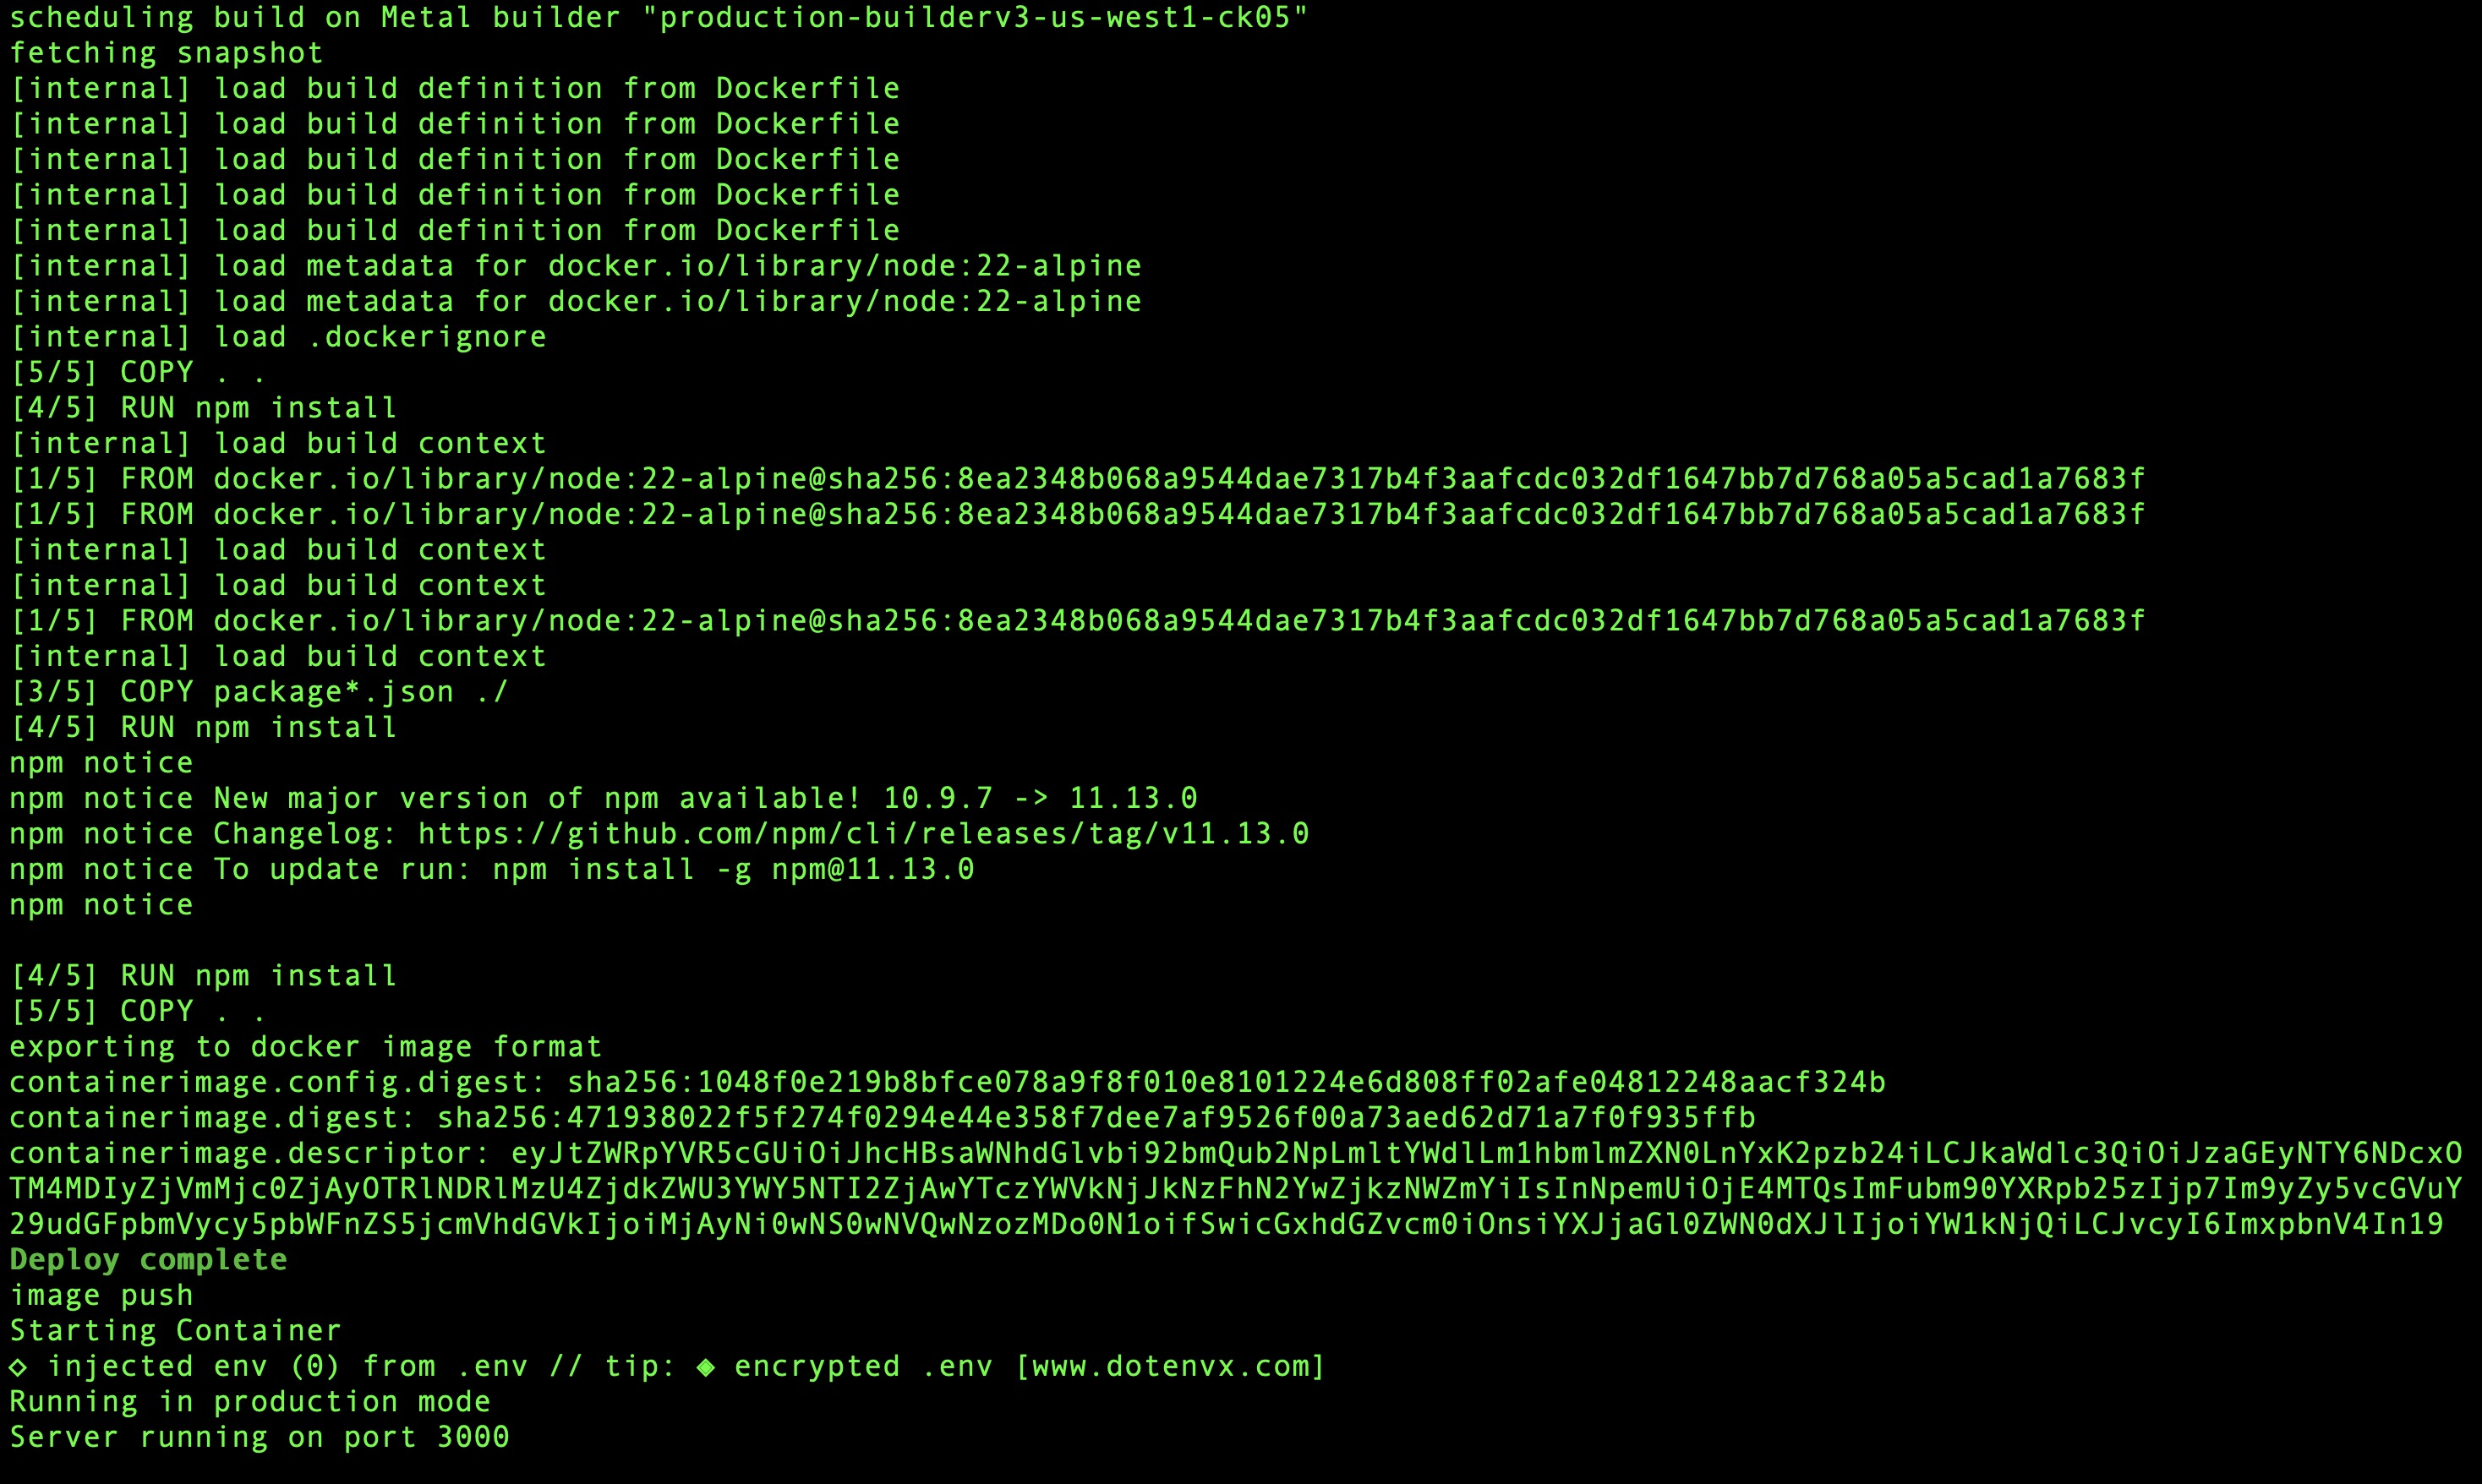
Both services — API and database — are now running and connected.
7. Generate Public Domain
The API is running but not yet publicly accessible. Generate a domain and provision the SSL certificate:

The domain Railway generates here is what gets hardcoded into the Flutter app's SSL pinning configuration.
Access the domain in a browser to confirm the deployment is live.

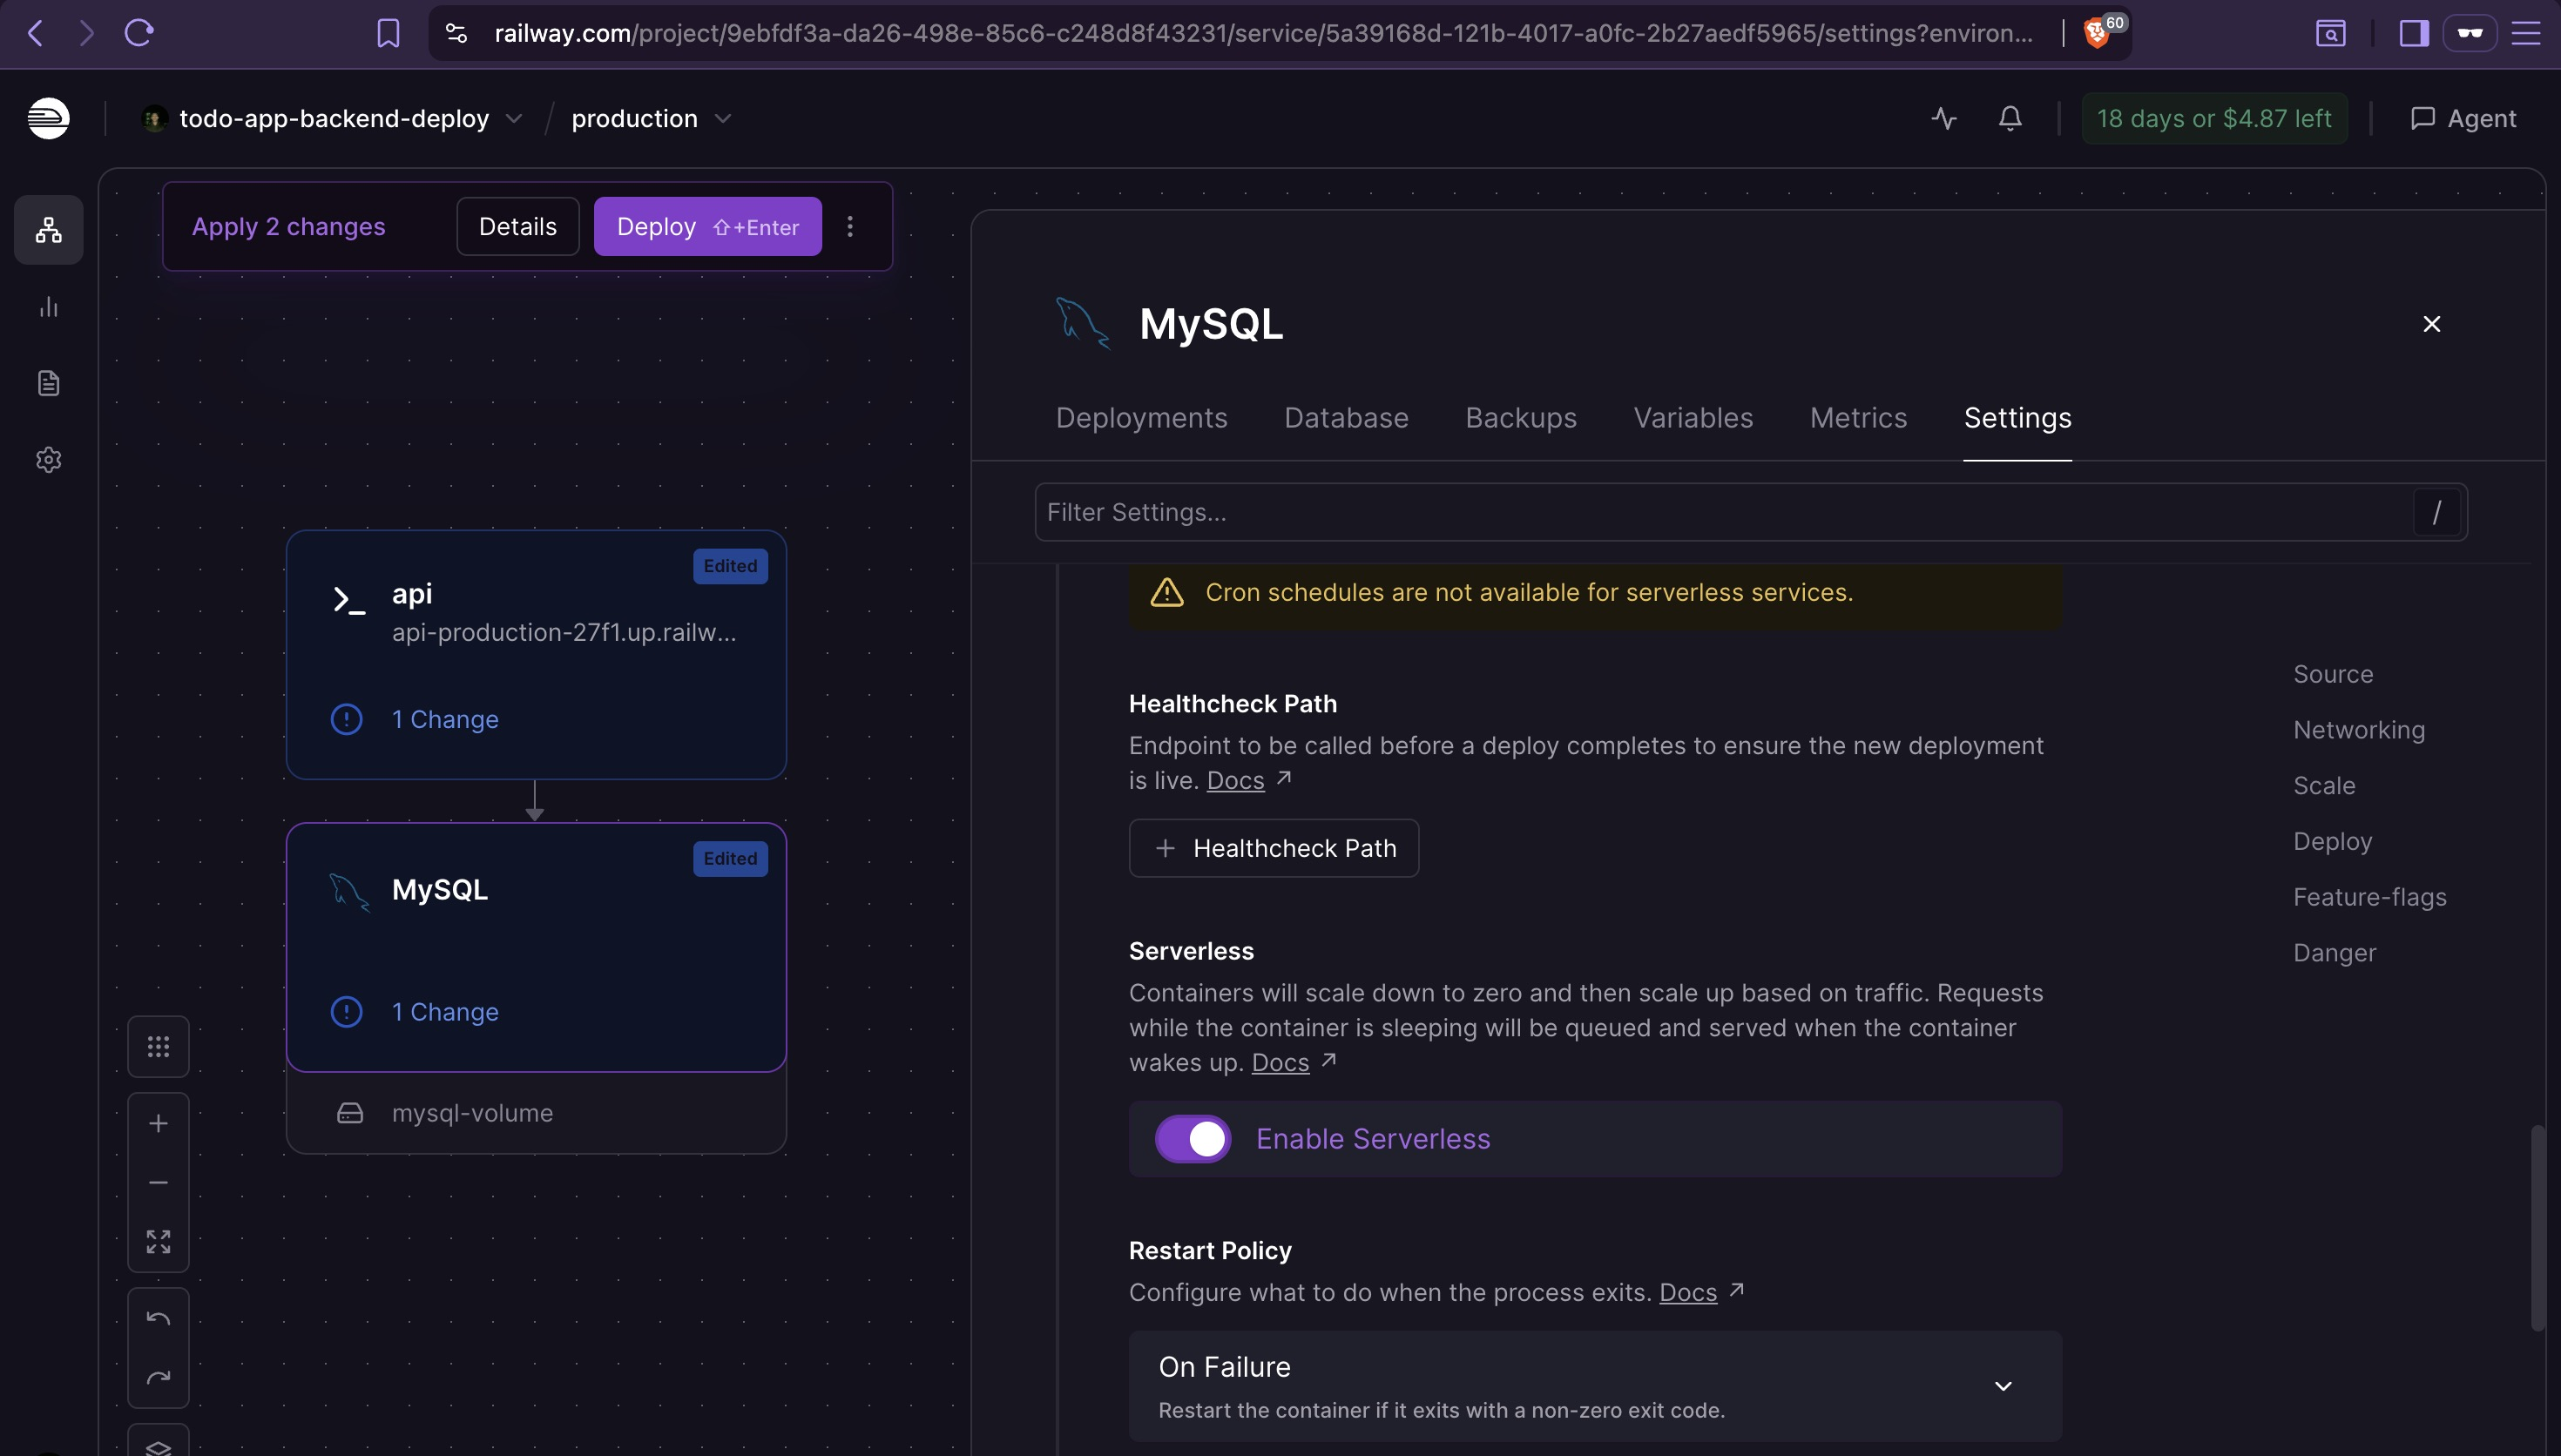
8. Enable Serverless Mode
To minimize credit usage, both services can be set to auto-sleep mode.
Railway's serverless option is an auto-sleep mechanism — not serverless in the Lambda sense. Services sleep after ~10 minutes of inactivity and wake on the next incoming request. The first request after sleep will have a cold start delay. Services with active connections won't enter sleep.
The backend is now deployed and ready to serve as the API target for the Flutter application.